Page 9 of 21
Re: 61 Westy
Posted: Sat Feb 28, 2009 9:31 am
by Blitzkrieg
I need to make seals for my Type 3's front indicators and rear reflectors. Now I see that you have done something similar. Perhaps I should go to Pro Auto and see what they have

Thanks for the idea Lowlight!!

Re: 61 Westy
Posted: Wed Mar 04, 2009 10:33 pm
by lowlight
Some more pics (for blits)
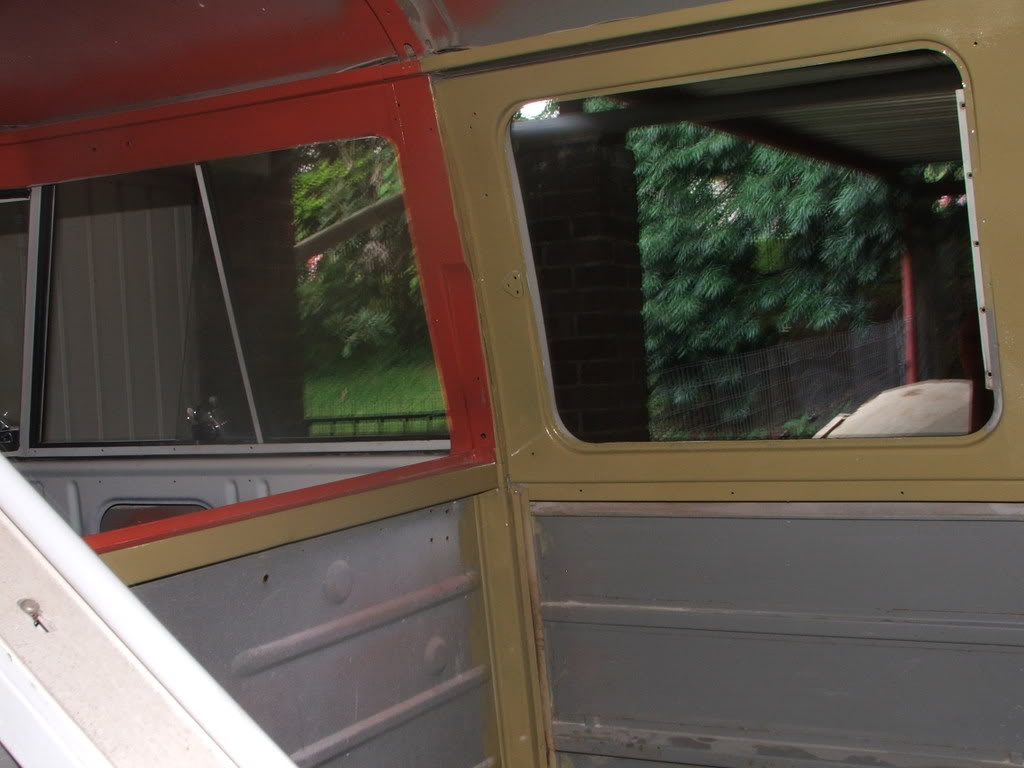
Painted the inside. Also fitted the rear window.

Re: 61 Westy
Posted: Wed Mar 11, 2009 10:57 pm
by lowlight
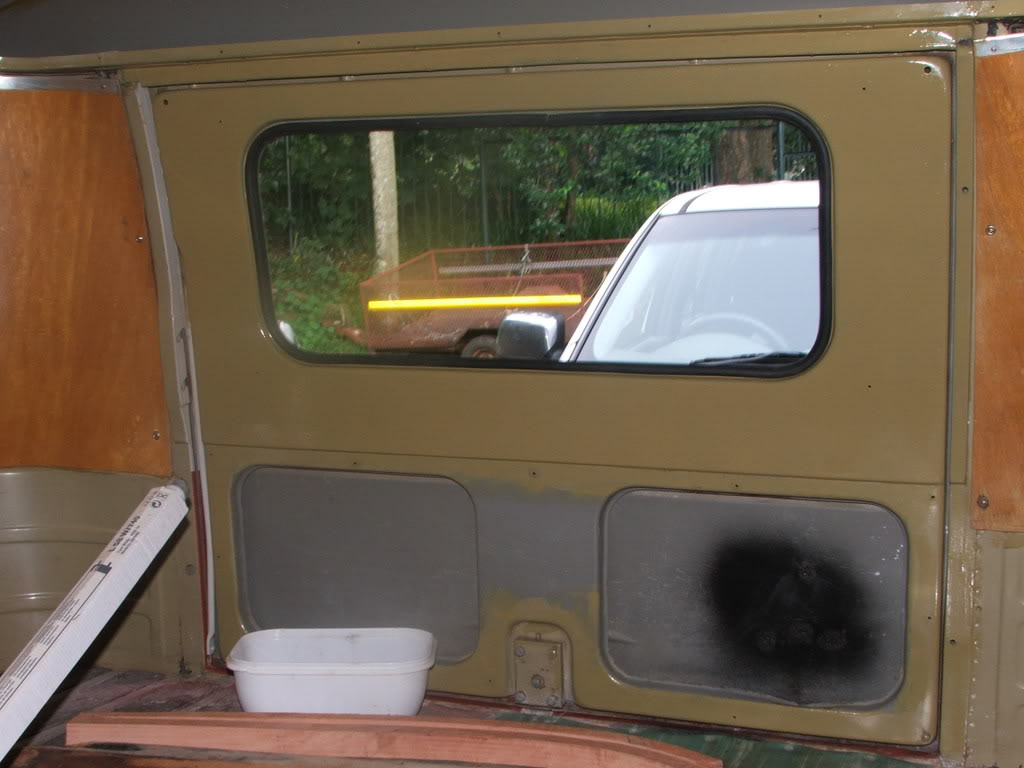
Made up wooden frame for sub hatch, and fit it tonight. Spray some black goodies, like indicator housing handbrake, gear stick and steering collom.
Re: 61 Westy
Posted: Mon Mar 23, 2009 11:26 pm
by ajvw
supreme work. But aren`t so23`s supposed to have a beige interior paint job around the windows....or is yours a special order model....on that note what are the m-codes again?absolutely loving watching this thread.....this is a proper bus

Re: 61 Westy
Posted: Tue Mar 24, 2009 9:07 am
by calooker
If you need new front indicator (bullet) lenses I have a new set R180
Let me know.
Rui 082 830 6493
Re: 61 Westy
Posted: Tue Mar 31, 2009 9:34 pm
by johanb
Very nice bus.. Thanks for the tips on replacing some of the parts.. Always handy to know
Re: 61 Westy
Posted: Tue Mar 31, 2009 10:56 pm
by lowlight
I took a sample to mix the paint, seems shade brighter to me aswell.
check the difference between the side and the back door on the last pic.
Re: 61 Westy
Posted: Tue Mar 31, 2009 11:04 pm
by lowlight
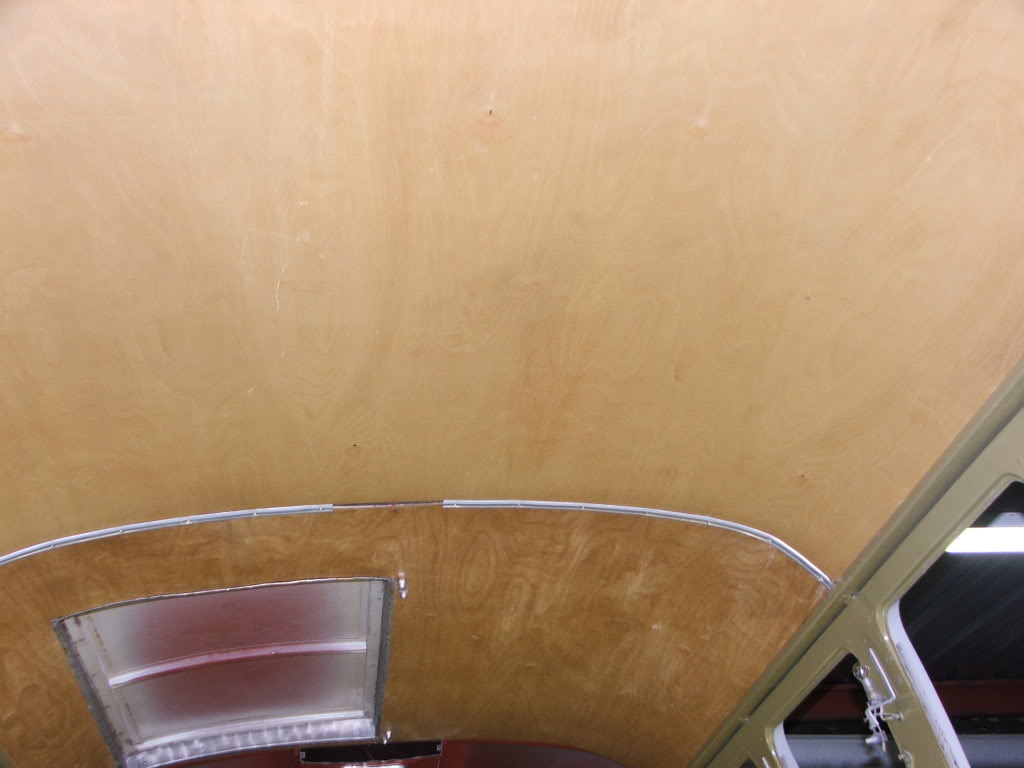
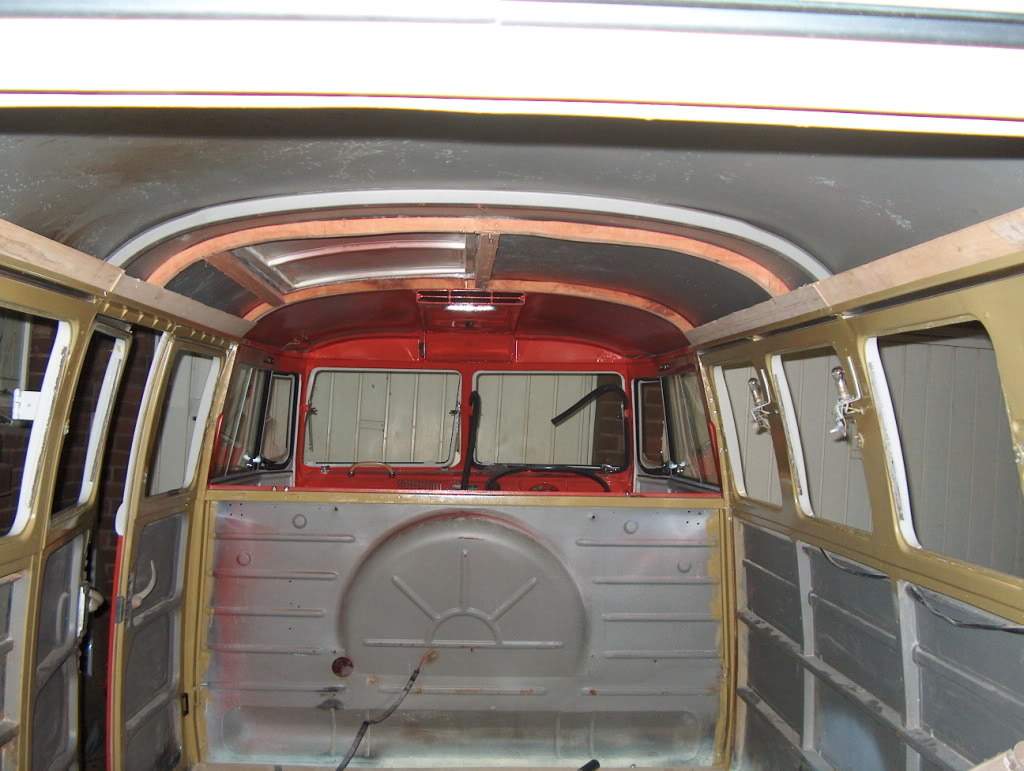
Did some work again. Started with the bows in the roof and also put new ply wood on the side in the roof. That is for the roof lining ply wood to seal properly on the side above the window.
Cut the first piece of roof lining and also cut the hole for the sub hatch and gave it a coat of varnich.The front one mesure 120x139cm. Now for the second piece at the back, this one is a bit narrower at the back about 134cm.
Re: 61 Westy
Posted: Sun Apr 05, 2009 12:21 am
by lowlight
Cut some more panels. No varnish at the shop.(same stuff I was using)
Re: 61 Westy
Posted: Tue Apr 07, 2009 3:45 pm
by lowlight
Bought some varnish, cut some more panels. Going a bit slow, but trying to do every night a bit of work, even if it is just one panel.
Re: 61 Westy
Posted: Wed Apr 08, 2009 11:06 pm
by lowlight
First panel fitted. Taking longer than I thought.

Re: 61 Westy
Posted: Sat Apr 11, 2009 9:06 pm
by Dutch_Diver
LL, You are going an awesome job....well done. She's looks great already and I'm really jealous! Keep the patience and she'll get there!
Re: 61 Westy
Posted: Mon Apr 13, 2009 11:04 pm
by lowlight
Thanks dutch. Got a bit side tracked Family was here and just took time off with them and easter

Work again on the bus today as family is back in Pta.Still struggle with the roof, have to replace wood on the sideof the roof to make it neat. Door panel,back door and long side panel are in
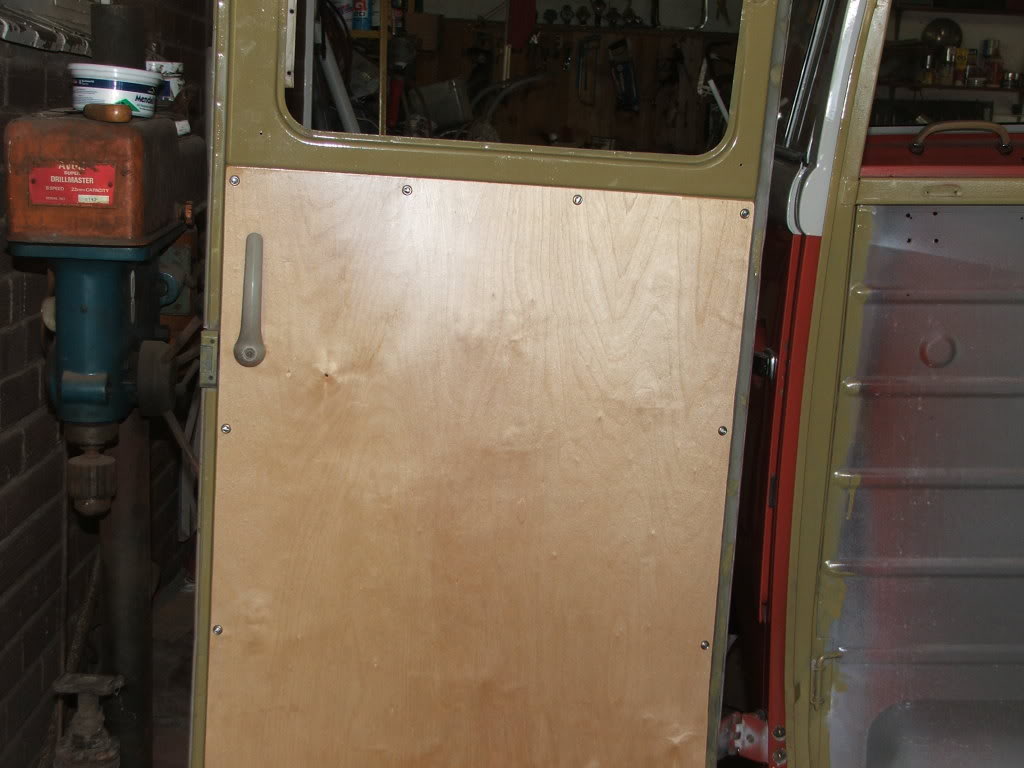
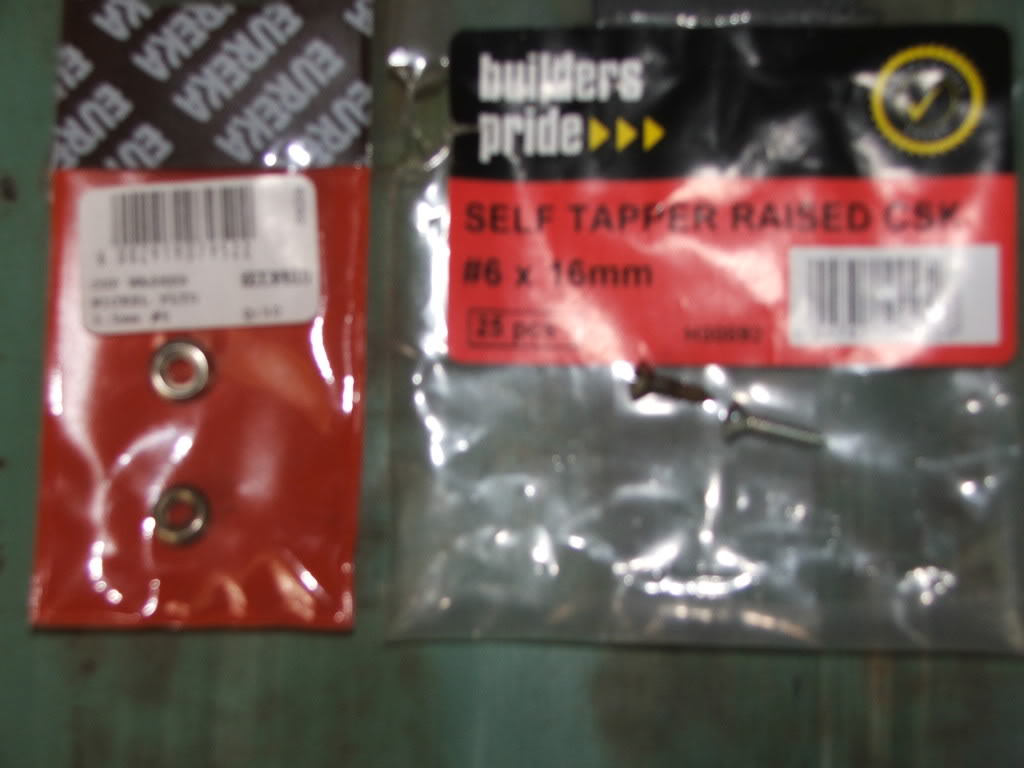
Took this photo but not good of the screws#6x16 and cap waschers 3.5 #6. they are larger than the ones that came out, but Im using 4mm ply wood instead of the 2.5 or 3mm
Re: 61 Westy
Posted: Mon Apr 13, 2009 11:09 pm
by Chris
That is such nice work.Looking good.
Re: 61 Westy
Posted: Tue Apr 14, 2009 11:35 pm
by lowlight
Lets try again.
The side panelis in at last

The roof panelis in and out 3x but is in now. The sides on the roof panel needed some guidens to get into the groove on the side. there is a piece of plywood for that other wise the panel will sit against the roof itself.the ply wood was old and thus the problem, cut new pieces and it worked, so now its just for the back piece above the back door that will be tricky.