Page 2 of 3
Re: A little further...update.
Posted: Sun Jun 06, 2010 12:11 pm
by 67man
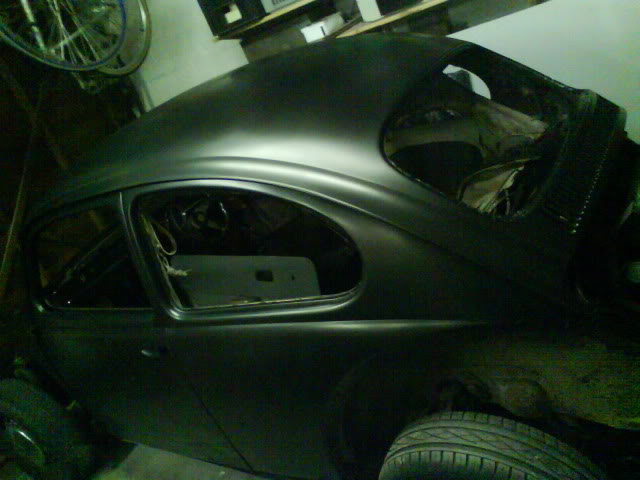
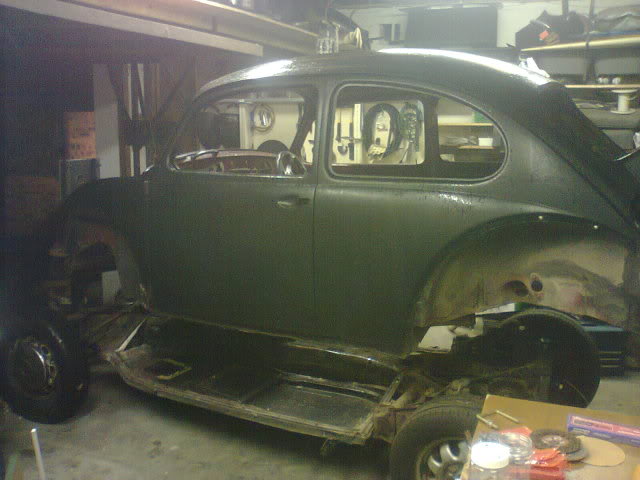
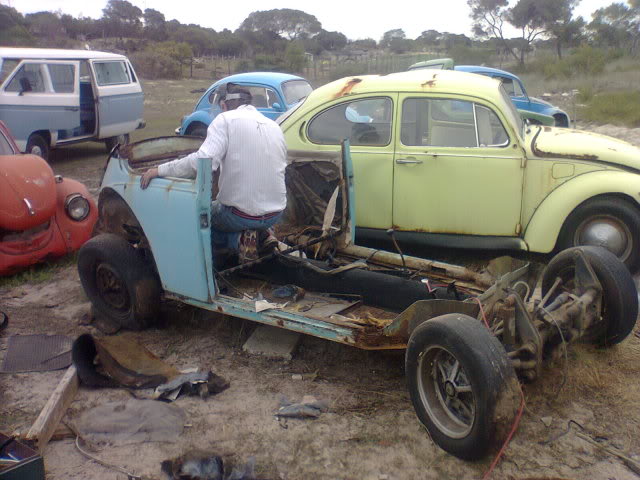
yip going all out on removing the paint, so that theres no regrets later
Re: A little further...update.
Posted: Mon Jun 07, 2010 1:50 pm
by eben
huh?
Re: A little further...update.
Posted: Fri Jun 11, 2010 9:37 pm
by @ndrew
looking good man!!
Re: A little further...update.
Posted: Thu Aug 12, 2010 9:28 pm
by 67man
Re: A little further...update.
Posted: Wed Apr 13, 2011 9:10 pm
by 67man
Re: A little further...update.
Posted: Tue Apr 19, 2011 11:33 pm
by 67man
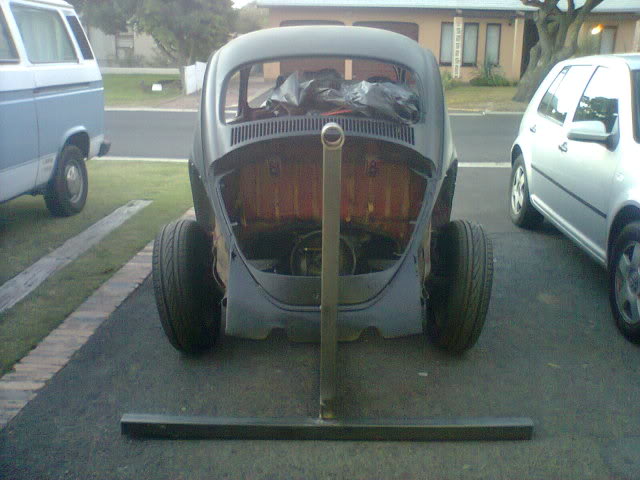
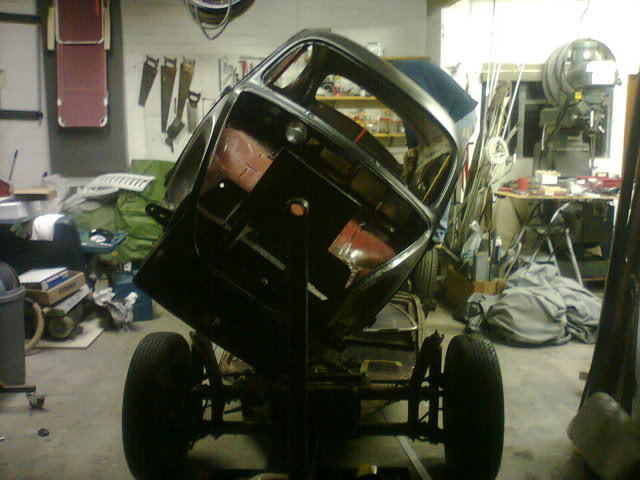
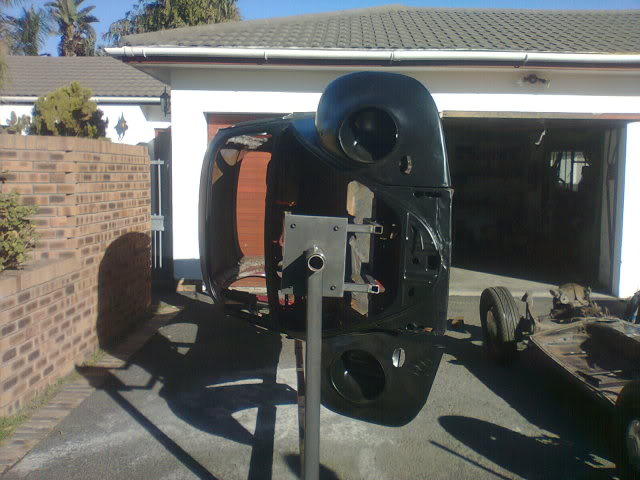
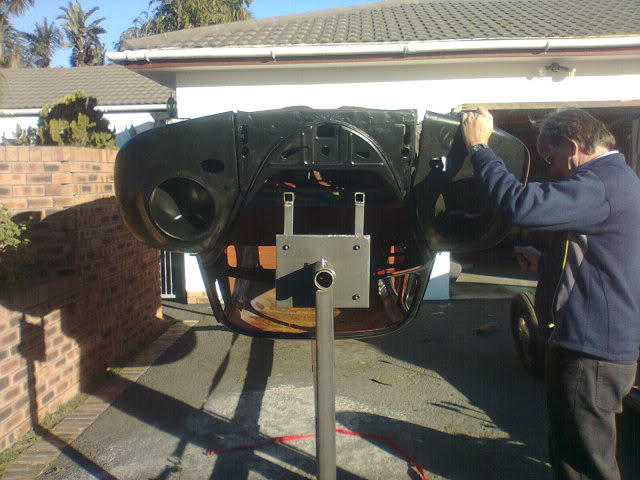
Almost done with my rotisserie

Re: A little further...update.
Posted: Wed Apr 20, 2011 11:40 pm
by Blitzkrieg
I noticed that you have one odd wheel on the rear, what's up with that??
Re: A little further...update.
Posted: Thu Apr 21, 2011 6:37 am
by 67man
I got it with the car when I bought It, cant seem to find a complete set, PCD 4x130.
Re: A little further...update.
Posted: Thu Apr 21, 2011 9:40 am
by Blitzkrieg
Let me know if you'd like to sell it, have 3, need 1 to complete a set

Re: A little further...update.
Posted: Fri Apr 29, 2011 7:05 am
by 67man
Re: A little further...update.
Posted: Fri Apr 29, 2011 7:42 am
by Tony Z
what part of the bug did you bolt the rotisserie onto?
Re: A little further...update.
Posted: Fri Apr 29, 2011 8:56 am
by 67man
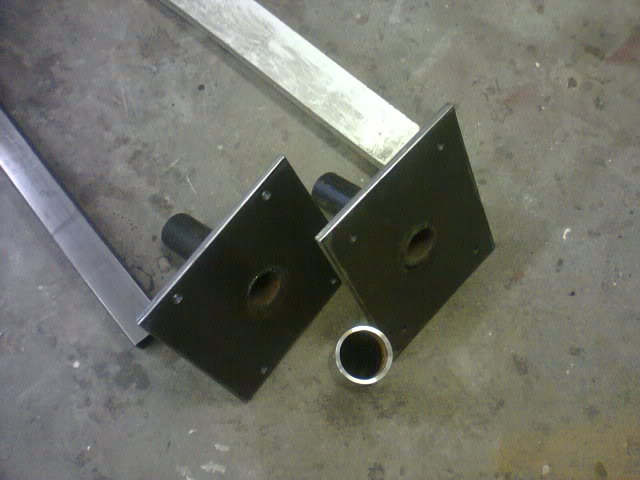
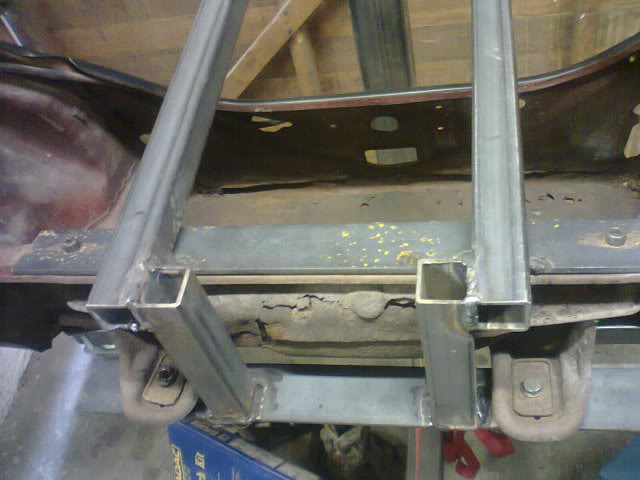
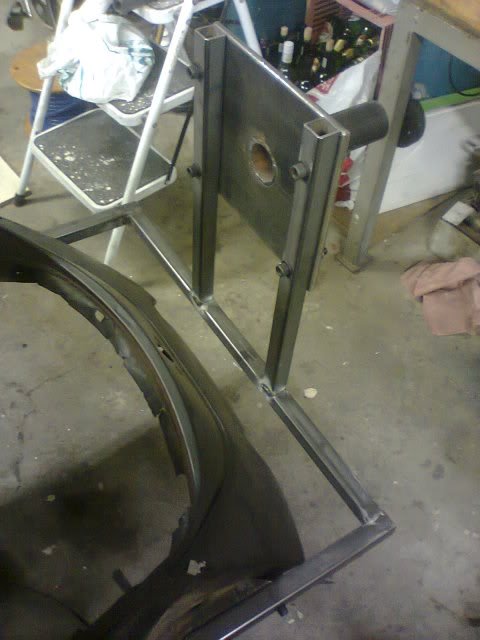
I will post pics later of the front bracket design, the front is bolted to the mounting piont on the body where the chassis bolts to and where the fuel tank bolts are..pics will explaine better.
Back of car was bolted to where bumpers go, as in pics above. I wanted to bolt the back of the car to the mounting bracket of body to chassis, but that needs to be re-made.
I am prob going to make another set of brackets to change holding position, if I struggle to access areas on the body around the frame.


Re: A little further...update.
Posted: Sat May 28, 2011 10:33 pm
by 67man
Re: A little further...update.
Posted: Sun May 29, 2011 11:31 am
by JamesD
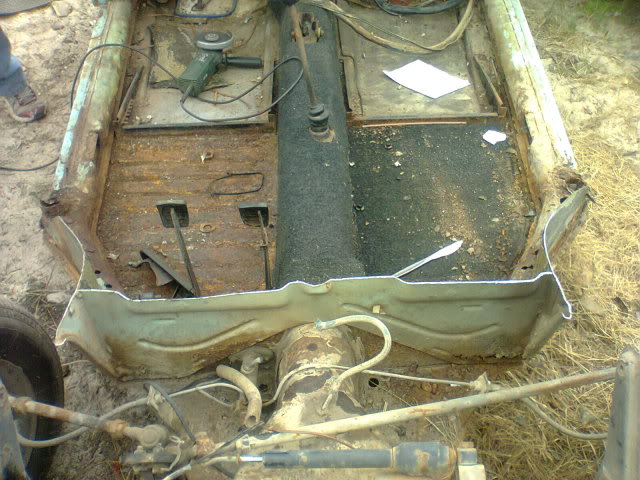
very nice. Your car is going to be very special after all this. Pity about cutting up the other beetle, but the rust seems to have limited its chances of restoration anyway. . . How are you going to seal/prep the pan? And inside the heater channels?
Re: A little further...update.
Posted: Sun May 29, 2011 1:19 pm
by 67man
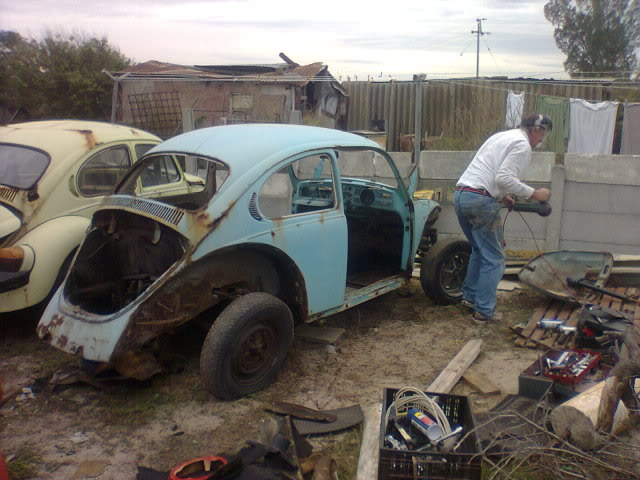
It is a pitty for the bug I cut up, but the overall body was worse than what I have, so I chose to cut the sections I could use out. The sad news is that most rusted areas are common on all the beetles. I Plan on sandblasting the heater channels then galvernising the lot, but I dont exactly no yet., so any advice or ideas you got please do share.