Page 2 of 2

Re: '71 Deluxe Bay Adventure

Posted: Mon Aug 22, 2011 8:12 pm
by jolas
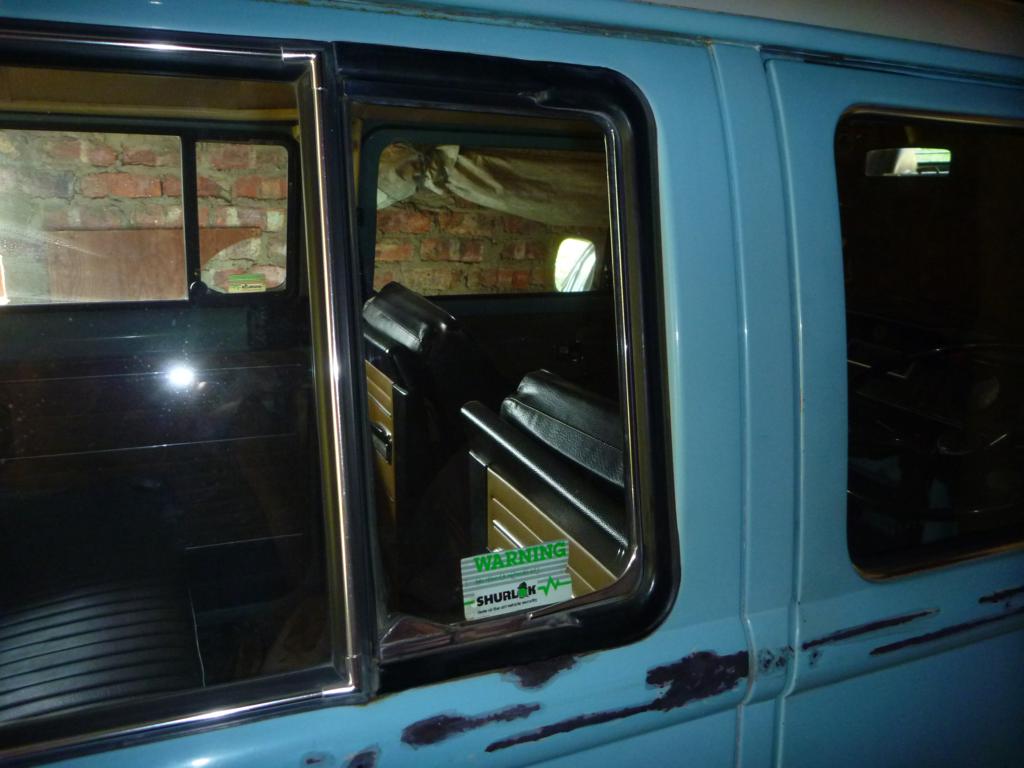
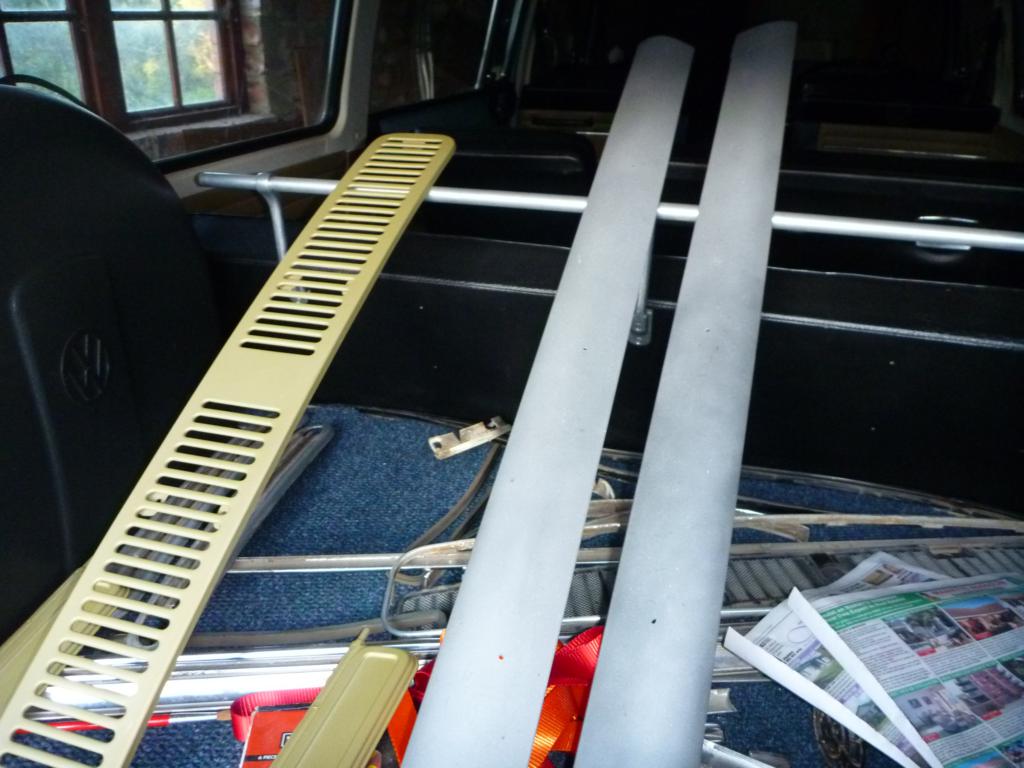
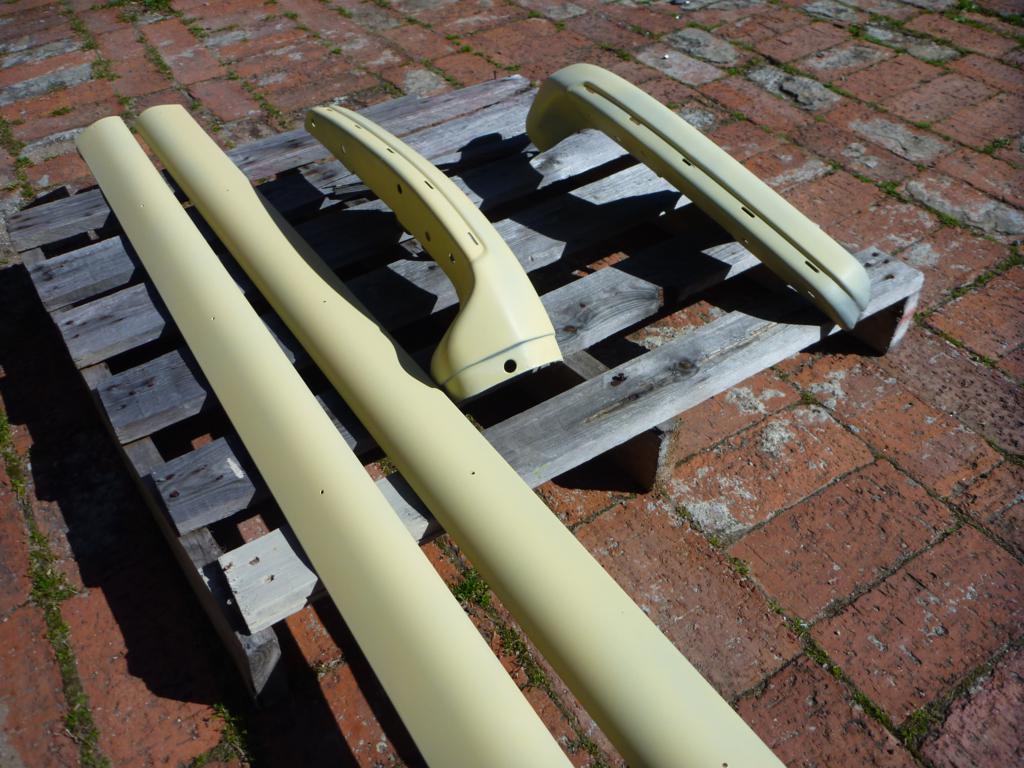
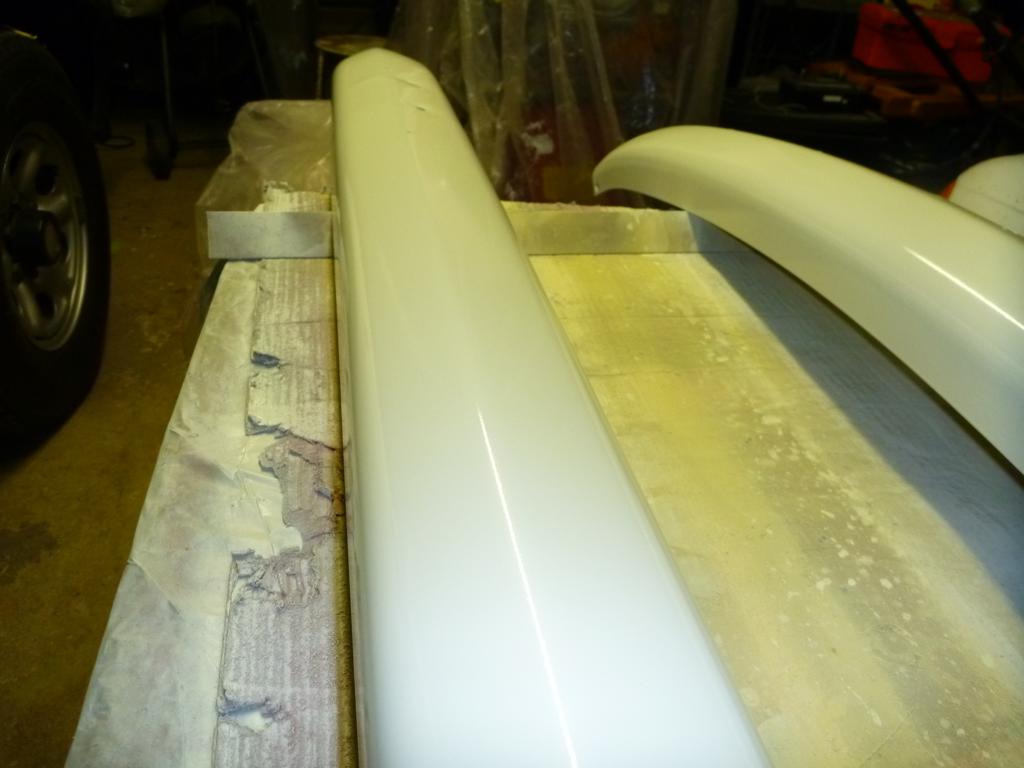
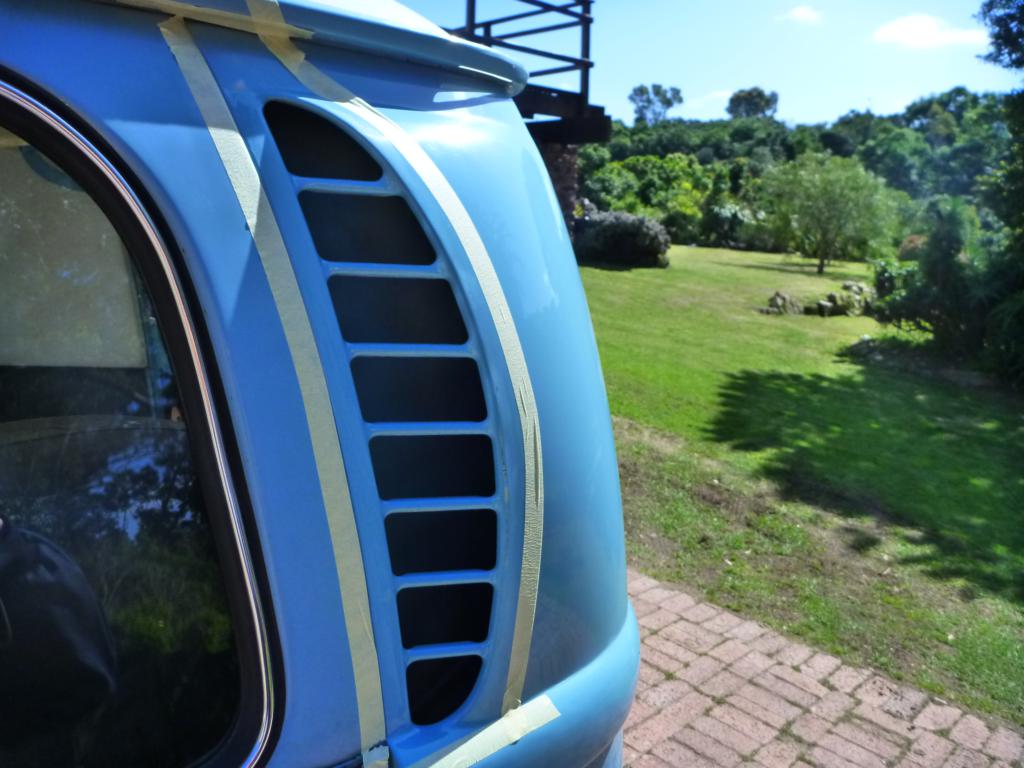
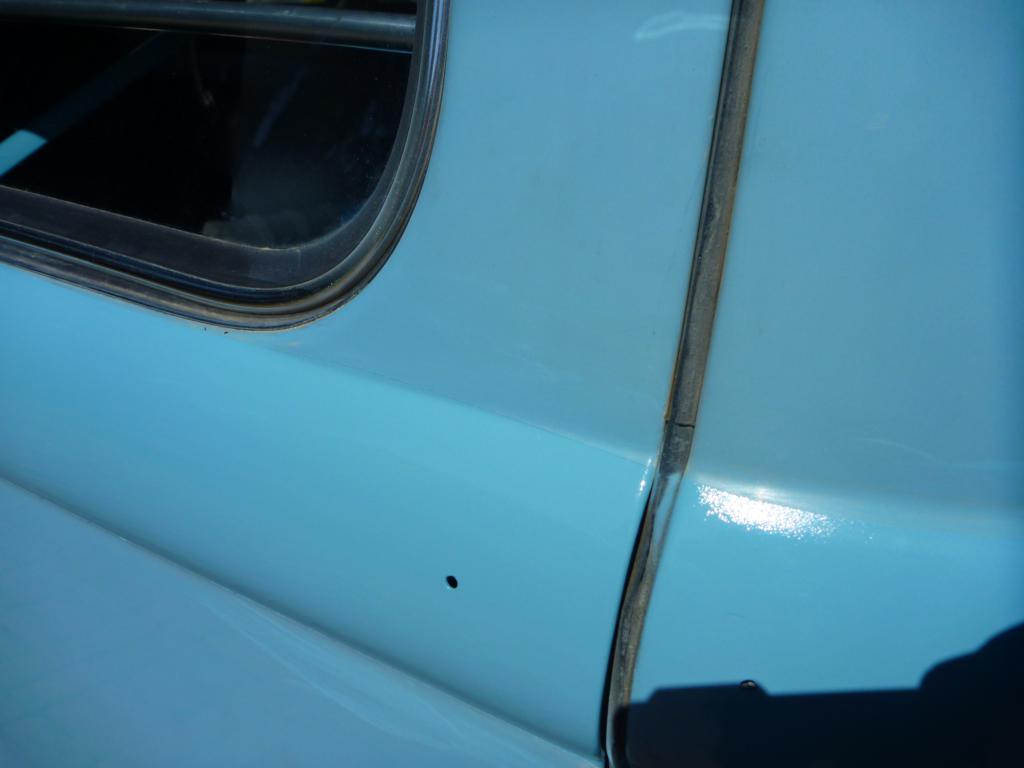
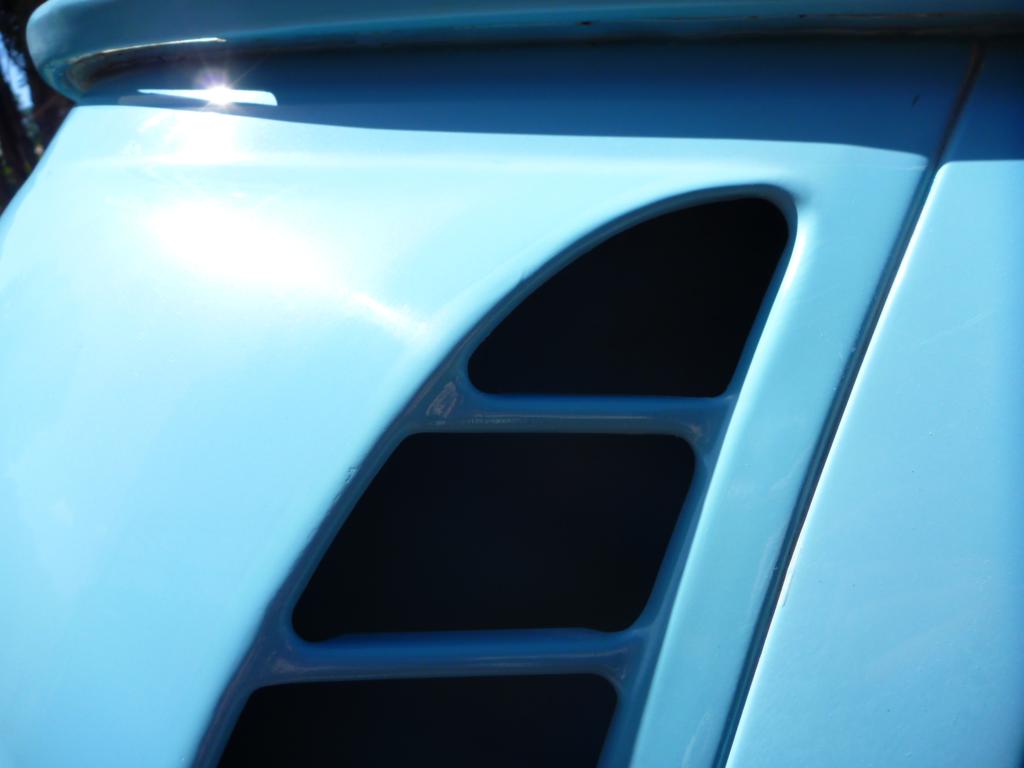
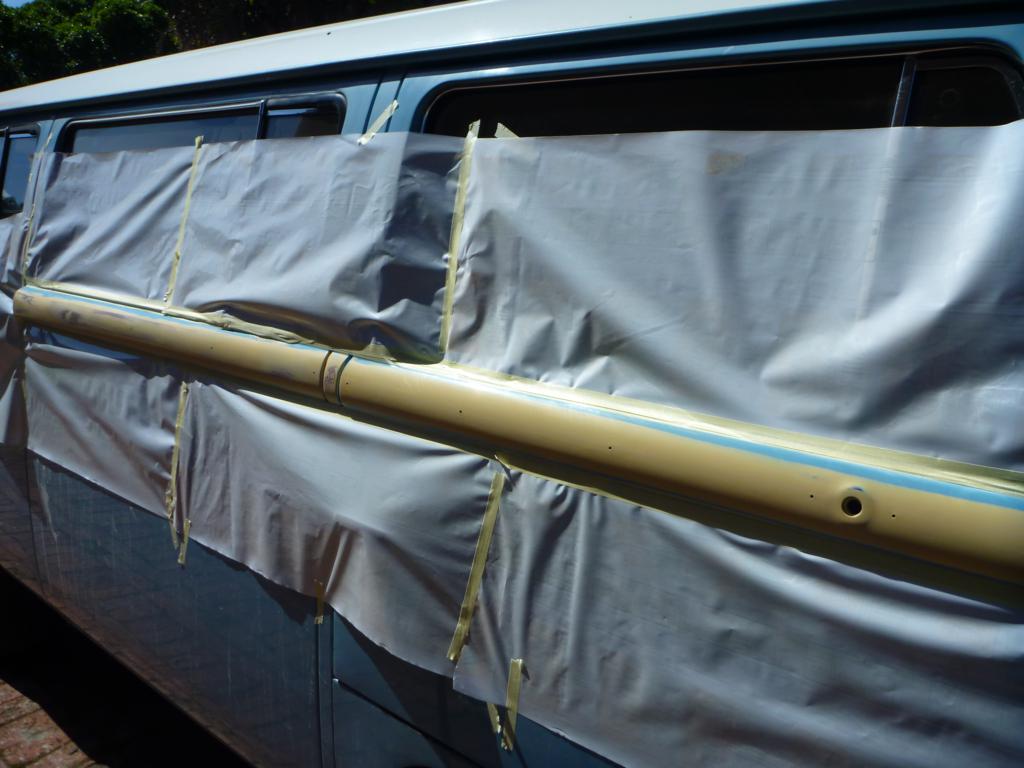
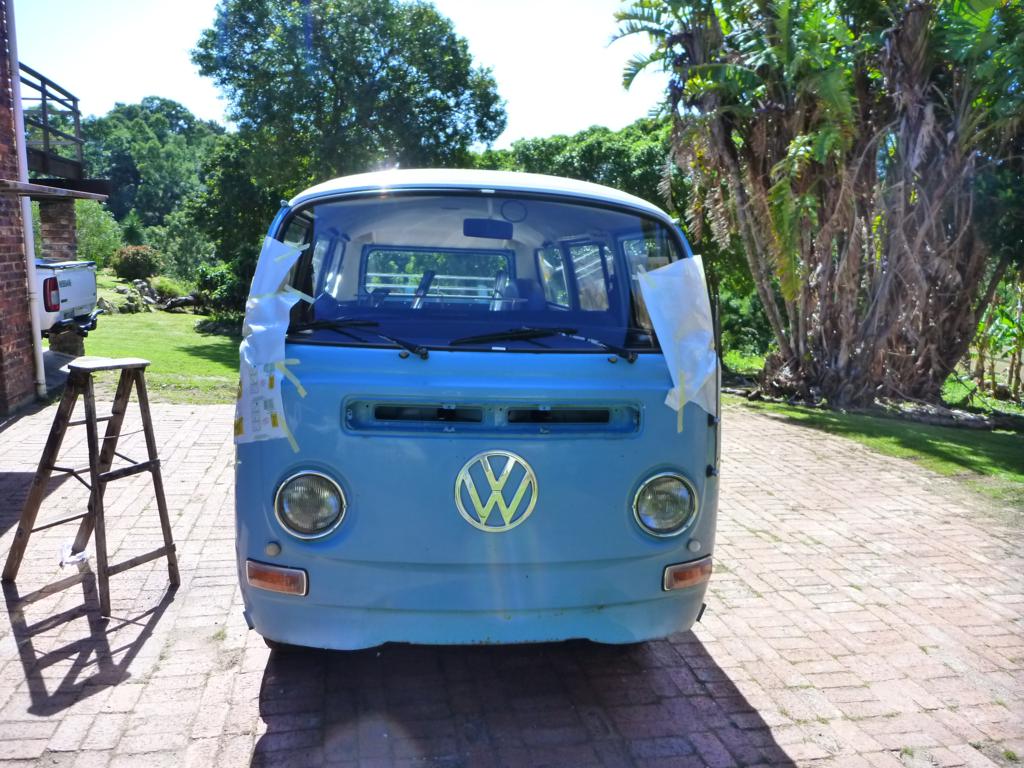
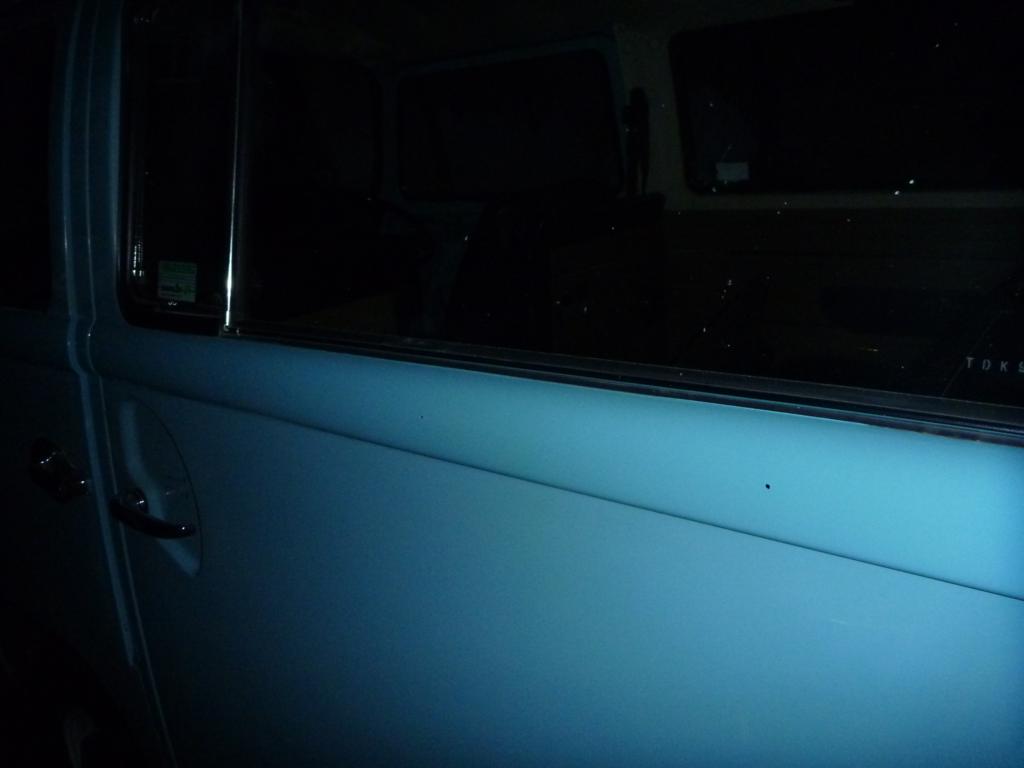
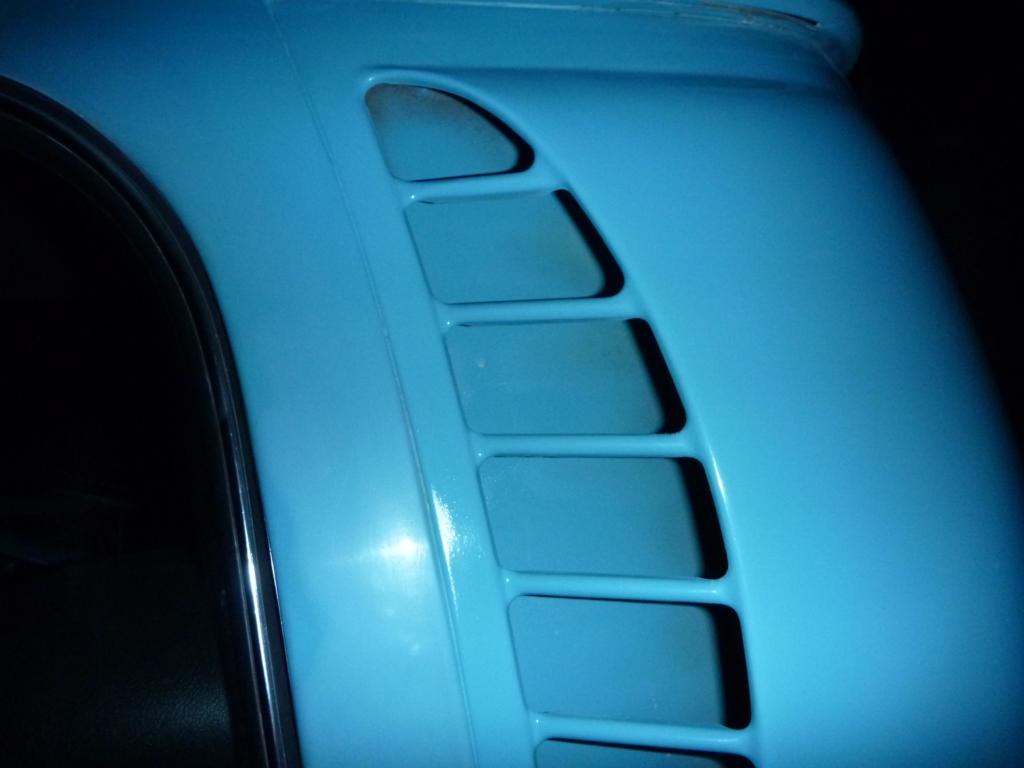
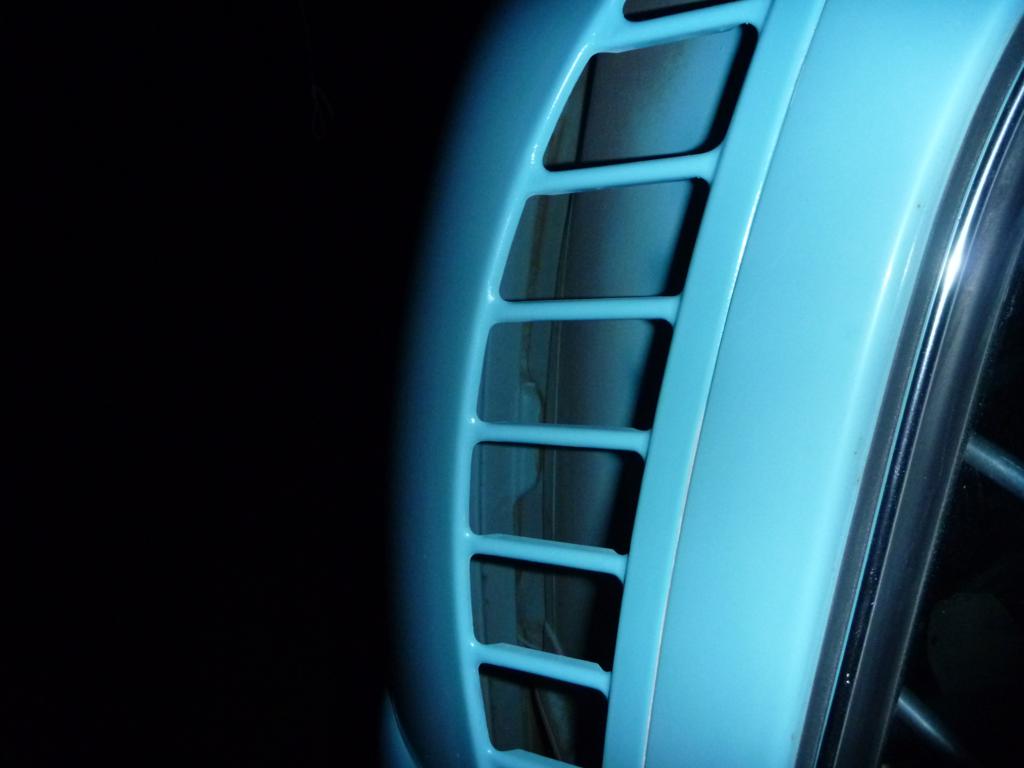
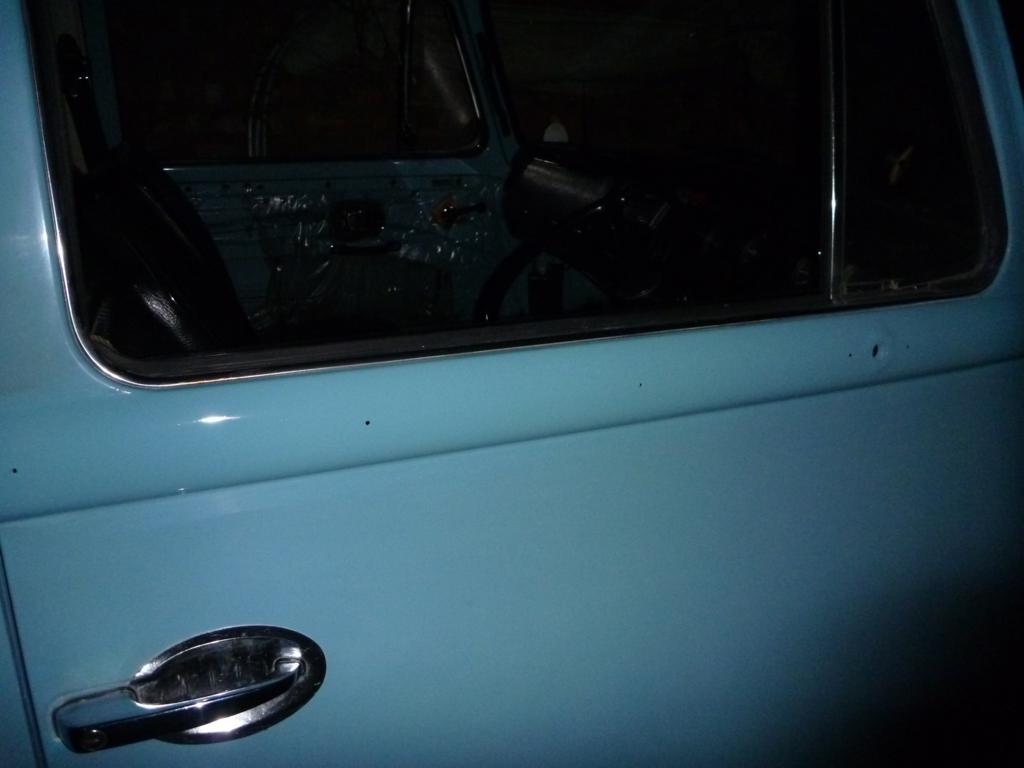
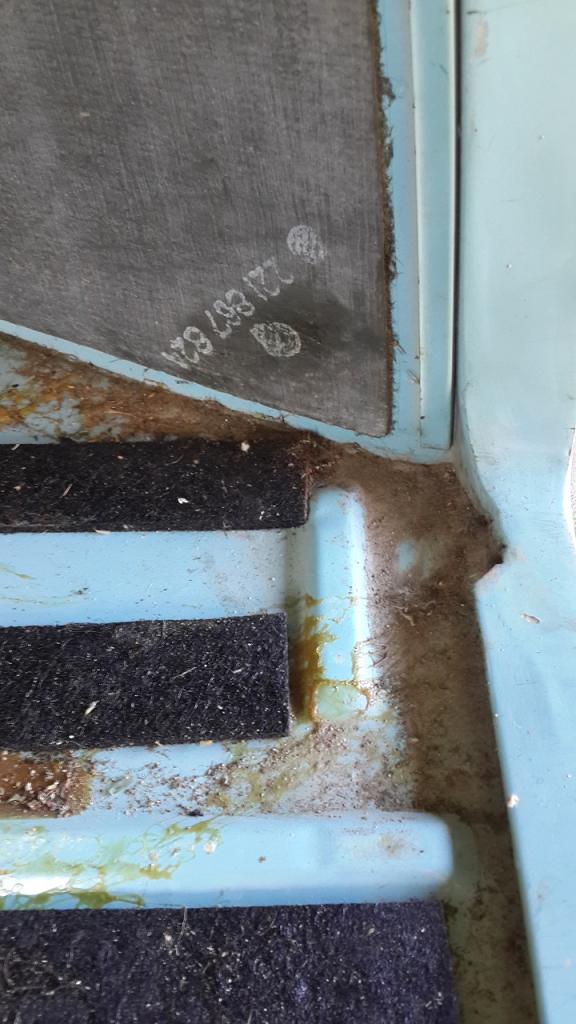
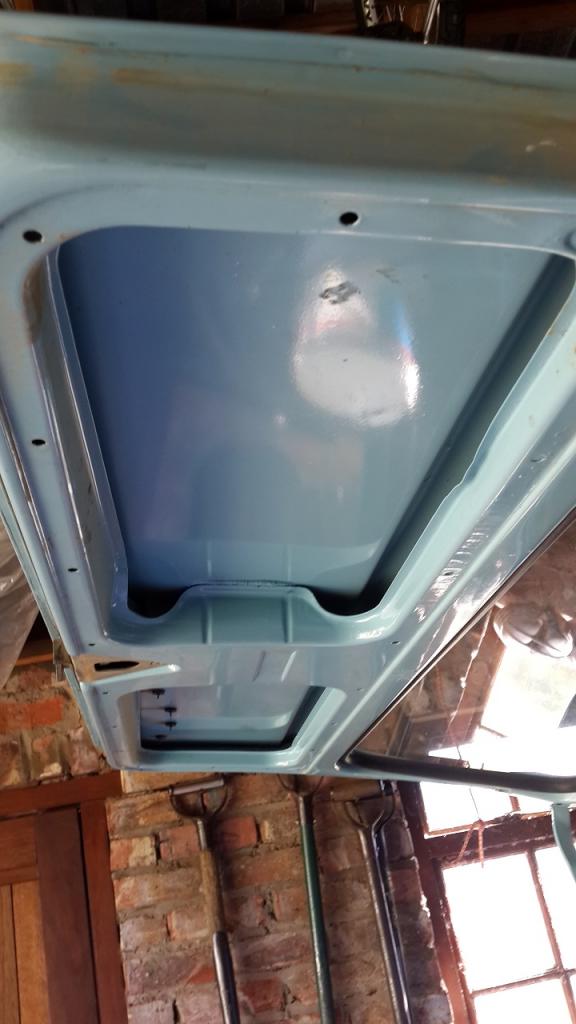
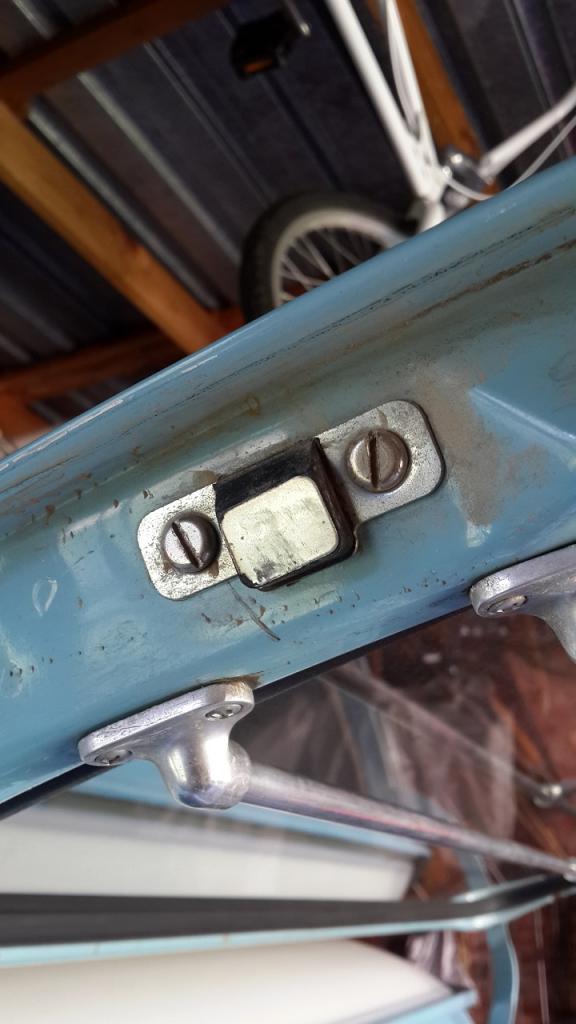
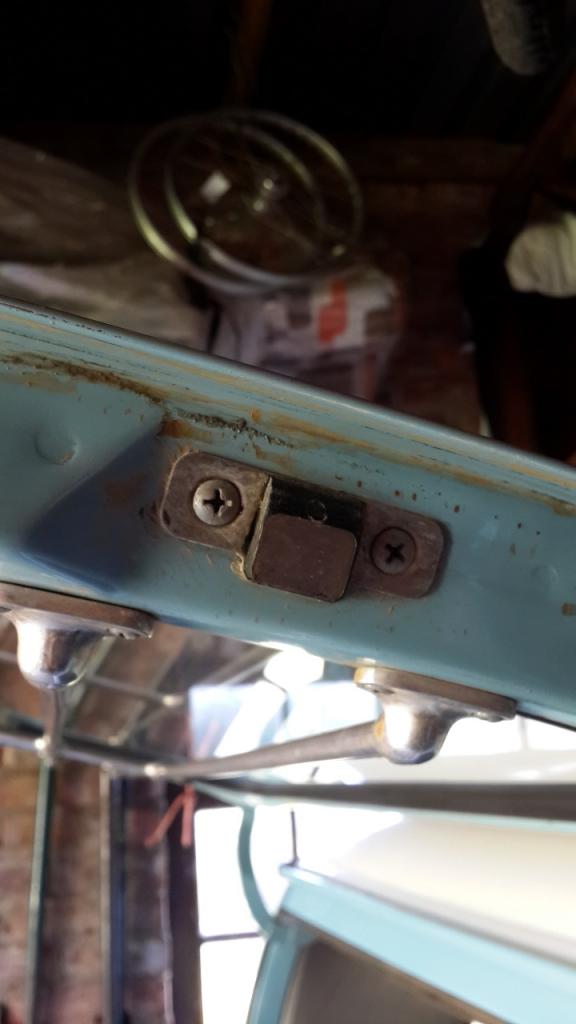
Nice work man, I'm very impressed with that vent and the results of the soda blasting. Have you had the paint colour matched yet ?

Re: '71 Deluxe Bay Adventure

Posted: Mon Aug 22, 2011 10:33 pm
by Drusky
Yes, 2K paint colour matched at city paint and tool I put a drop on the vent before blasting and it seems pretty much identical to me. Time will tell though :lol:

Re: '71 Deluxe Bay Adventure

Posted: Tue Aug 23, 2011 8:10 pm
by CooP
Congrats!

Re: '71 Deluxe Bay Adventure

Posted: Sun Feb 17, 2013 12:31 pm
by Drusky
Well, I have had these photies since 2011... Time they went up.

Loose rust removed like so and phosphoric acid rust converter combo undercoat applied.
ImageImage

The sandblasted bumper bits looked just as good as the soda blasted body panel bits.
ImageImage

Grill primed versus waistline bits unprimed. Pre priming treatment included a good blast of recycled 2K thinners through the spray gun to remove oily residue from fingers etc
ImageImage

RHS cab door looks quite good except for this sticky grey dusty grime. Note the colour of that orange sponge around the locking mechanism.
ImageImage

I spent a good deal of time on these bits after the undercoat step with some water paper. Your final spray job is only as good as your prep work.
ImageImage

Sliding door mechanism looks to be in good condition, I did not remove my door but I had the waist line panel off so I gave the area a good dose of clear Tectyl.
Image

Under bumper bits and front "bash plate" removed, cleaned up and hand painted with black hammerite before being reinstalled.
ImageImage

LHS door has a really nasty rust hole at the bottom, I clean it up and in doing so recover the possible cause of the mess. An old allen wrench. No surgery attempted. I clean up the loose rust and tectyl to stop the rust.
ImageImage

I can't help wondering why my LHS door sponge is grey when the RHS is orange.
Image

Bumpers are sprayed ivory white to match the original colour.
Image

Masking off the belt line is done with some plastic material left over from milk sachet production. It's much easier to work with than paper and the length is unlimited. A touch up gun will be used on the half moon air intakes. I don't expect a perfect result with all those angles (turbulence) but that's what finishing compound is for.
ImageImage

I manage to get some overspray on the inter panel seal rubber but the halfmoon area looks a lot neater.
ImageImage

The belt line was done on all sides the same day. No spray booth just hot weather with minimal wind.
ImageImage

End results look good. My ultimate plan is to preserve as much og paintwork as possible.
ImageImage
ImageImage
ImageImage
ImageImage

Re: '71 Deluxe Bay Adventure

Posted: Sun Feb 17, 2013 4:58 pm
by jolas
Excellent results there and great pics 8)

Re: '71 Deluxe Bay Adventure

Posted: Wed Oct 22, 2014 11:40 am
by Drusky
The slow resto continues. I have investigated the possibility of repainting the entire bus but after exposing the pristine tail gate and dog box body panels I cannot bring myself to do this. I will continue with the micro repairs to preserve the original paint as far as possible. I will in this way also preserve all the rubber chafe blocks and foam pads.

This really is such a nice bus! it's a pity the the guy who had it in Wilderness was so careless with it. I believe the bus came from upcountry (NC).

Pics below are all from the dog box and rear hatch. What are those wedge shaped fittings on the sides of the hatch for?
Image
Image
Image
Image
Image
Image
Image
Image
Image
Image
Image
Image