Page 2 of 7
Re: Overhauling South Africa
Posted: Tue May 08, 2012 6:15 pm
by IMPI
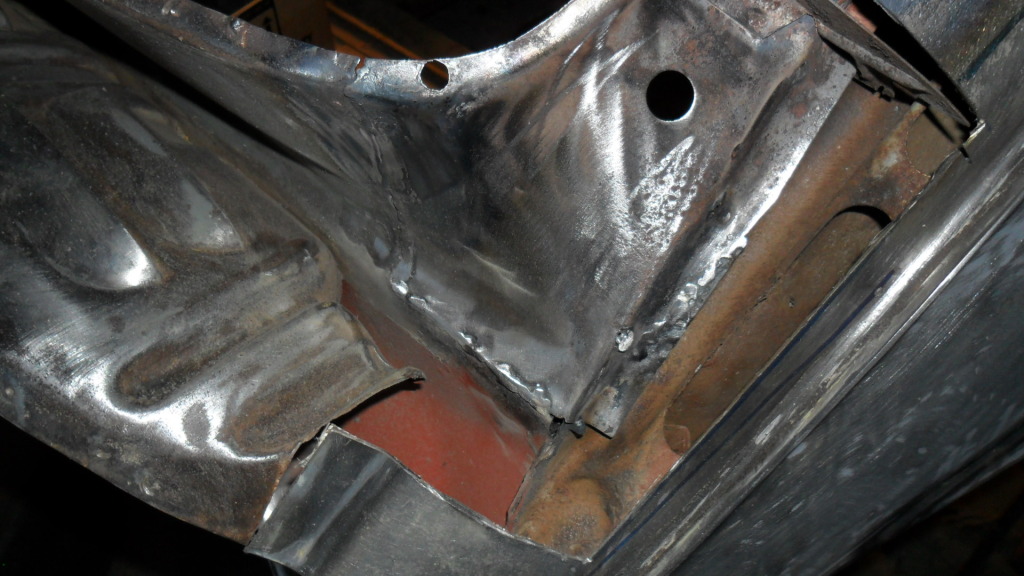
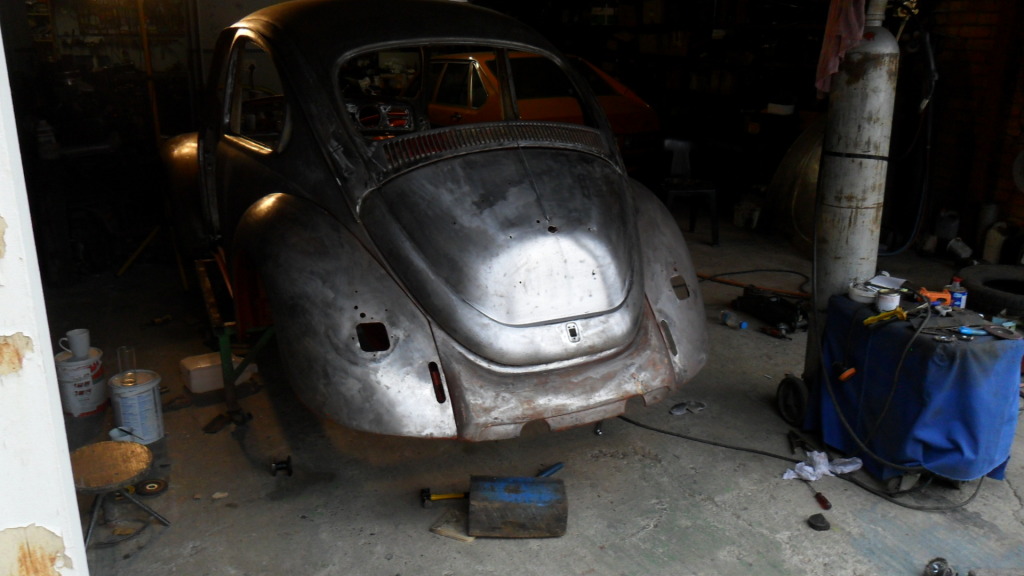
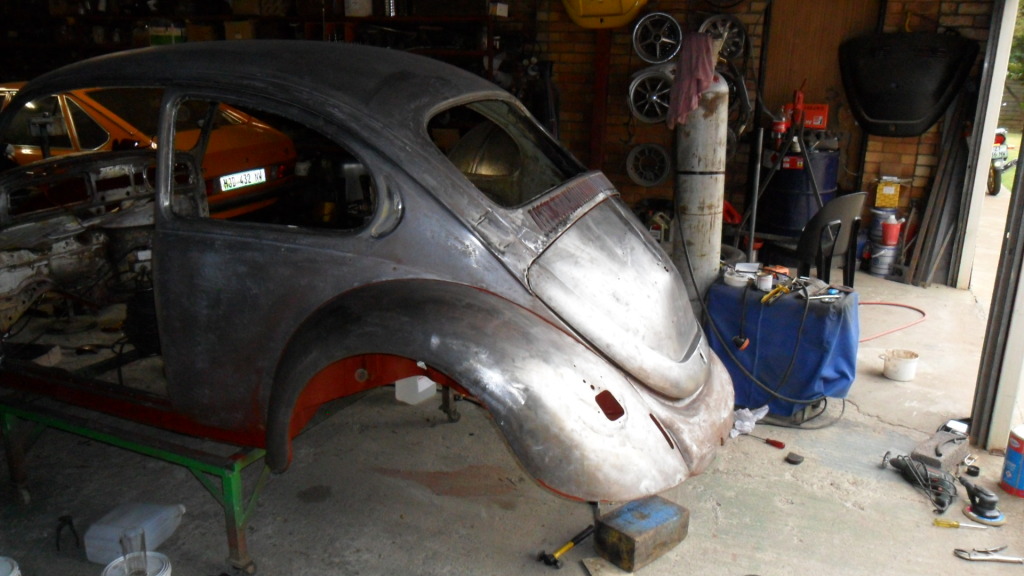
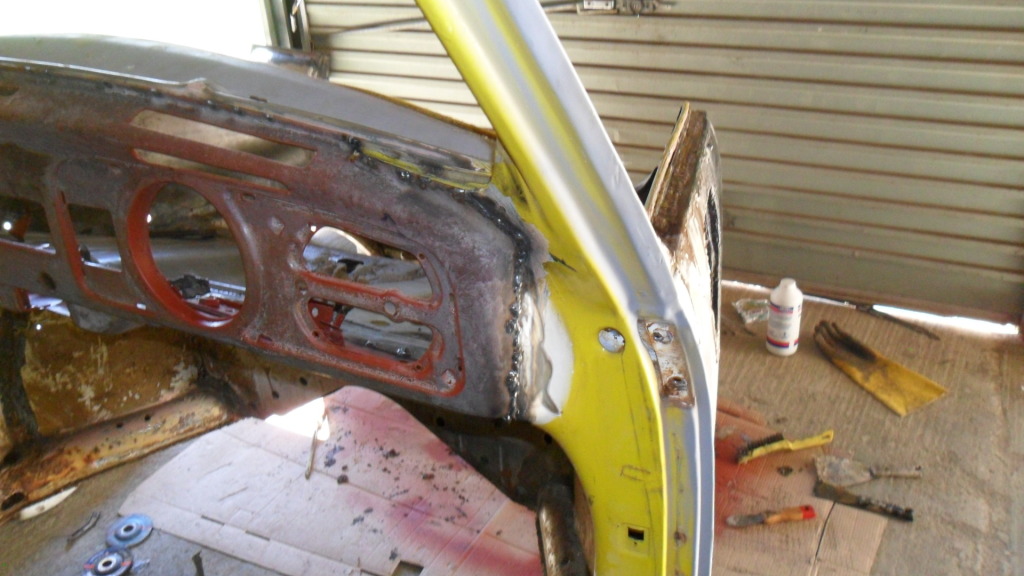
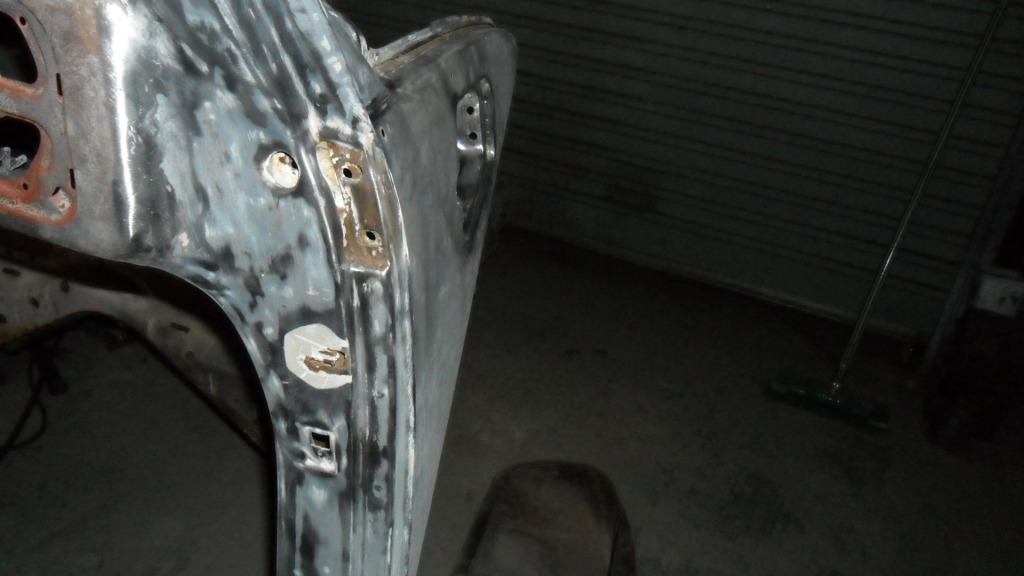
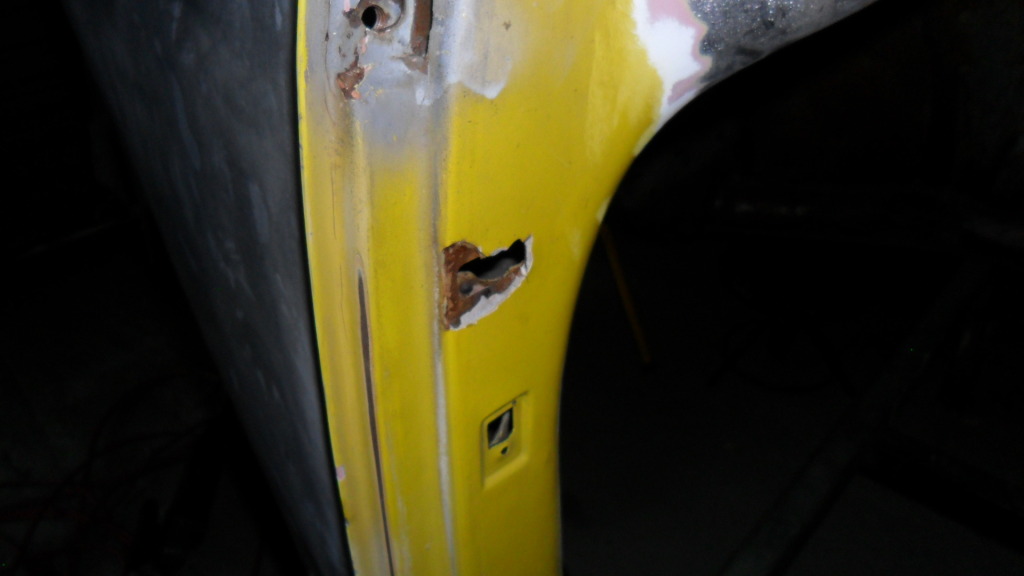
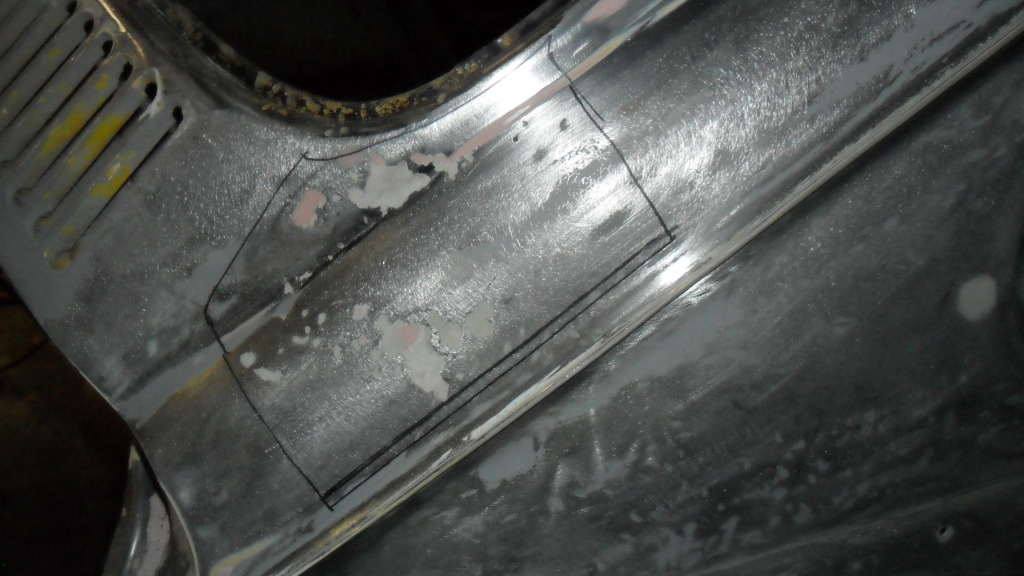
Hi still removing layer upon layer of paint but some welding also took place
Apron welded in
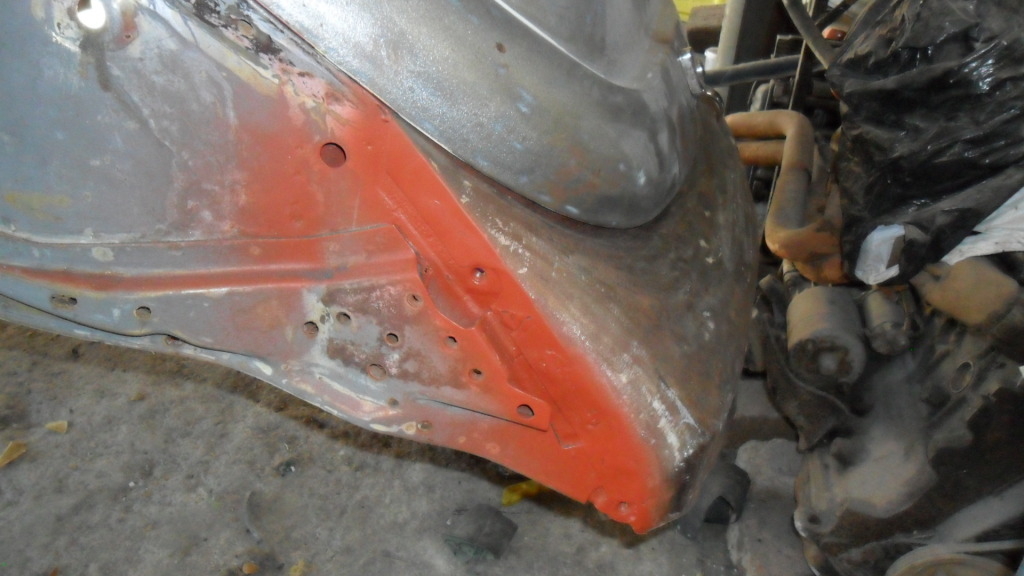
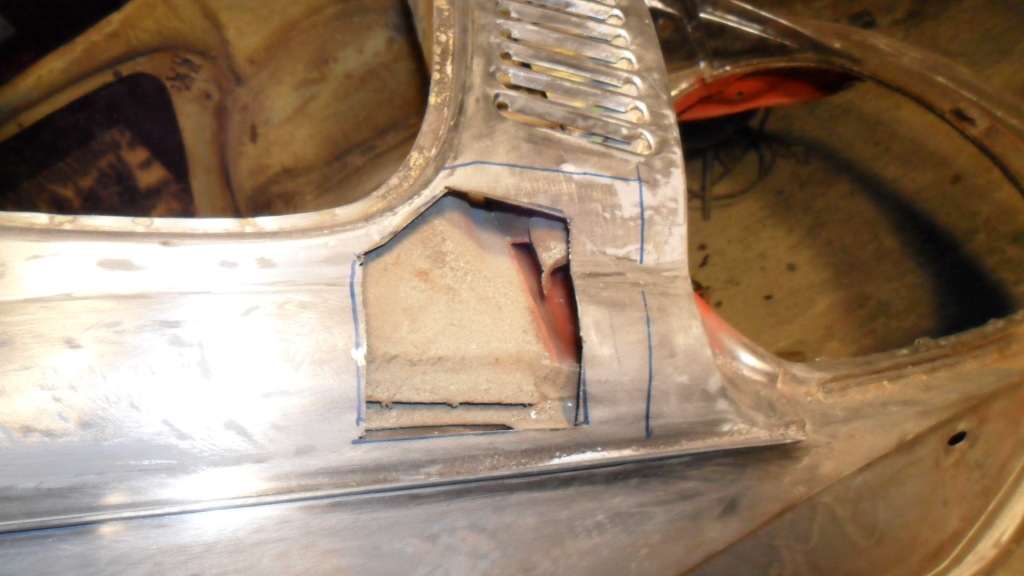
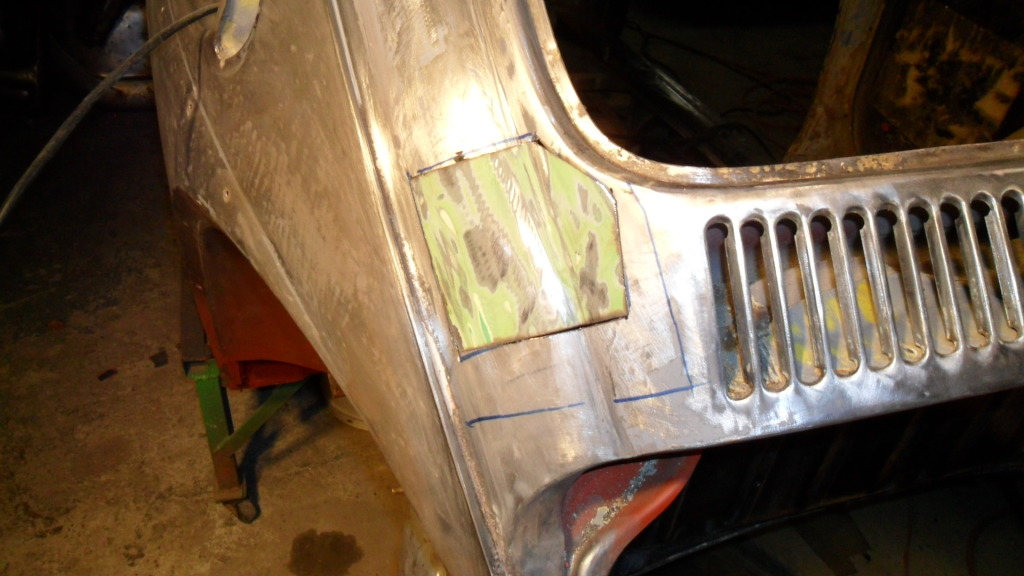
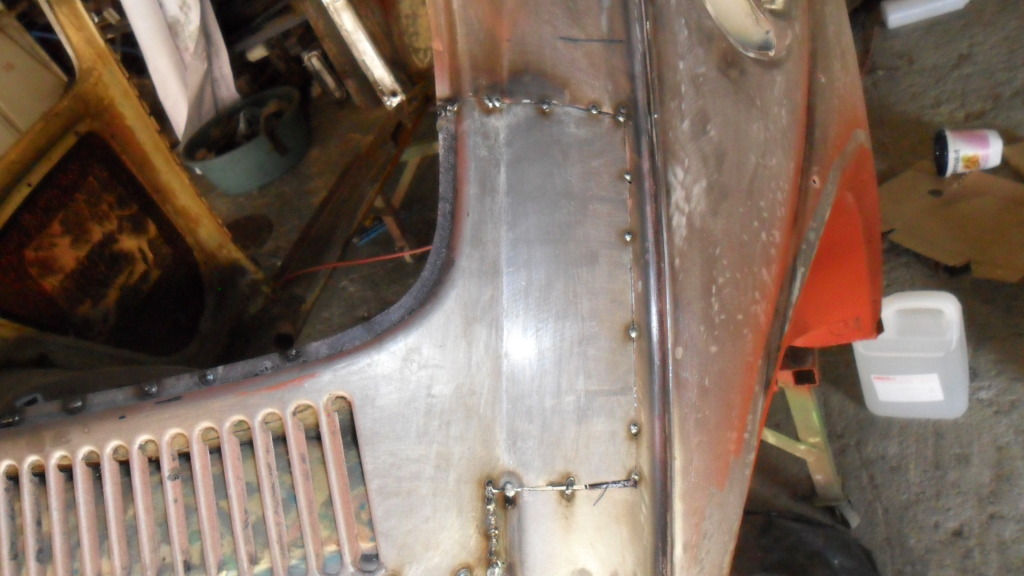
some fender flanges also neede the welder
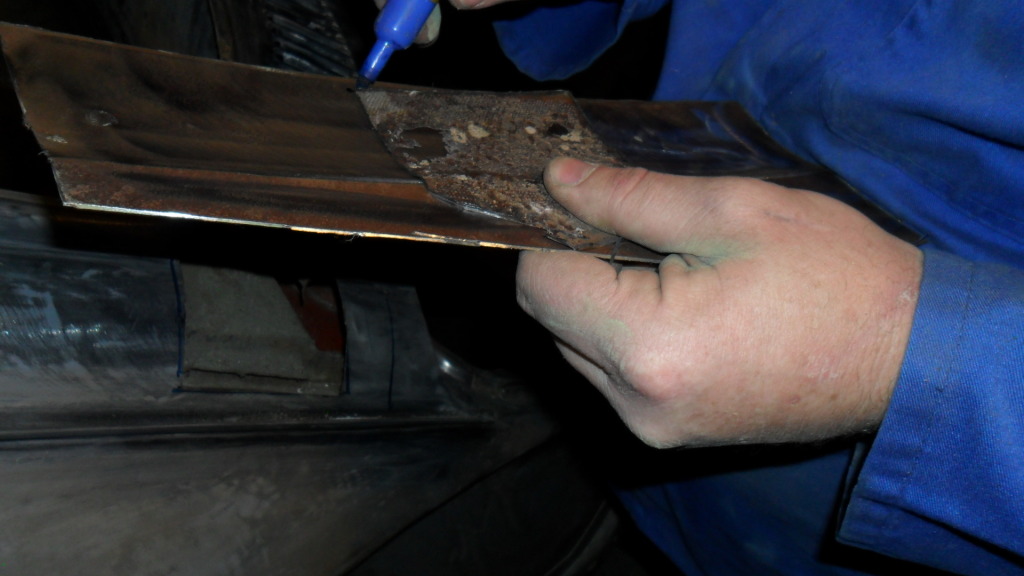
old beetles also suffer from metal fatigue and we needed to do some crack repairs
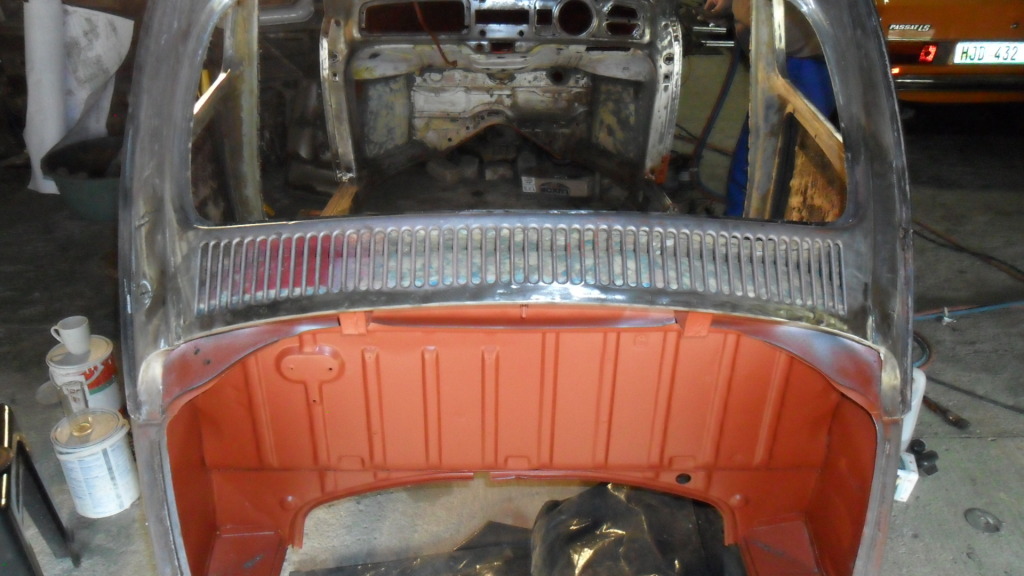
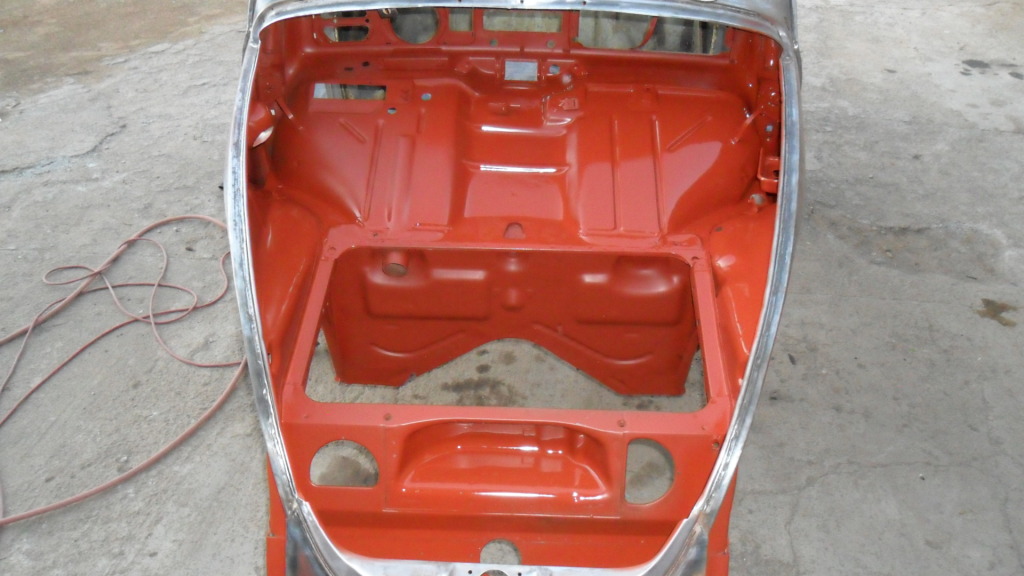
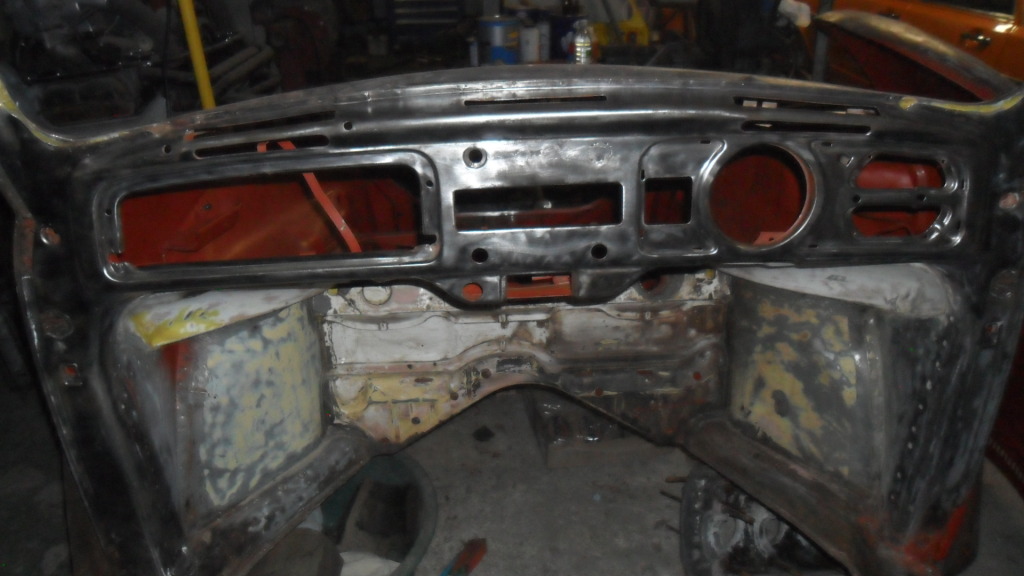
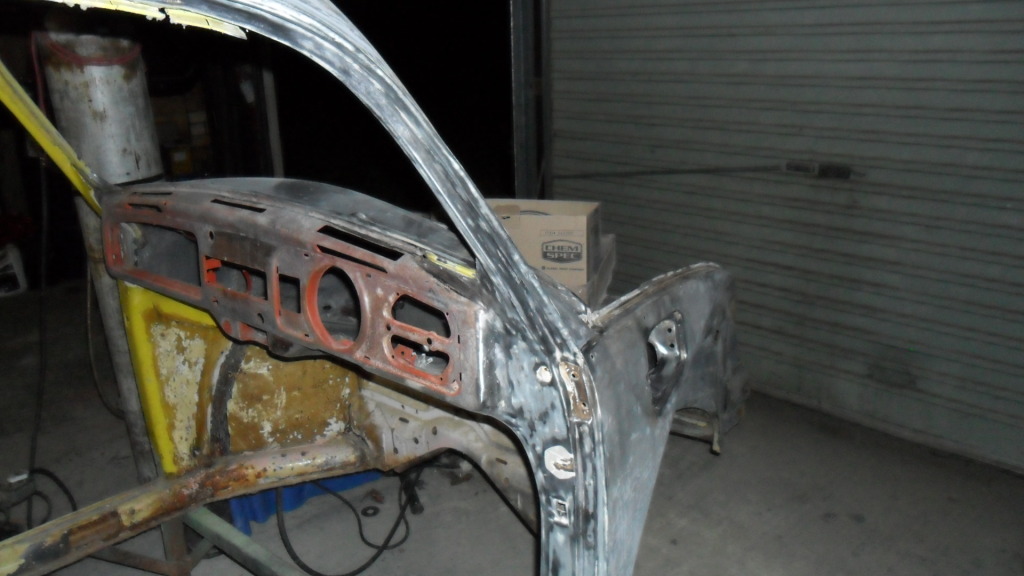
Dashboard finally welded in and ground down
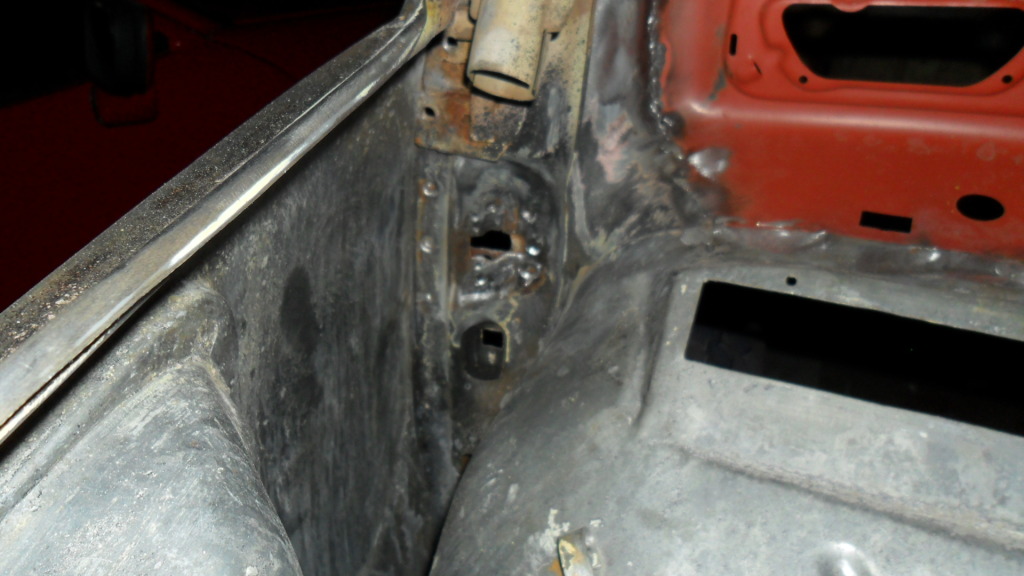
Then we realised the PO used one piece windows and cut the doorstops off and filled the holes with putty
getting the backside off in order to replace was a real bitch
Armand

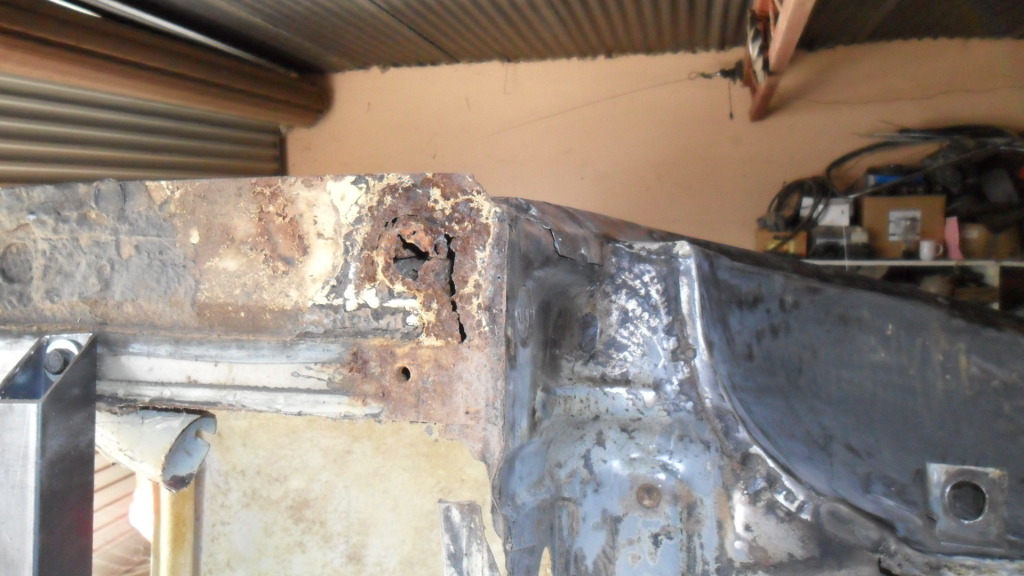
Under all the putty a 70s beetles trademark roof rust
Re: Overhauling South Africa
Posted: Tue May 08, 2012 7:14 pm
by CooP
Looking good, looks like a lot of work.
Re: Overhauling South Africa
Posted: Tue May 08, 2012 10:01 pm
by Eugene Pfeil
What did you do with the split window kit
Re: Overhauling South Africa
Posted: Wed May 09, 2012 8:27 pm
by piesang
I like it to see when love go's in to a project and that you can see in the work that's put in to small detail.
keep up the good work
Re: Overhauling South Africa
Posted: Sun May 20, 2012 1:38 pm
by IMPI
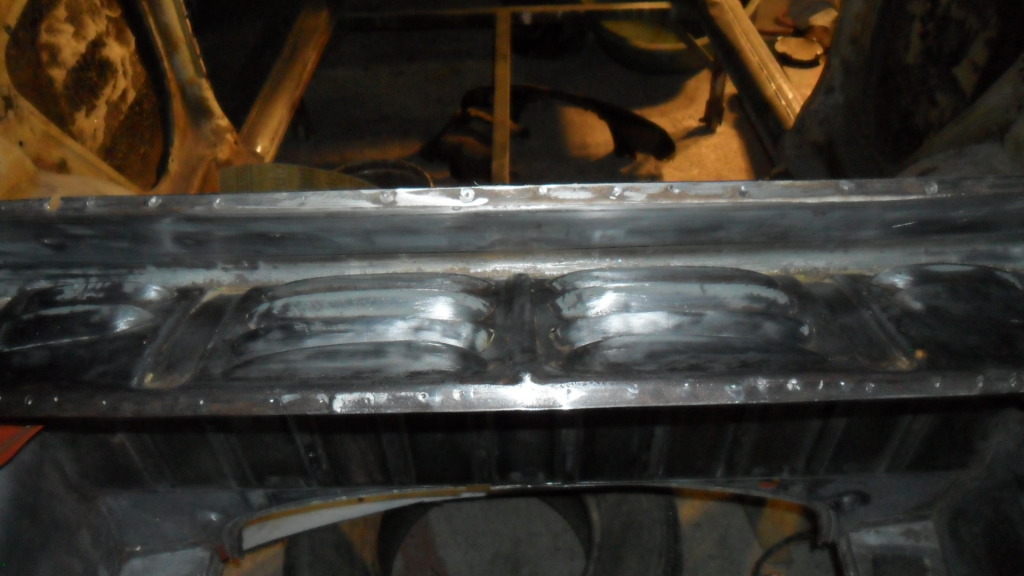
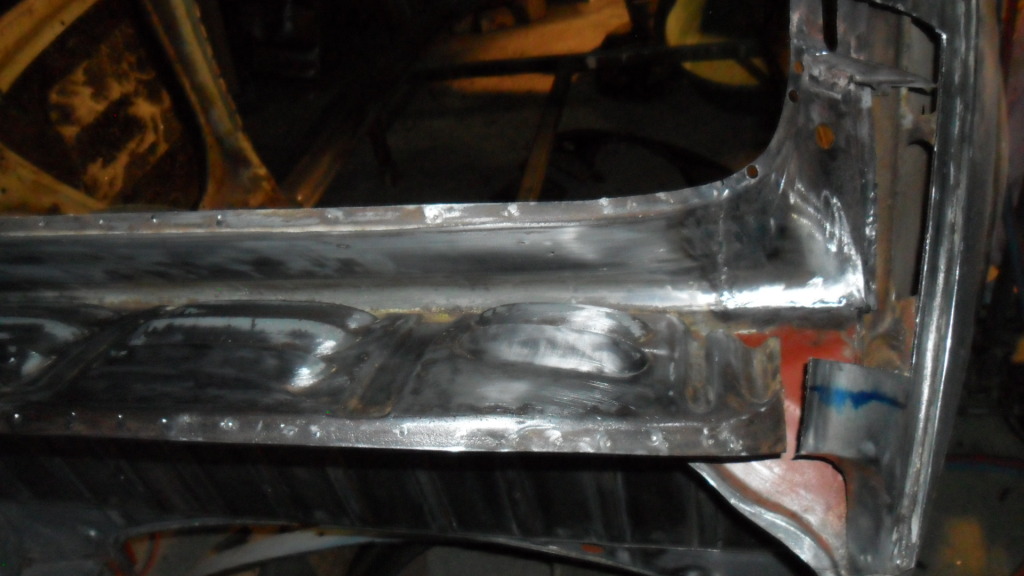
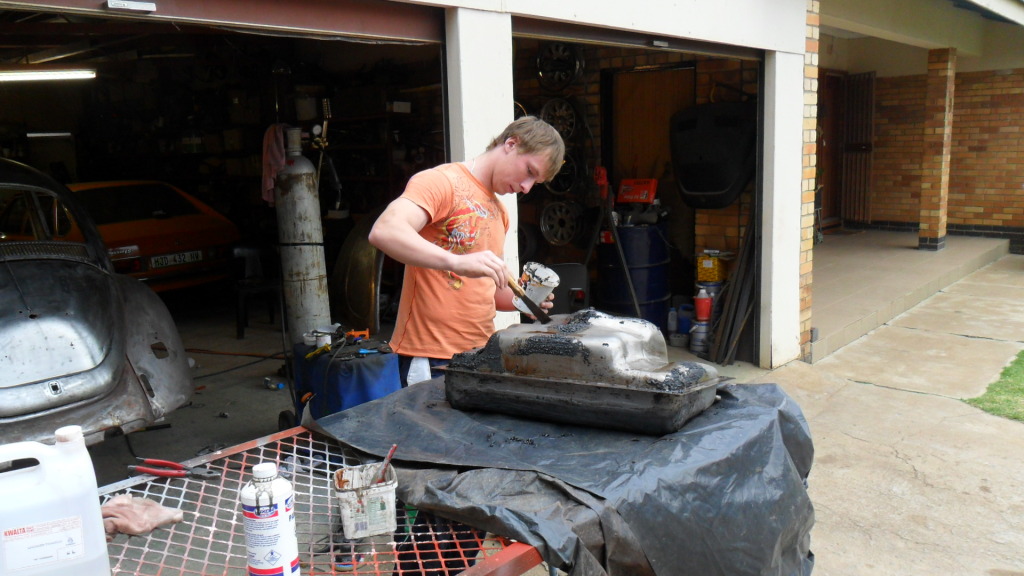
Hi all
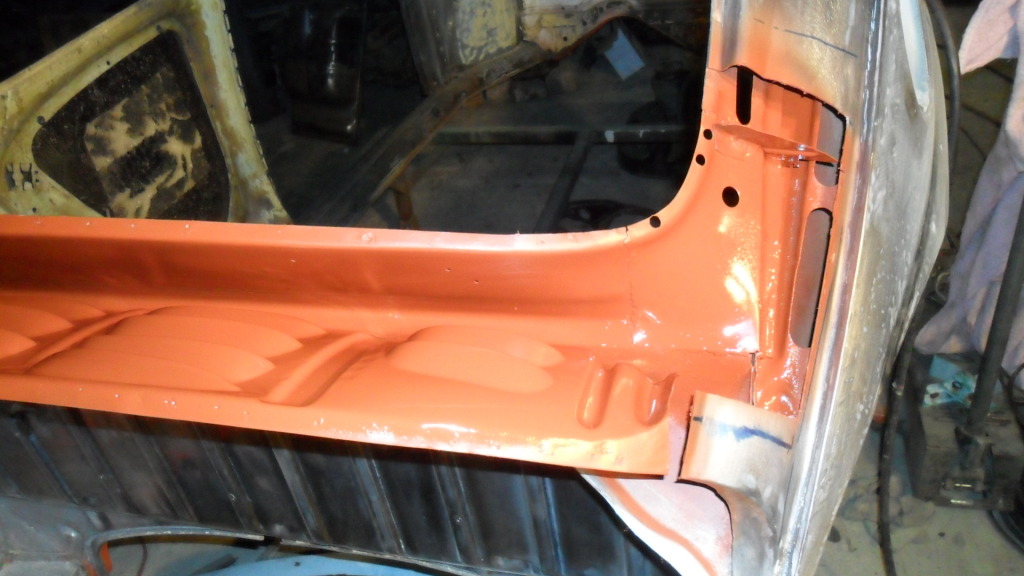
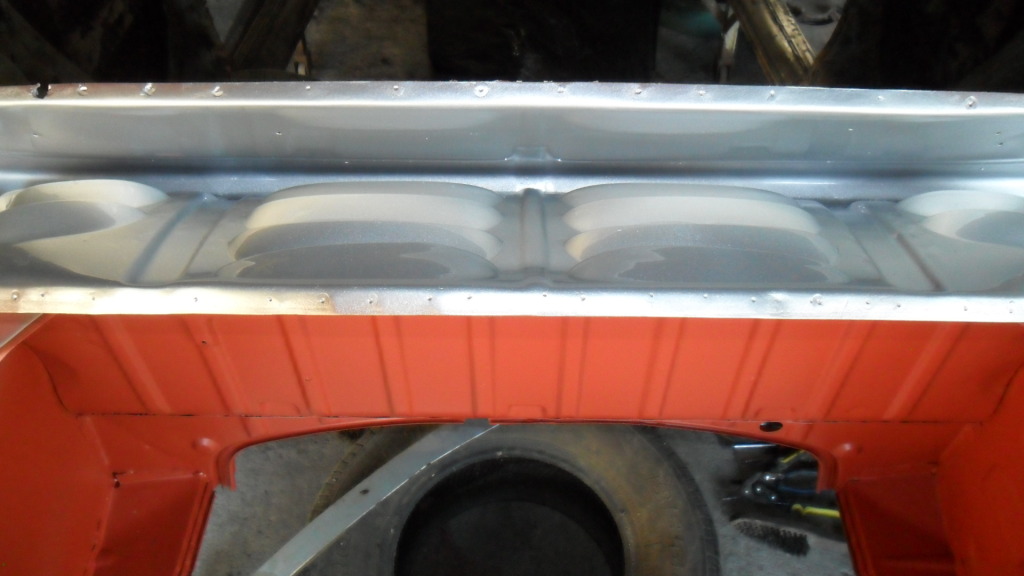
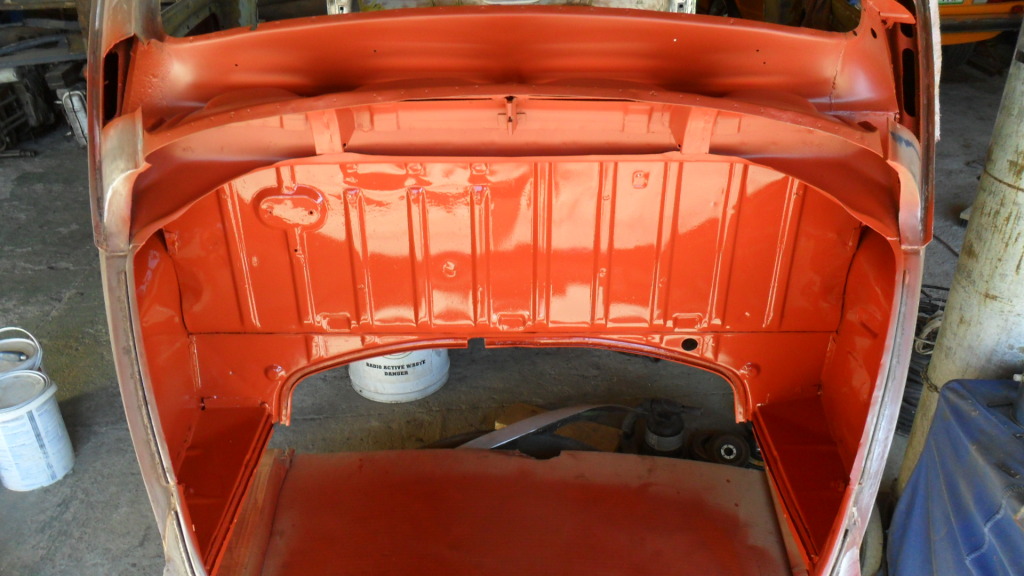
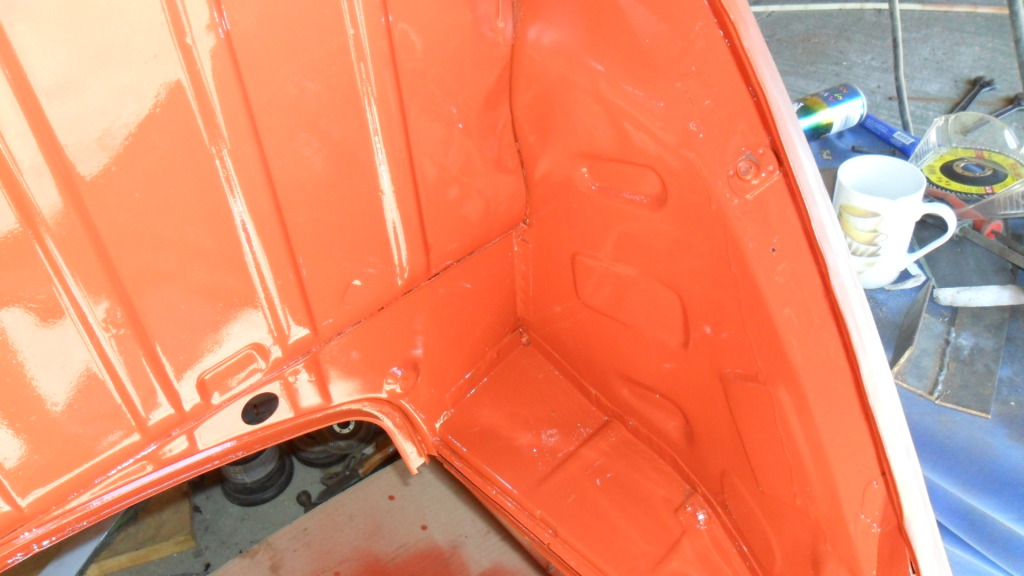
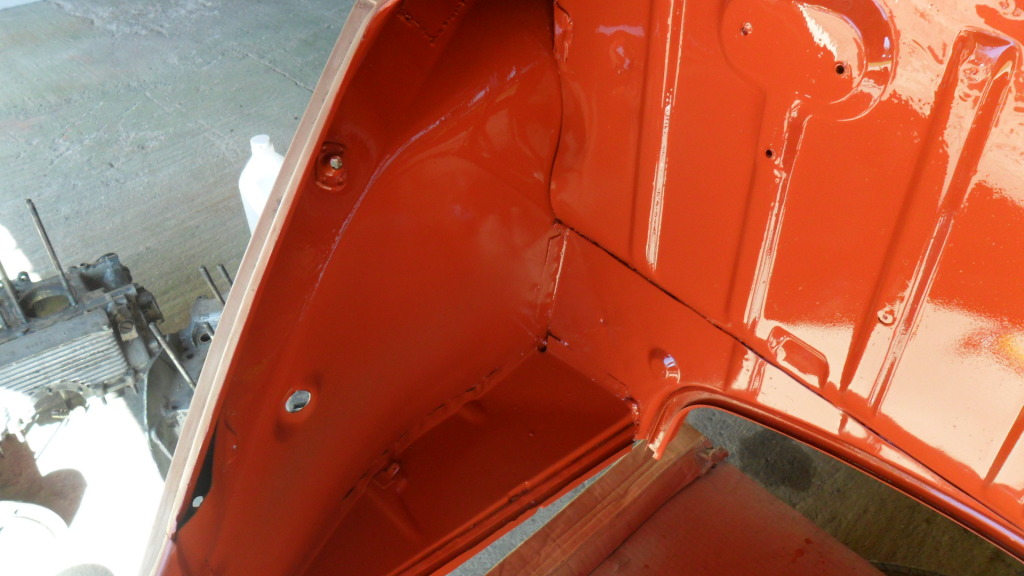
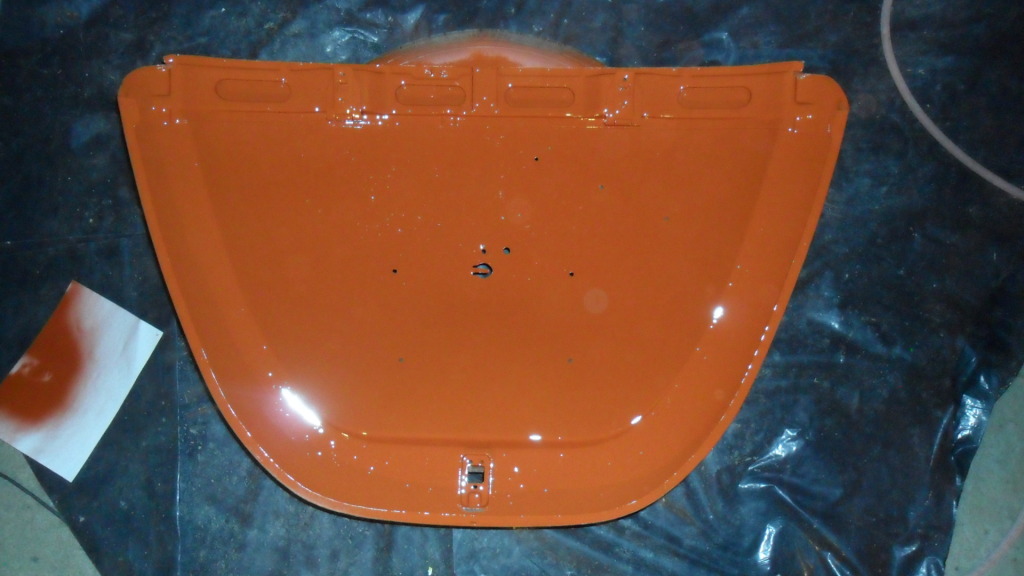
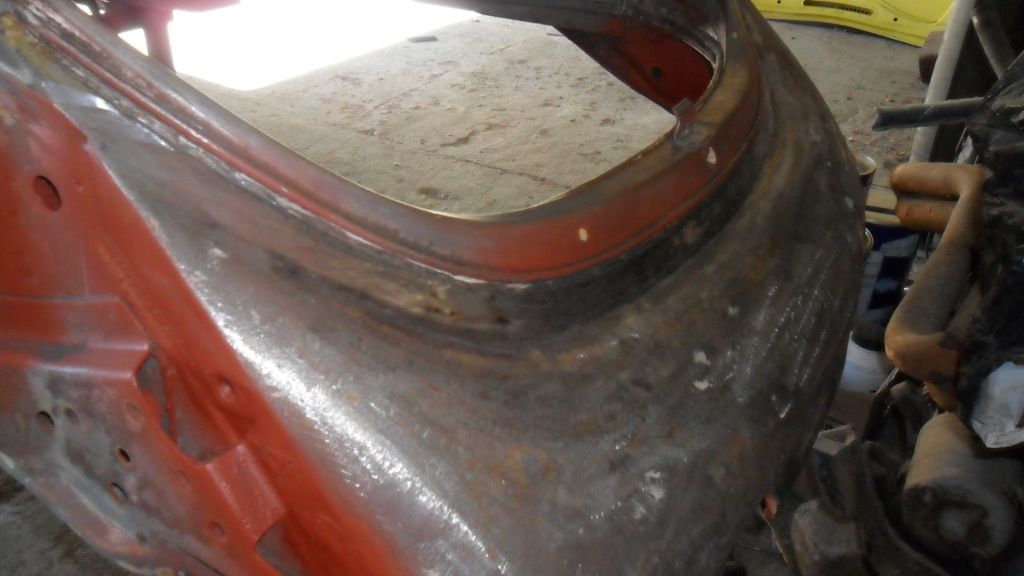
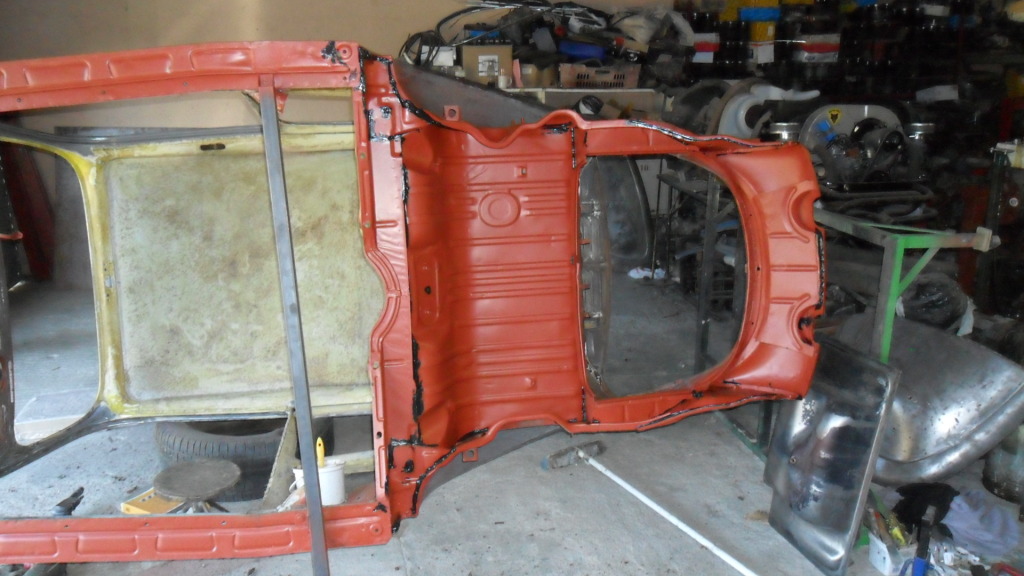
We got the doorstops welded in some more rust repair and finally a good coat of etch primer on the underside all the seams were sealed with polyurethane as used to glue in windshields
some rust in heater channel
the split kit is still at home I am thinking of converting it into a hatch that would fit a std beetle
Armand
Re: Overhauling South Africa
Posted: Sun May 20, 2012 7:22 pm
by jetta16v
Looks good bud. Just started my 76 S project aswell, so i know its alot of work
Re: Overhauling South Africa
Posted: Sun Jul 01, 2012 6:46 pm
by IMPI
Re: Overhauling South Africa
Posted: Sun Jul 01, 2012 8:31 pm
by Donovan D
Really nice work ! What do you put on the bare metal to protect it from rust ?
Also what welder are you using.
Re: Overhauling South Africa
Posted: Sun Jul 01, 2012 8:46 pm
by IMPI
So far the northwest weather has been kind but I have seen people use parrafin to protect the metal.
I am using a SIP mig welder with 0.6mm wire
I also use oxy acetalene on occasion
Armand
Re: Overhauling South Africa
Posted: Mon Jul 02, 2012 9:27 pm
by retrovan
Well done Armand,
Love the dedication you put into a project, this will surely rub off on the youngster.
Keep the photos coming, will help all with their resto's.
Herman
Re: Overhauling South Africa
Posted: Tue Jul 03, 2012 12:00 pm
by splitfan
This is a verry cool build nice to see Armand and his "impi's" in action !

Re: Overhauling South Africa
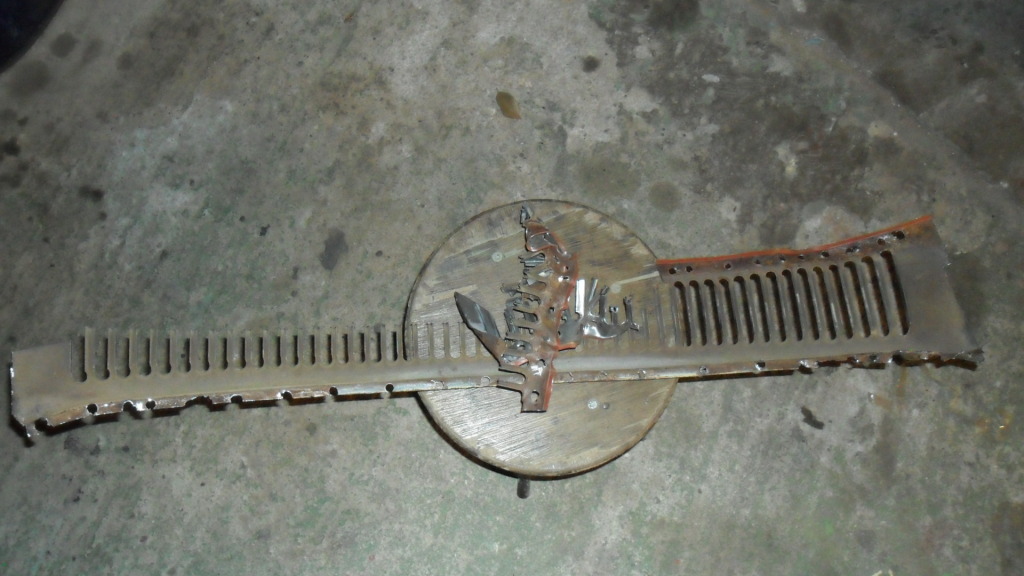
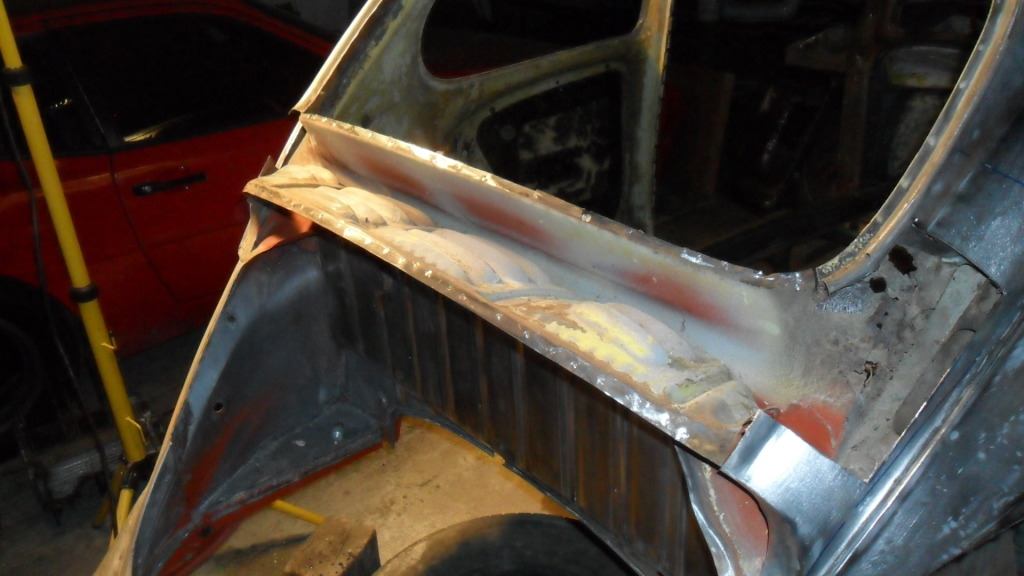
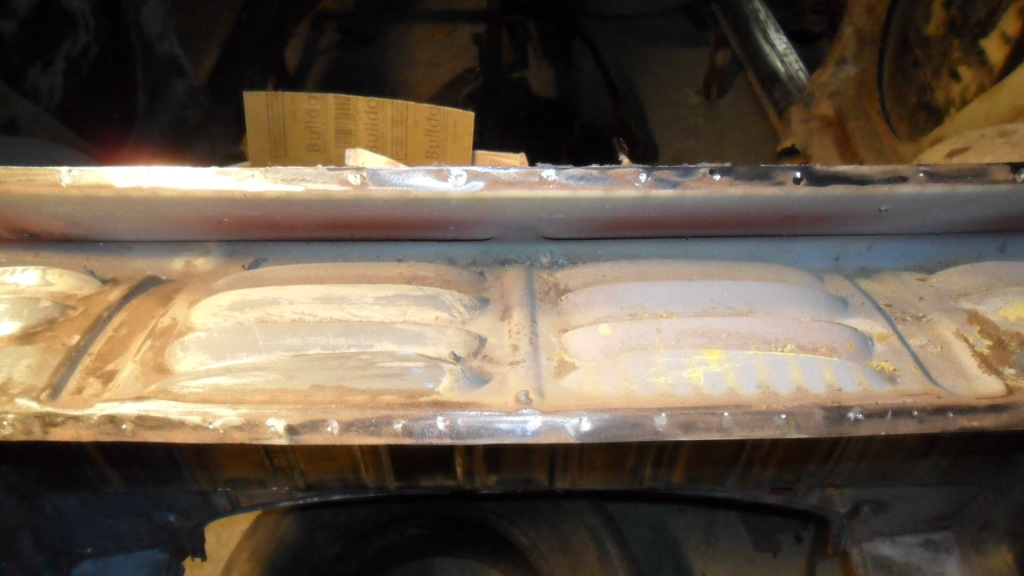
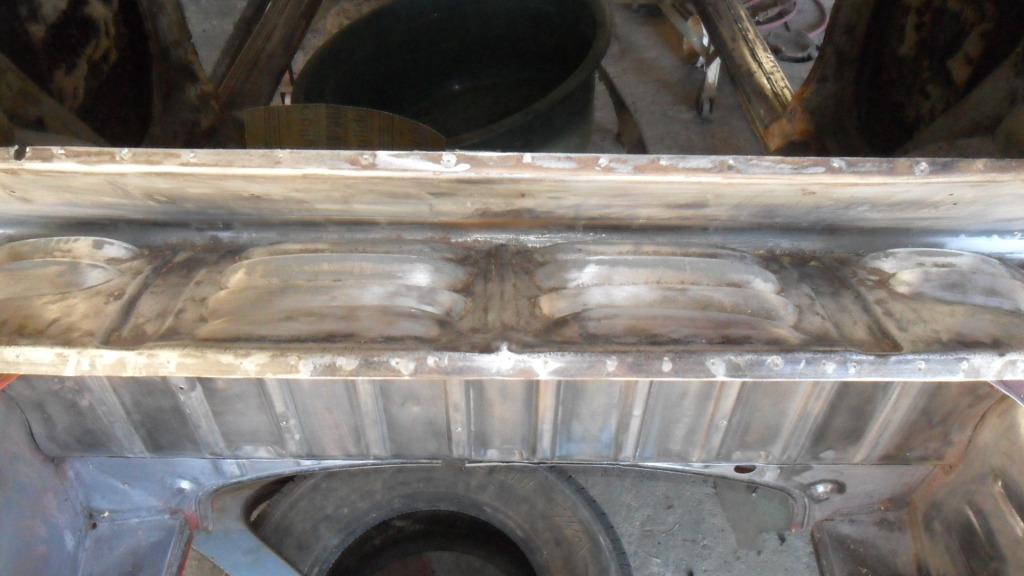
Posted: Tue Jul 10, 2012 6:50 pm
by IMPI
Re: Overhauling South Africa
Posted: Wed Jul 11, 2012 7:40 am
by Ron&Gill
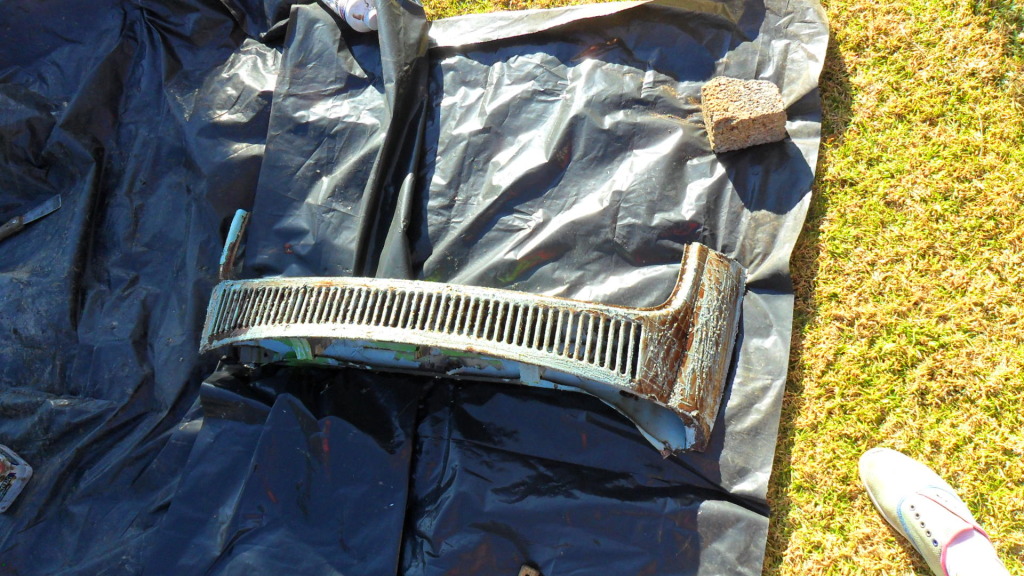
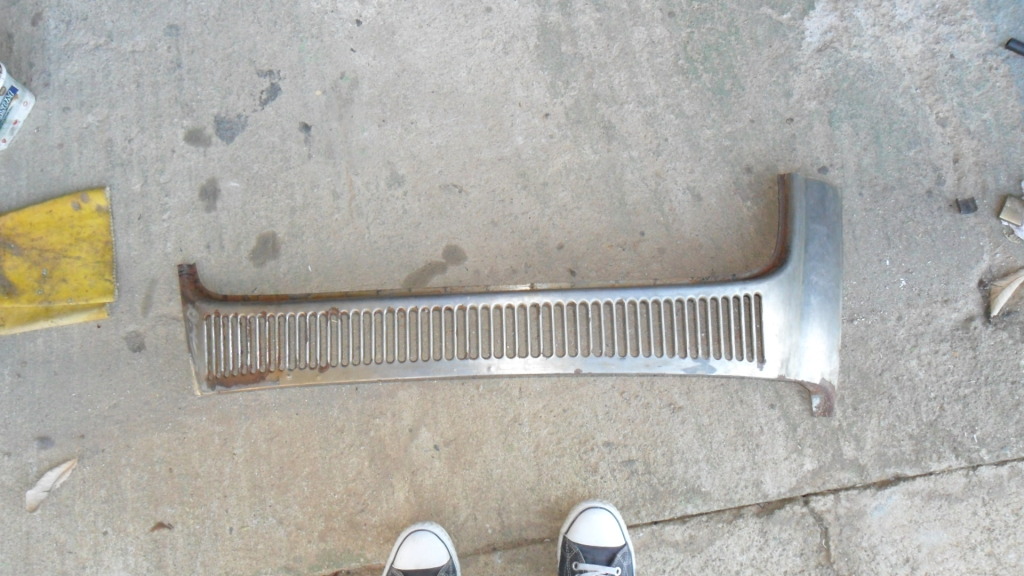
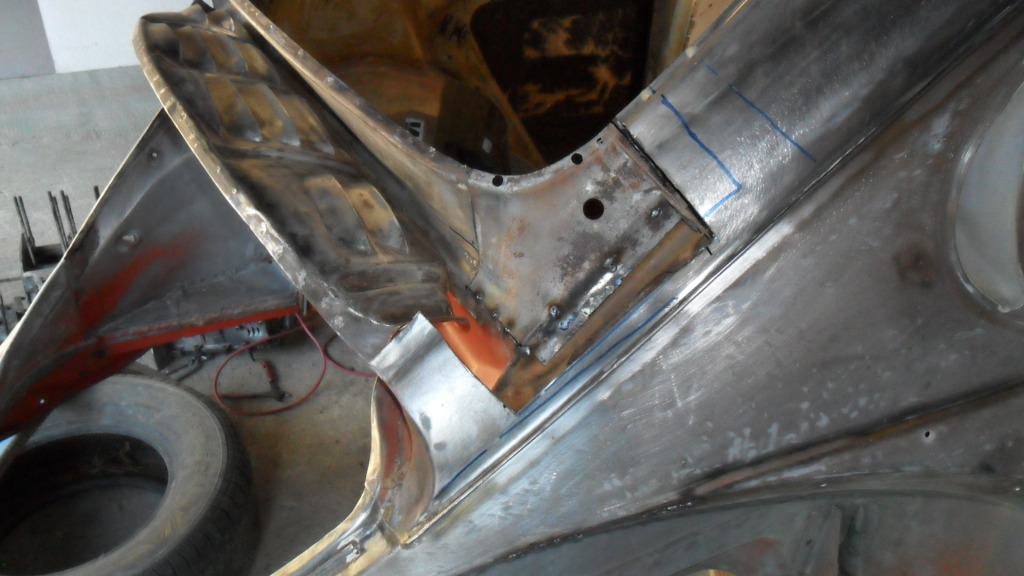
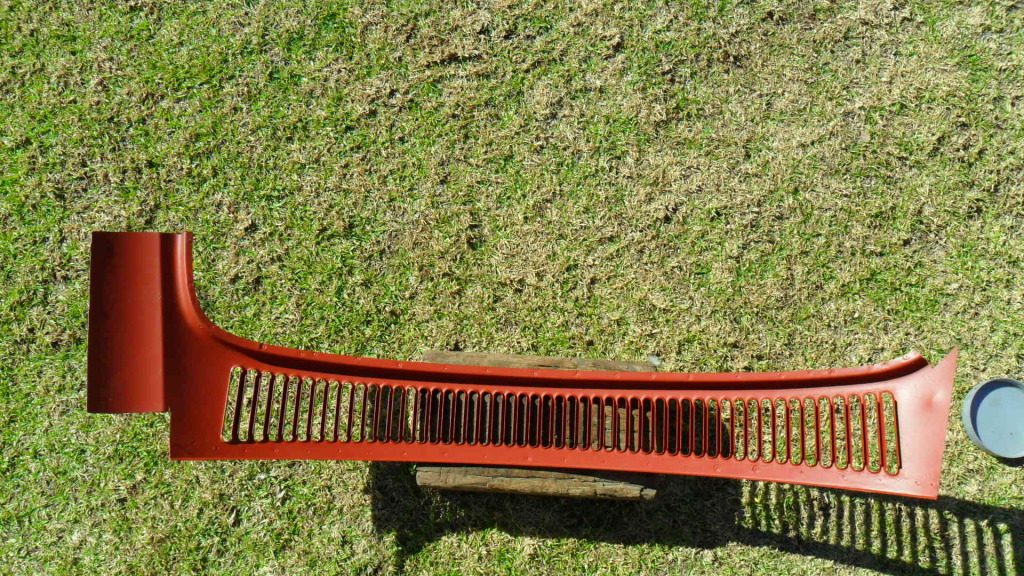
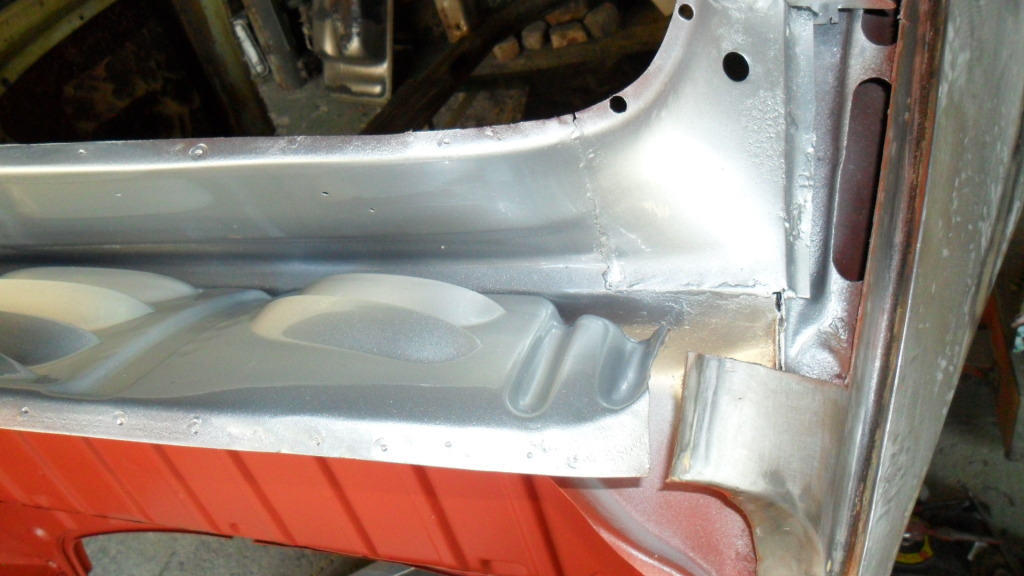
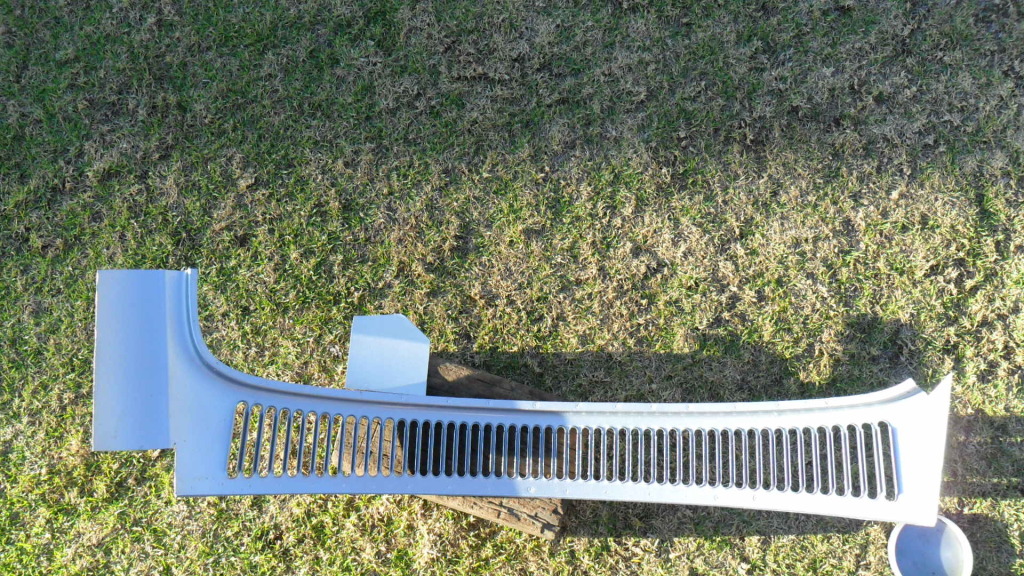
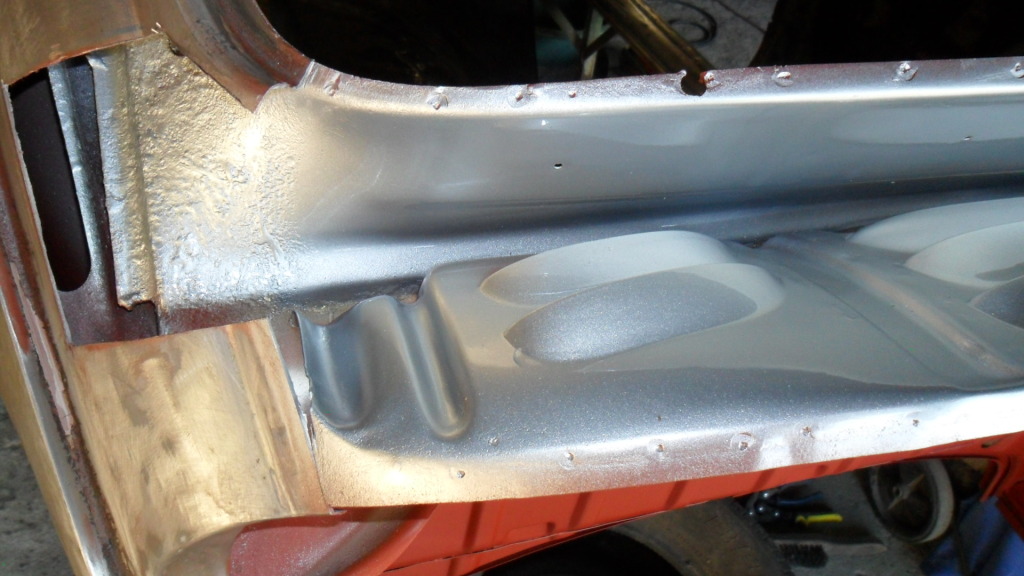
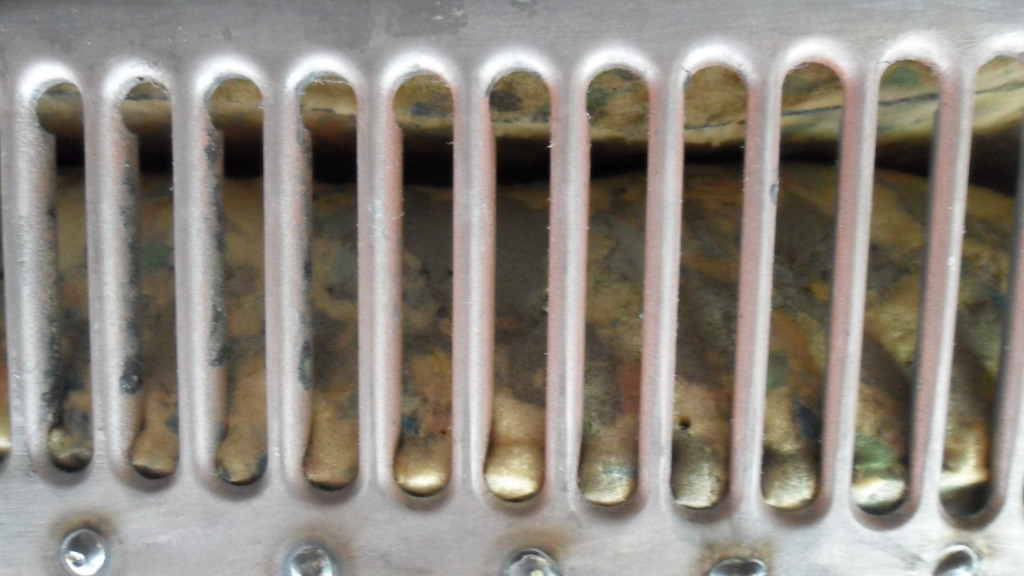
But... but now after you've welded the vents back in, isn't it going to rust underneath where you welded it, because all the paint's burnt off and you can't get to it to fix it?

Re: Overhauling South Africa
Posted: Wed Jul 11, 2012 8:42 am
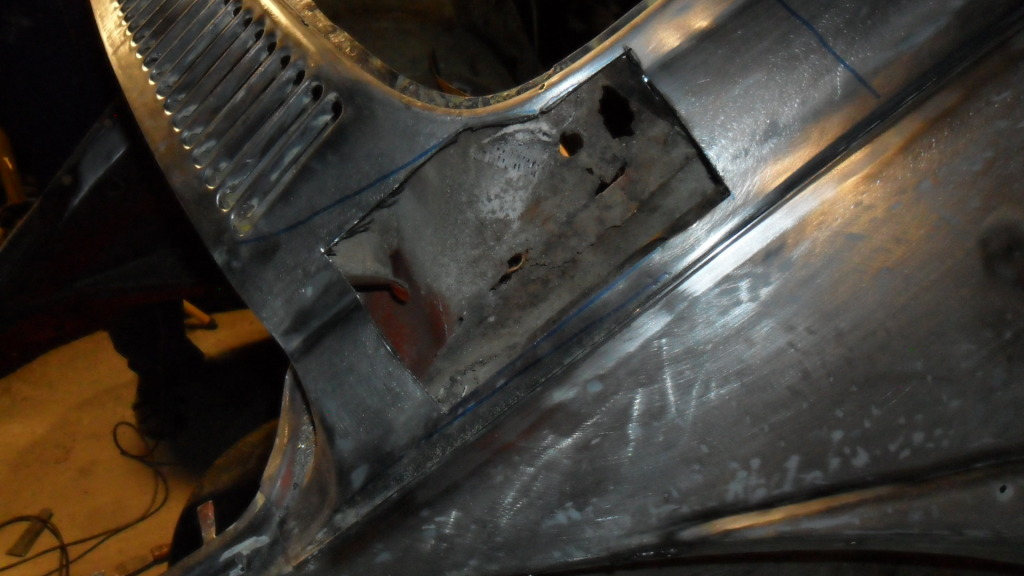
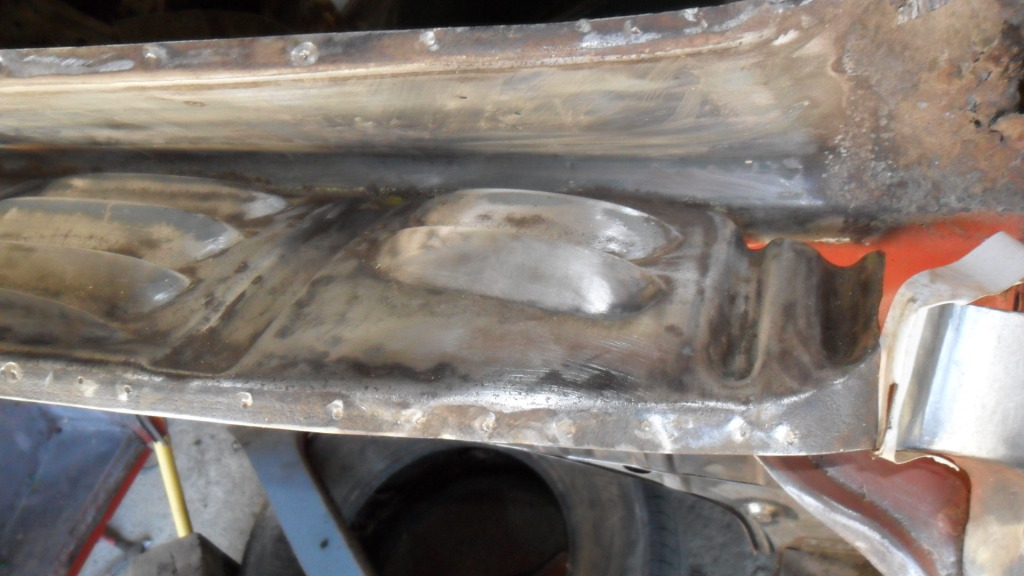
by IMPI
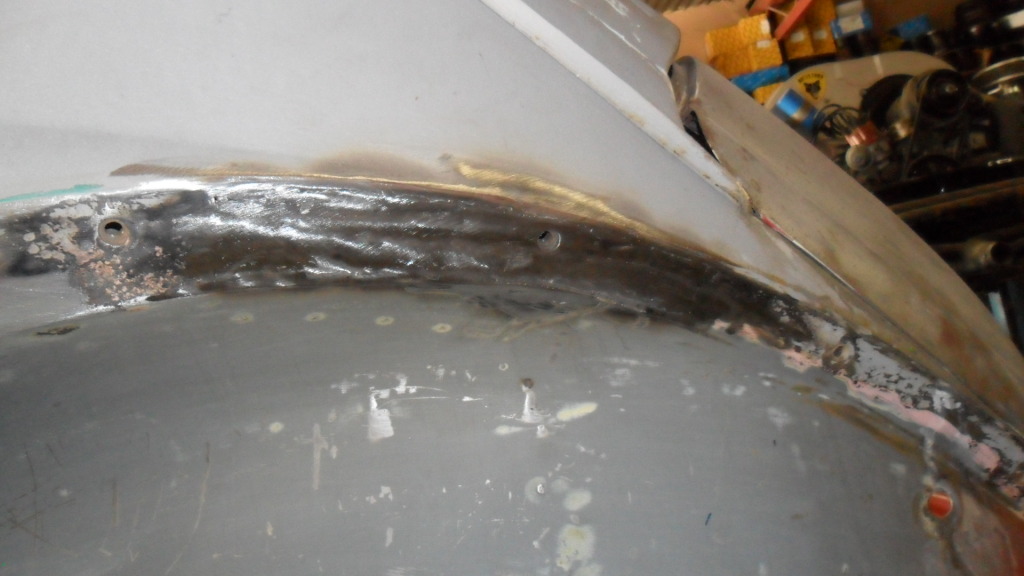
Hi you are correct in that there will still be exposed areas of steel after welding but... VW only painted the bodies with all this assembled so factory paint also did not reach these areas. when we removed the panels there was no paint on the undersides of the louvres whatsoever. The factory only relied on the dipped primer which was applied to the bodies by immersion back in the day. We minimised the heat into the panels by using a wet rag after each weld thus minimising damage to the primer and paint I will be using some tectyl to seal this area after paint.
Armand
Re: Overhauling South Africa
Posted: Wed Jul 11, 2012 10:47 am
by Ron&Gill
Hi Armand, yes, that's why I asked. I know this is a favourite rust spot for Beetles and I heard it said that there is a "sponge" of foam inside the C-pillar at that location too, apparently to reduce noise. It retains moisture and that's why in Cape Town almost all Beetles have holes in the C-pillars. When I looked at your repair, I thought... Hmm, that will be an inprovement until I figured that the welding will burn the paint off.
Does Dolf's method have the same draw back? I did not see how he put the interior panel back.
Maybe spraying Tectyl into the space would help? It Tectyl even available still?