Page 3 of 7
Re: 75 Fleetline Single Cab
Posted: Mon Oct 14, 2013 5:30 pm
by jolas
Some pics of the night before the trip to the sandblaster early the next morning. Starting off with Sean cutting off the lower nose section that initially looked ok

Leaving with his single cab to the sand blaster at sun up so that I could be first in the queue, a most bleak and depressing working environment - truly - cannot think of a more terrible job and/or place to work

Spent the whole damned day there. Ugh !
Unloaded the pick-up that evening, we decided to it would be a wasted opportunity to return the hired trailer without having sandblasted my pick-up, so we loaded my single cab onto the trailer later that night. Sean started to apply primer and carried on into the wee hours of the morning while I carried on cutting out my floor rusted floor sections, etc.
Re: 75 Fleetline Single Cab
Posted: Tue Oct 15, 2013 9:31 am
by Drusky
Yebo! Gorillas in the mist.
Re: 75 Fleetline Single Cab
Posted: Tue Oct 15, 2013 10:25 pm
by retrovan
Sean, now that you have cut out so much, she still looks solid, thought she would have been very rotten under the skin.
Nice work, see you using a lot of original parts ??
thanks for the inspiration
Herman
Re: 75 Fleetline Single Cab
Posted: Mon Dec 16, 2013 10:59 pm
by sean
This is just an update for acpaterson....
Perhaps you would like to see a real lemon of a VW.
Some more replacement panels have arrived.

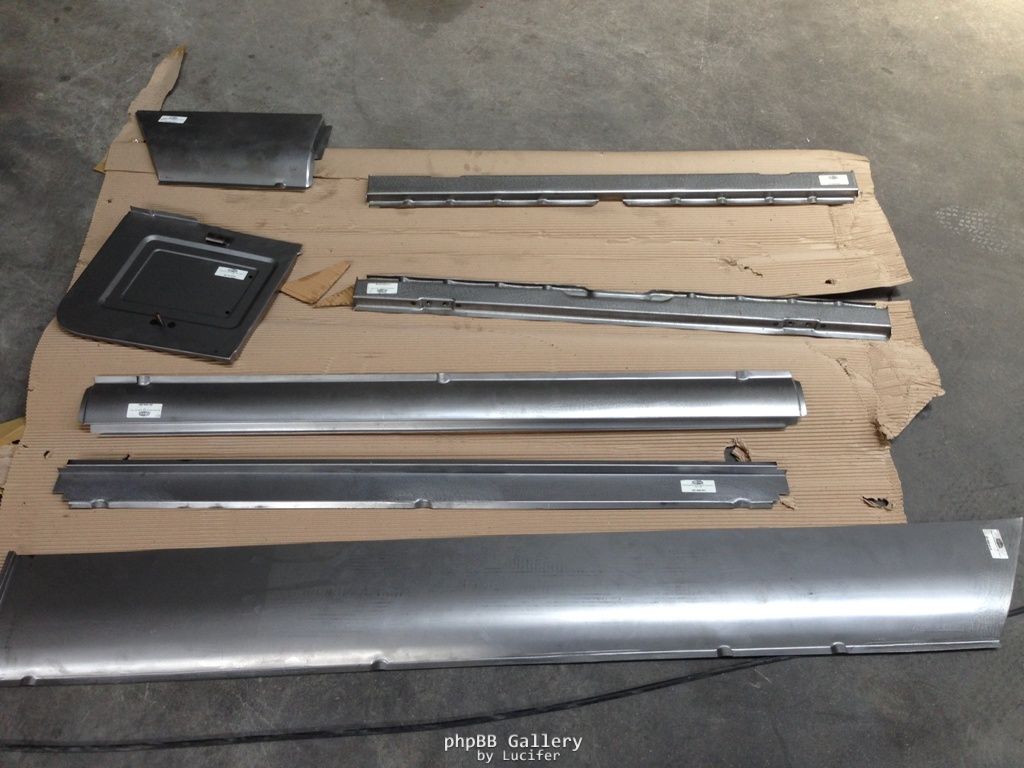
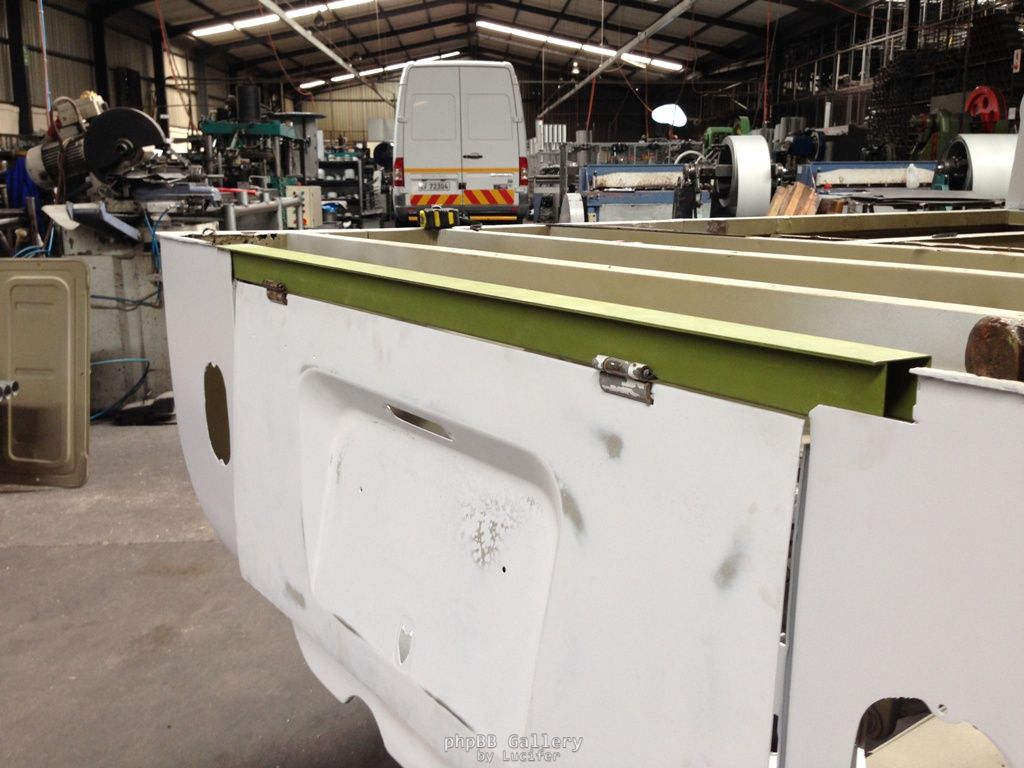
The fitment has started. These outer panels are made by Autocraft. I cant really fault these panels either. They have needed slight trimming here and there but otherwise all fitted well. Maybe more to do with that its fitted to a Fleetline than the panels themselves.
Lining up the long side to be welded in.
Started welding in the short side and outer valance under the treasure chest.
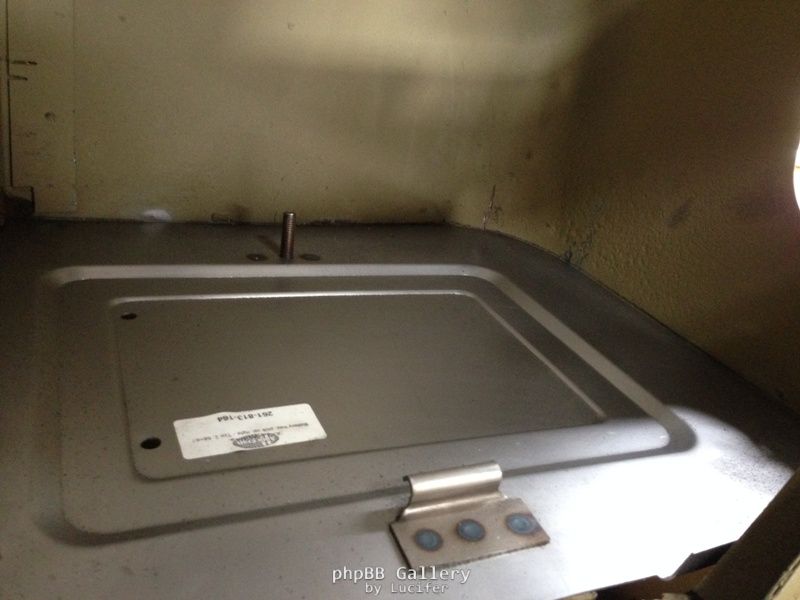
Bettery tray test fitted. Ready to be welded in.
Spray painting the panels on the inside with the epoxy based paint to hopefully prevent any rust from starting from the inside again.
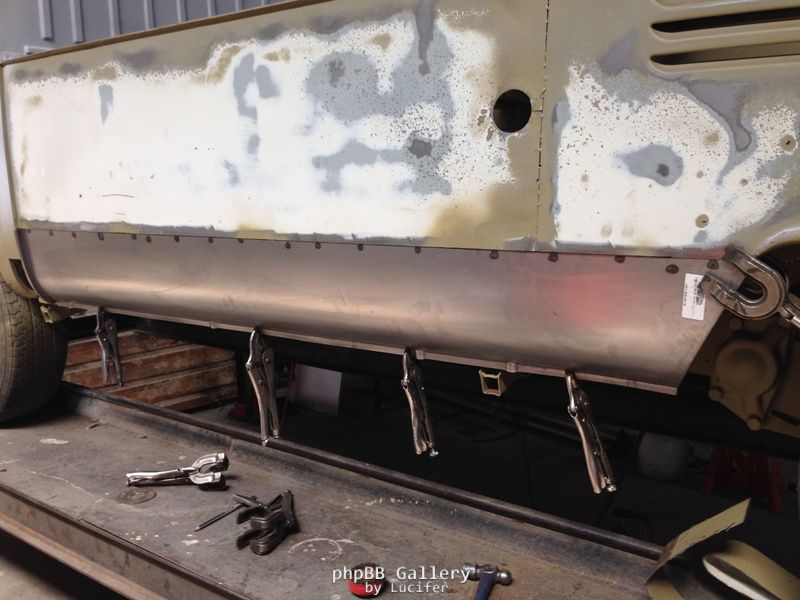
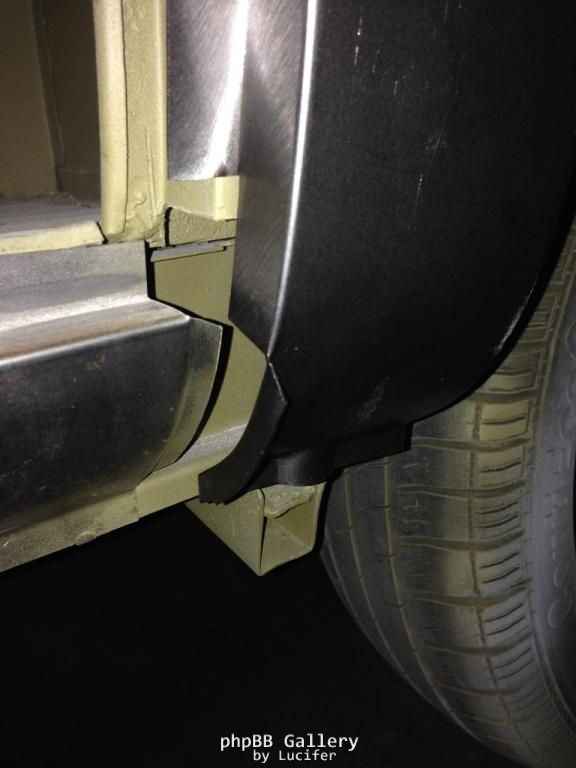
New inner rockers and outriggers welded into place. Luckily all jacking points are still in good condition. I was able to grind and file out all the old remains of the old outriggers and simply slide in the new ones.

Re: 75 Fleetline Single Cab
Posted: Mon Dec 16, 2013 11:04 pm
by sean
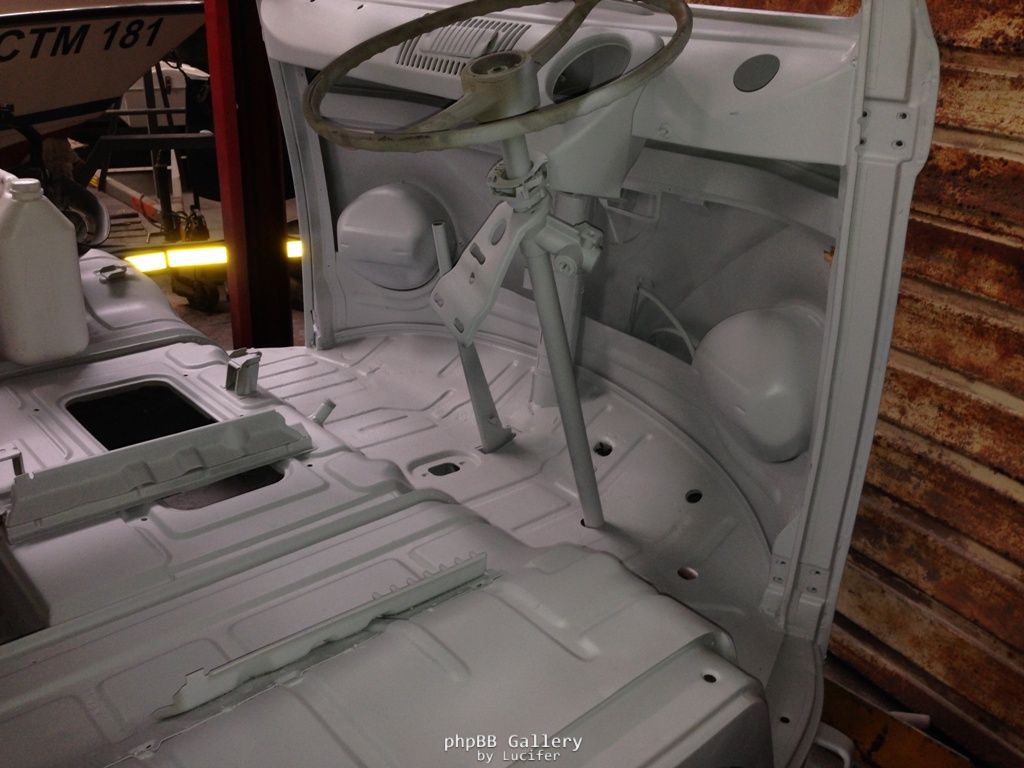
The cab is nearing completion. I have welded the lower nose section in already and filled/flatted where necessary.
I have used a high solid primer which I have found to cover very nicely as well as sand down nicely too.
Re: 75 Fleetline Single Cab
Posted: Tue Dec 17, 2013 8:15 am
by splitbusahollic
Looking Great Sean !
glad those panels fitted well !


Re: 75 Fleetline Single Cab
Posted: Tue Dec 17, 2013 9:16 am
by jolas
eish I'm getting left behind here
good progress man !
Re: 75 Fleetline Single Cab
Posted: Tue Dec 17, 2013 1:31 pm
by riaanj
Looking good there..
Re: 75 Fleetline Single Cab
Posted: Mon Dec 23, 2013 11:14 am
by lowlight
Impressive. Dit lyk baie goed.
Re: 75 Fleetline Single Cab
Posted: Sun Apr 13, 2014 4:23 pm
by sean
Work has been continuing over the last while. It certainly is quite a process before you start seeing results. Between work and travelling a fair bit lately I have managed to still get some work done.
My goal was to be finished in the middle of the year, but its seeming a little strenuous now. Guaranteed it will make the George 2015 car show.
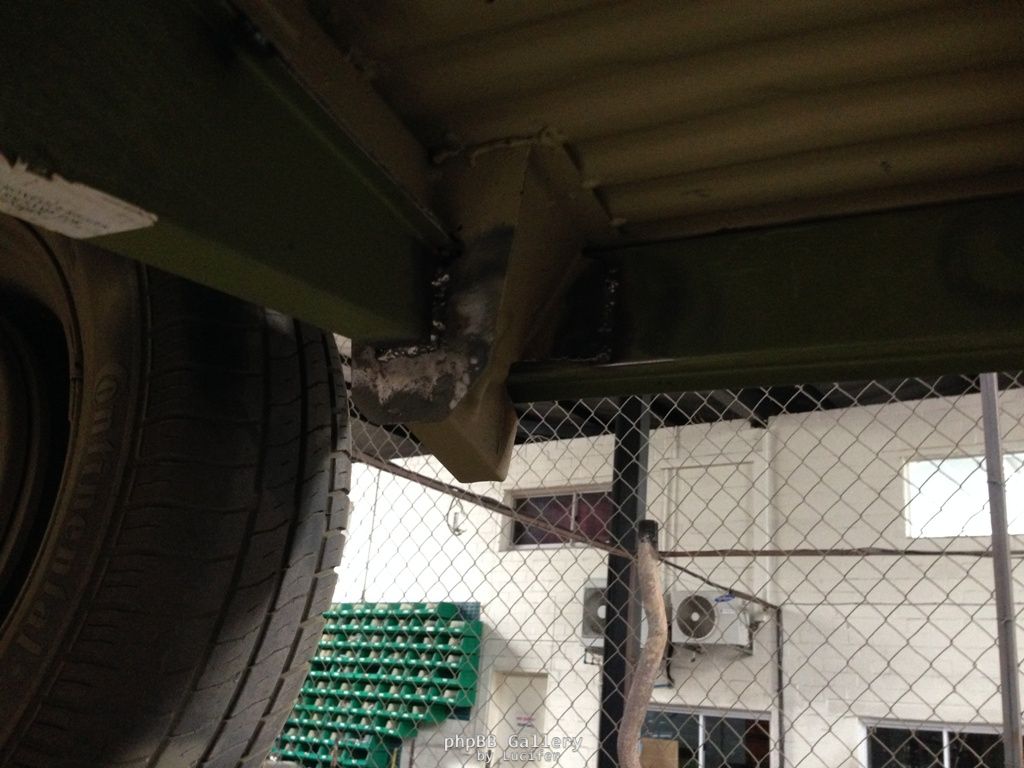
Some work on the rear hinge carier.
Still need to repair a missing piece.
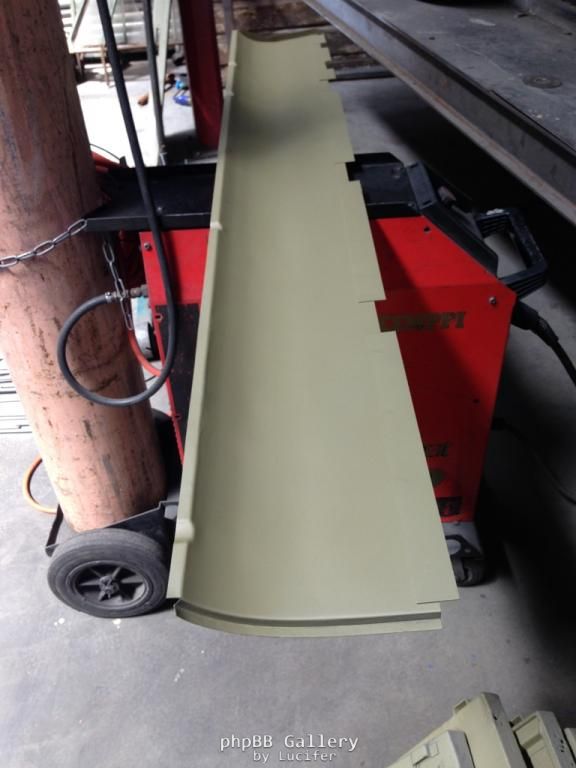
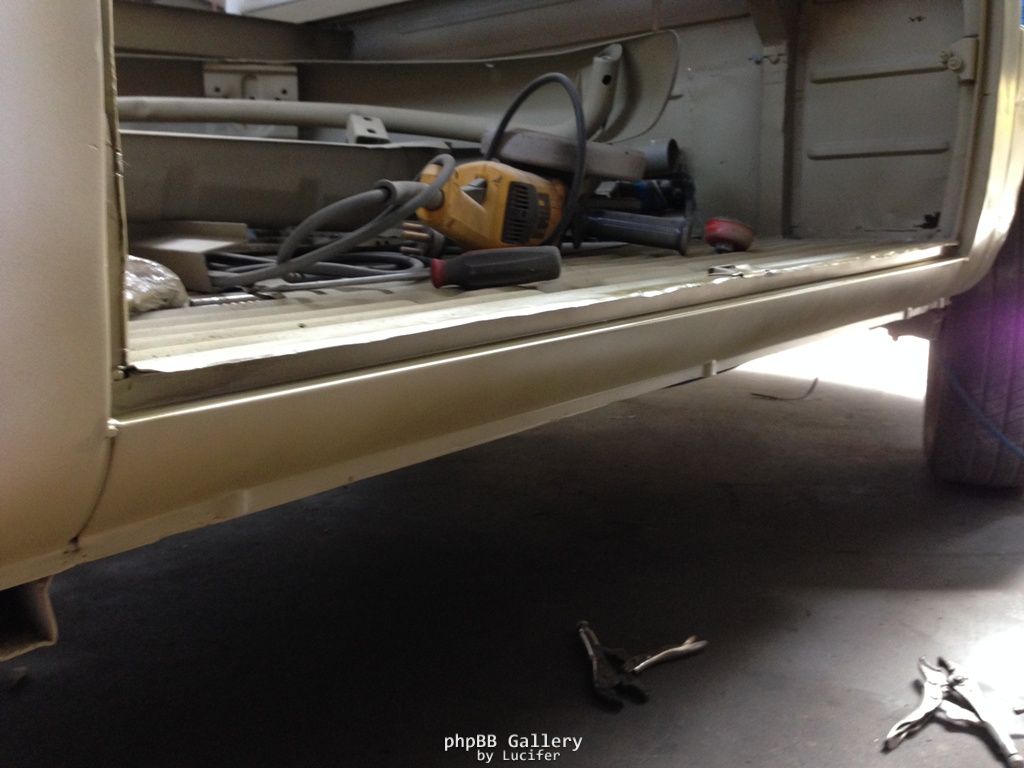
New floor section being installed.
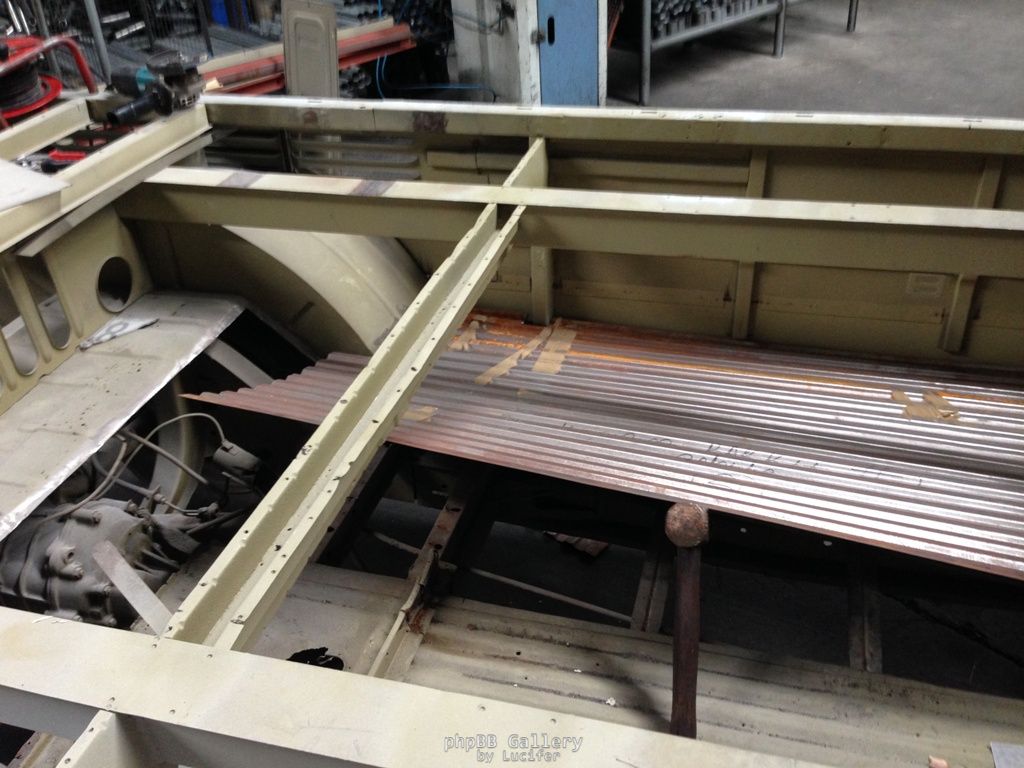
This floor will soon be going on, but first I must completely finish the inside including spraying the final coat. It’s just too hideous to spray inside there in such a confined space.

Re: 75 Fleetline Single Cab
Posted: Sun Apr 13, 2014 4:37 pm
by sean
Long side prepped for epoxy primer. After the repair panels were welded in, I sanded down the side completely that had not been sandblasted for fear of warping. I might has well of sandblasted because it was rusted and warped anyway. That paint could not have stayed, although it looked fine with some very fine spider web looking imperfections, the sanding revealed it was actually rust development. Most probably started from a stone chip kind of thing.
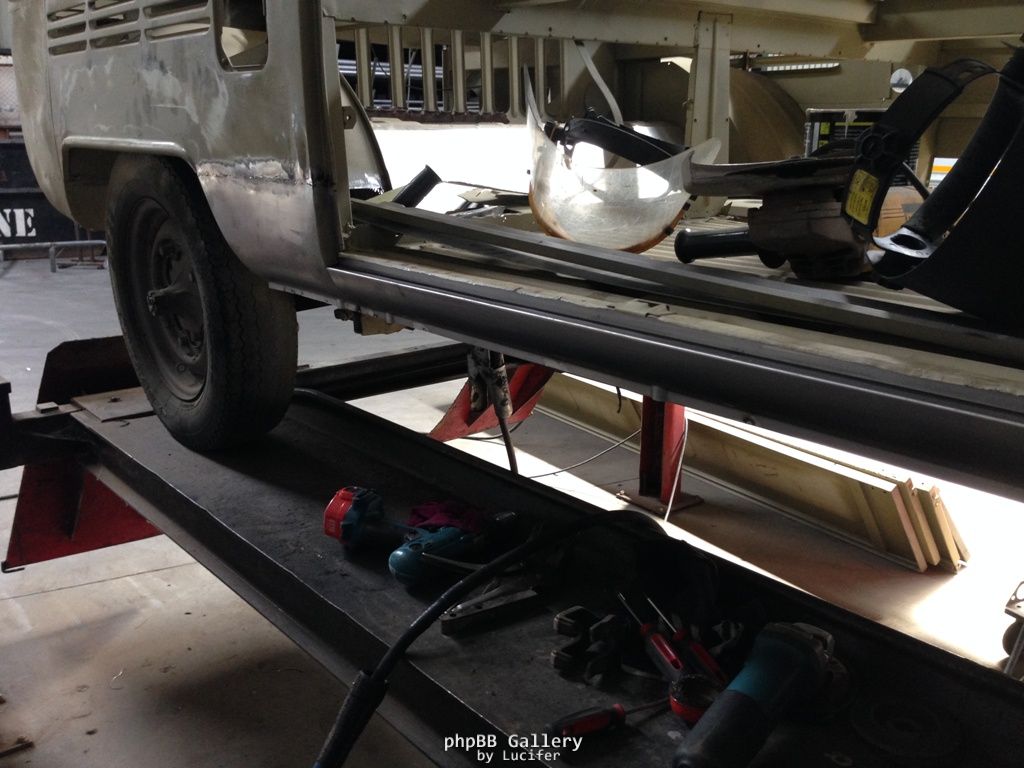
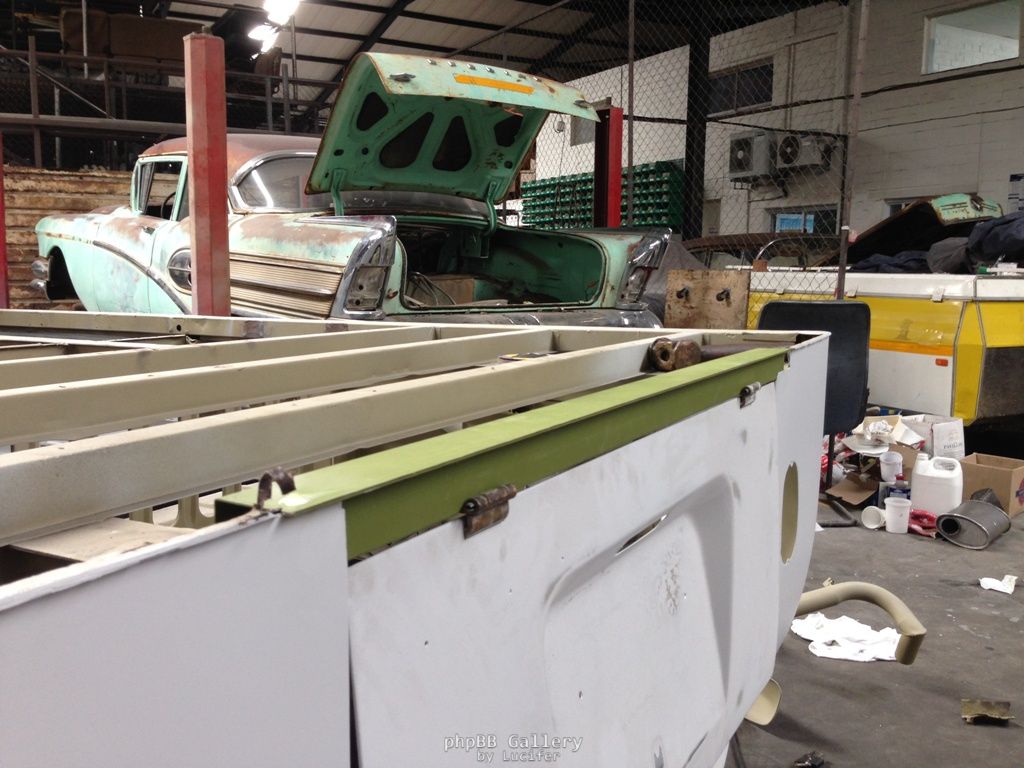
Treasure chest outer rocker fitted and sprayed.
B-pillars installed and primered.
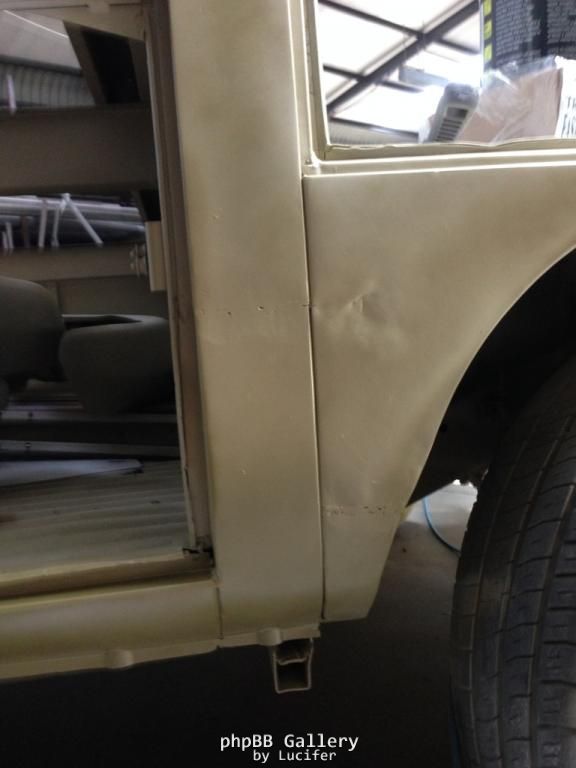
Issues with installing the drivers side B-pillar. These guy’s at Autocraft got something very wrong here. This part was actually back to front and the treasure chest outer rocker wasn’t correct either. They were never made to fit. After some modifying and tinkering, I got them to fit. In this case the Gerson panels fitted perfectly on my 59.
Re: 75 Fleetline Single Cab
Posted: Sun Apr 13, 2014 4:43 pm
by sean
After all the sanding and flatting, I have applied the second coat of HS primer. I am quite happy with the results so far.
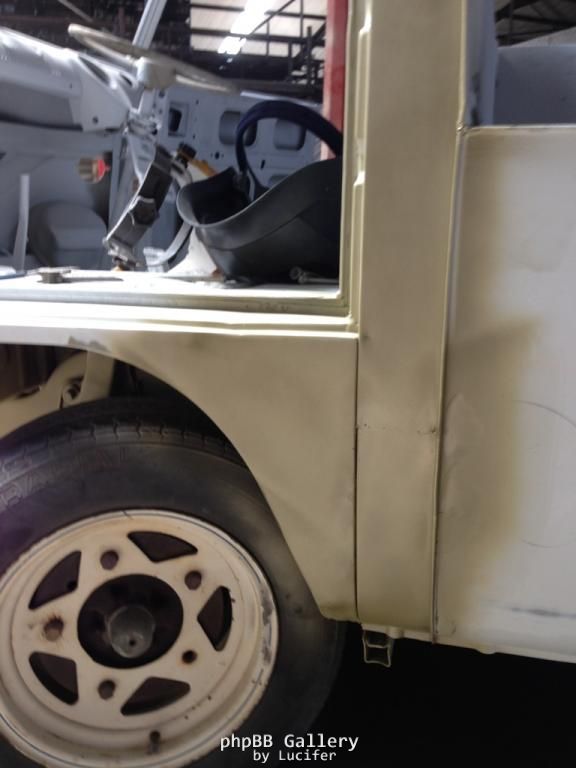
Long side looking nice and straight.

Treasure chest door fitted to check for alignment.

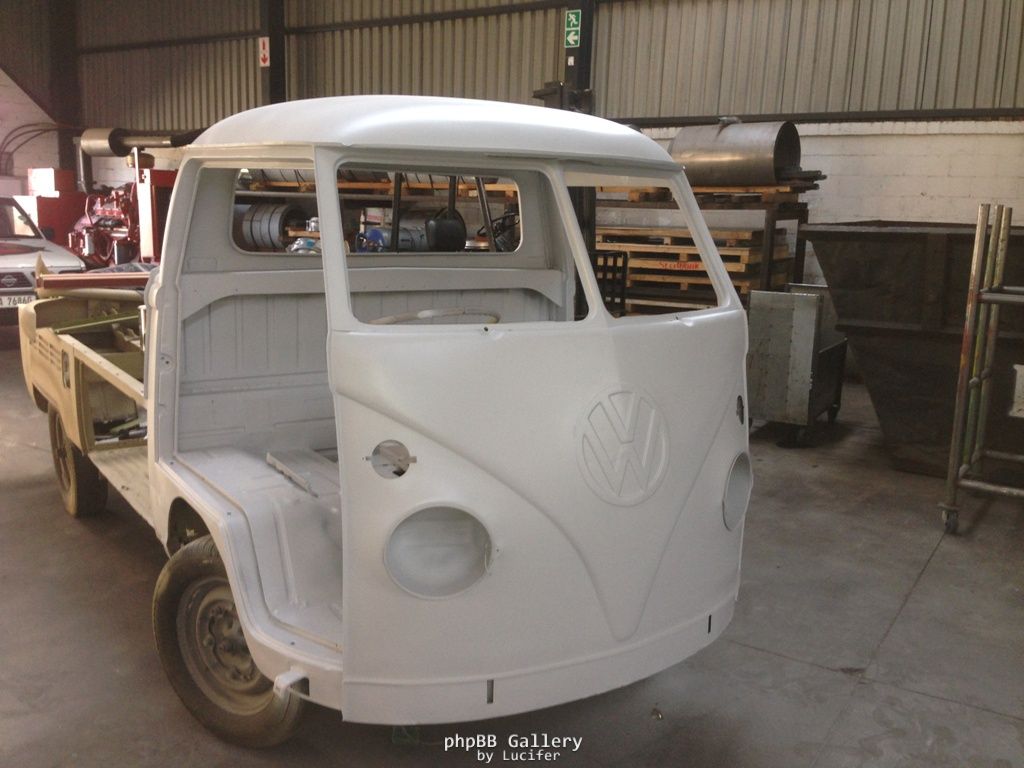
Cab nearing completion with doors fitted to also check for alignment.
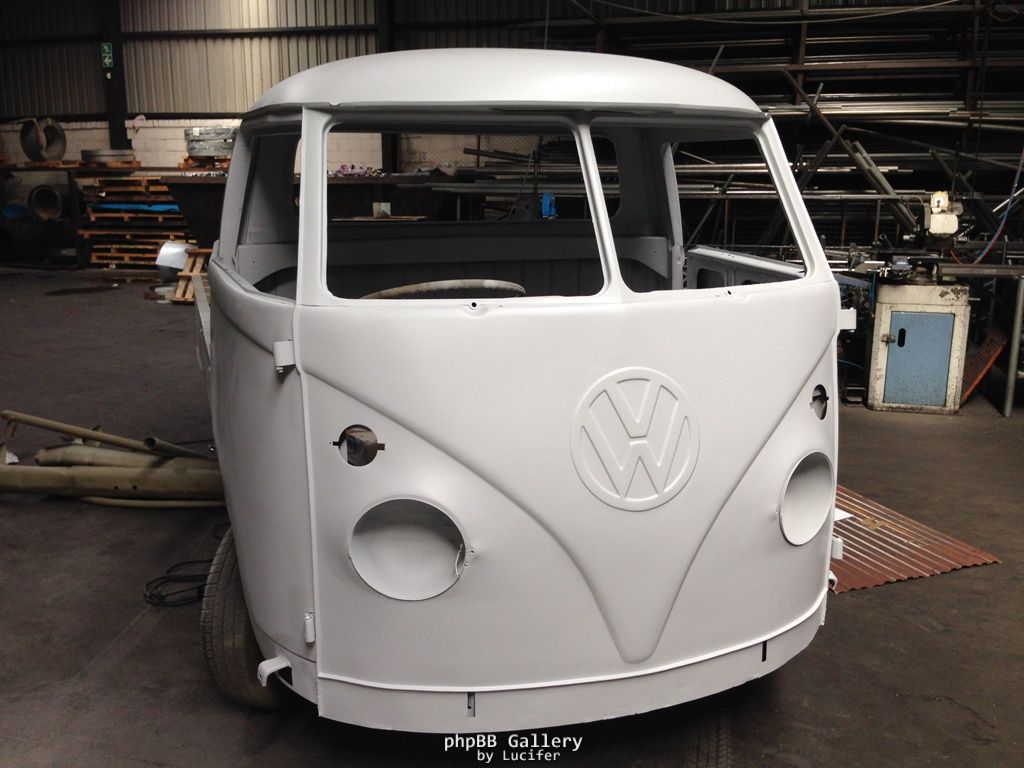
This is the worst part over, preparing for final coat will be easy.
BUT, I still have to do the wide load bed, not looking forward to that.
Re: 75 Fleetline Single Cab
Posted: Sun Apr 13, 2014 5:25 pm
by Cyndi Kritzinger
COMING ALONG NICELY SEAN.
AS HERMAN SAYS, IT'S GOOD MOTIVATION FOR OTHERS. ALSO NICE TO SEE THAT MATES ARE HELPING OUT.
MIGHT BE A WHOLE NEW CROWD OF SPLITTY'S AT THE 2015 GEORGE MOTOR SHOW!
Re: 75 Fleetline Single Cab
Posted: Sun Apr 13, 2014 5:39 pm
by sean
Cyndi Kritzinger wrote:COMING ALONG NICELY SEAN.
AS HERMAN SAYS, IT'S GOOD MOTIVATION FOR OTHERS. ALSO NICE TO SEE THAT MATES ARE HELPING OUT.
MIGHT BE A WHOLE NEW CROWD OF SPLITTY'S AT THE 2015 GEORGE MOTOR SHOW!
Well, if you can get that single cab ready, you going to fit right in. Paul and myself are trying to focus next years show on pick-up's. This includes single and double cabs, splits and bay's.
Will be great if you can make it.

Re: 75 Fleetline Single Cab
Posted: Mon Apr 14, 2014 9:47 am
by stew 89
Nice work Sean... Keep op the good work. what ever happened to your splitty with the bunny ears?