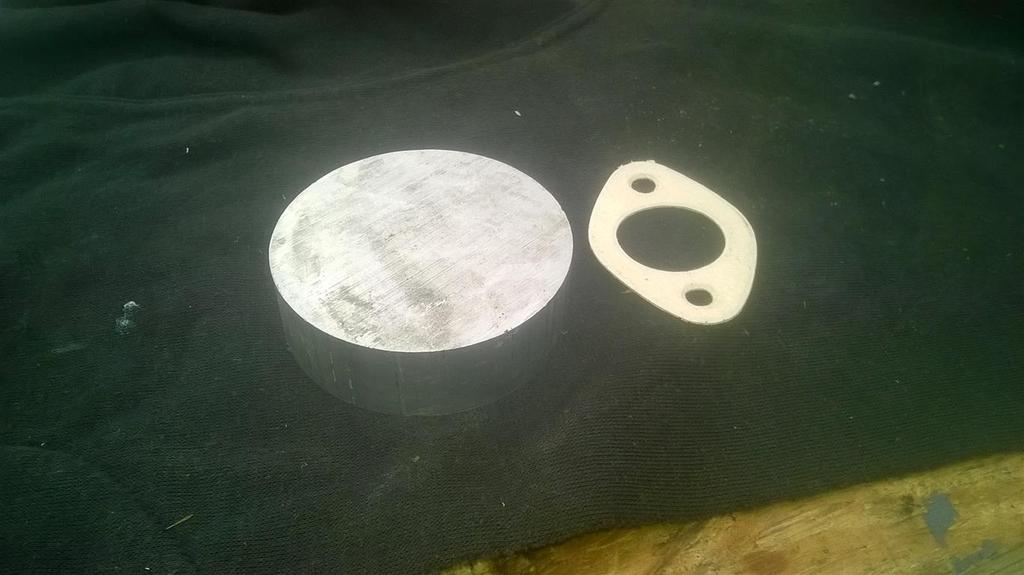
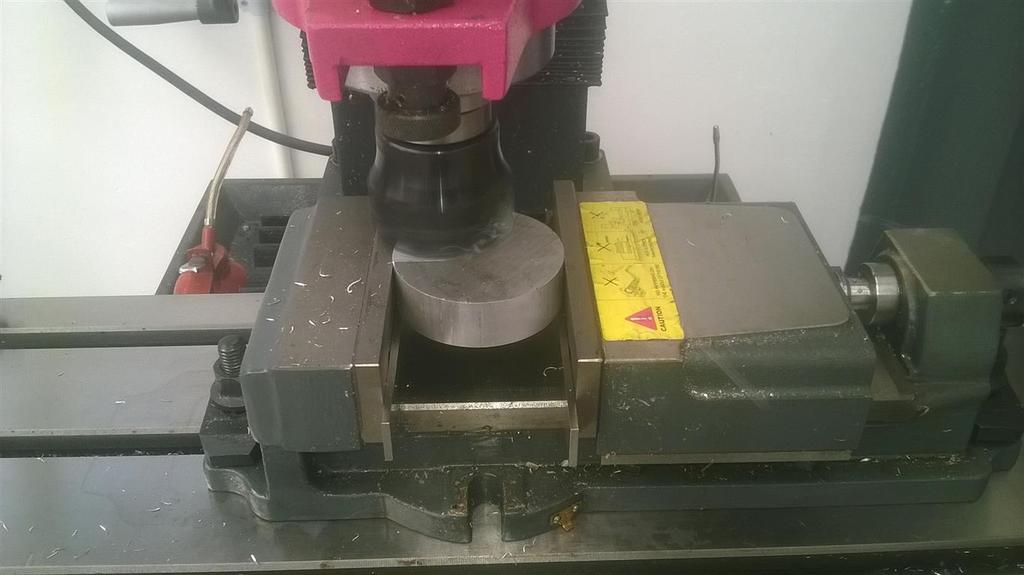
OK, I have to confess that this project is slow going.
The first thing that makes it so slow is that, since this is a fully custom engine, everything needs to be checked and double checked. And I mean everything.
The second reason it is so slow going is because I am hardly getting any time for it myself.
It seems I missed a picture of the crank
I keep my cranks covered in Tectyl while I store them.
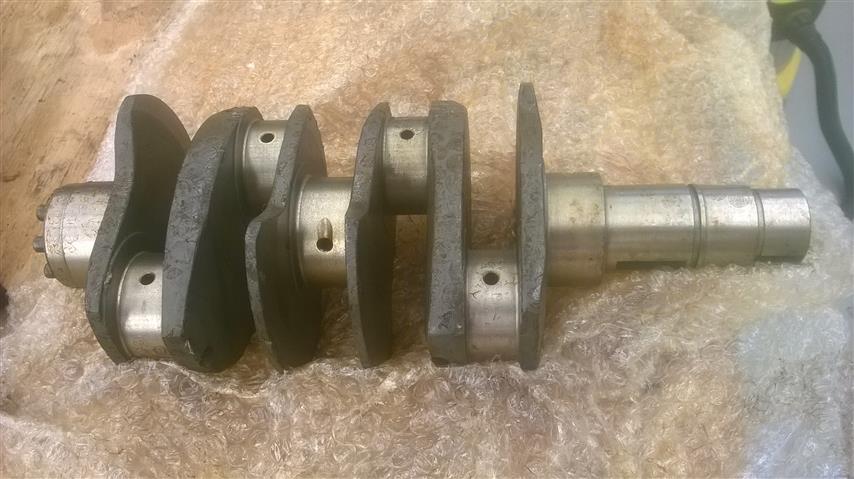
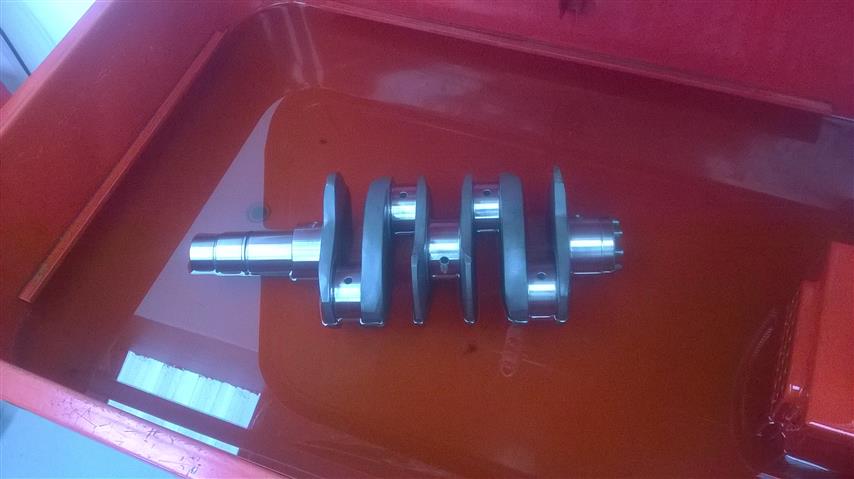
The Tectyl comes off pretty easily in paraffin
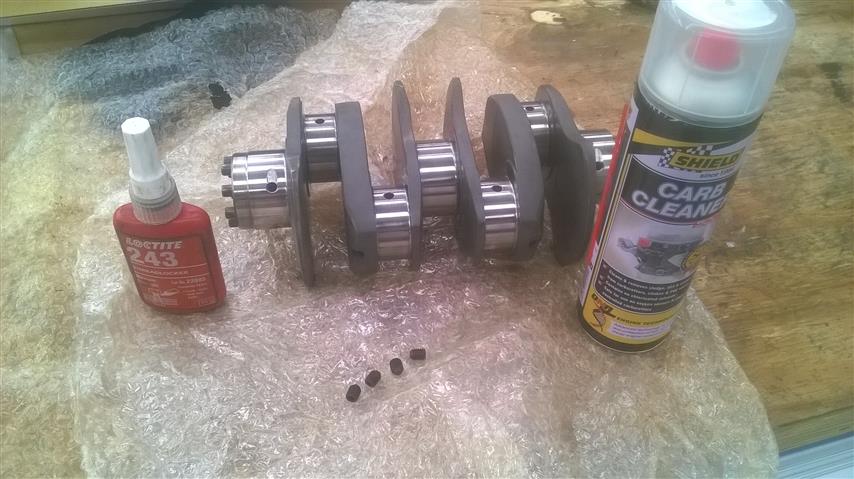
Ant then for anyone using a new crank, this is a vital step which must not be forgotten
Remove the grub screws from the drilled oil galleries, clean the internals of any swarf that might be left behind and then loctite the grub screws back in. If a grub screw comes out, you might or might not have damage from it flying around, but you will loose oil pressure as the oil is now free flowing out of the crank instead of going to the various engine bearings and this will lead to a fairly rapid seizure of the engine.
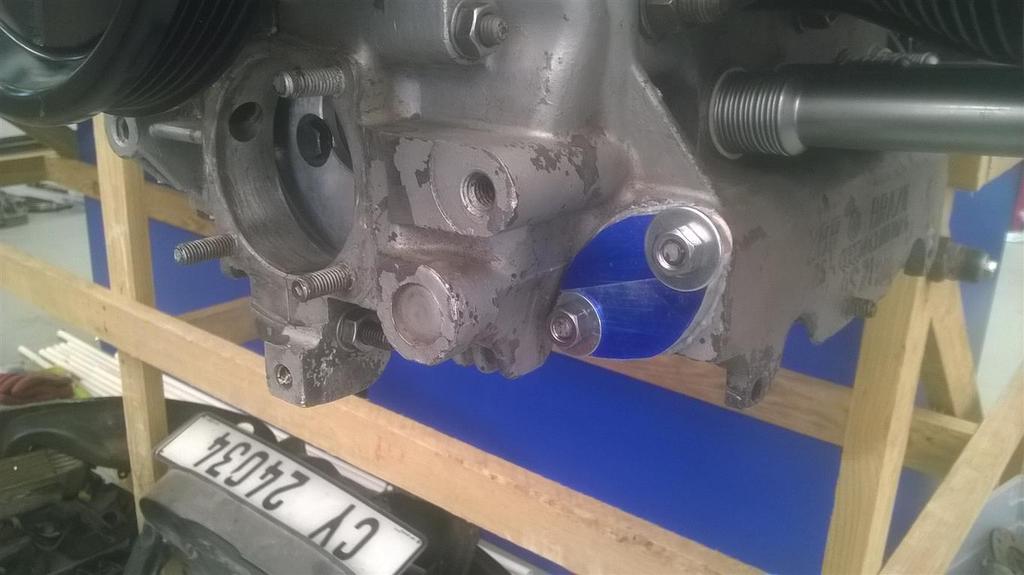
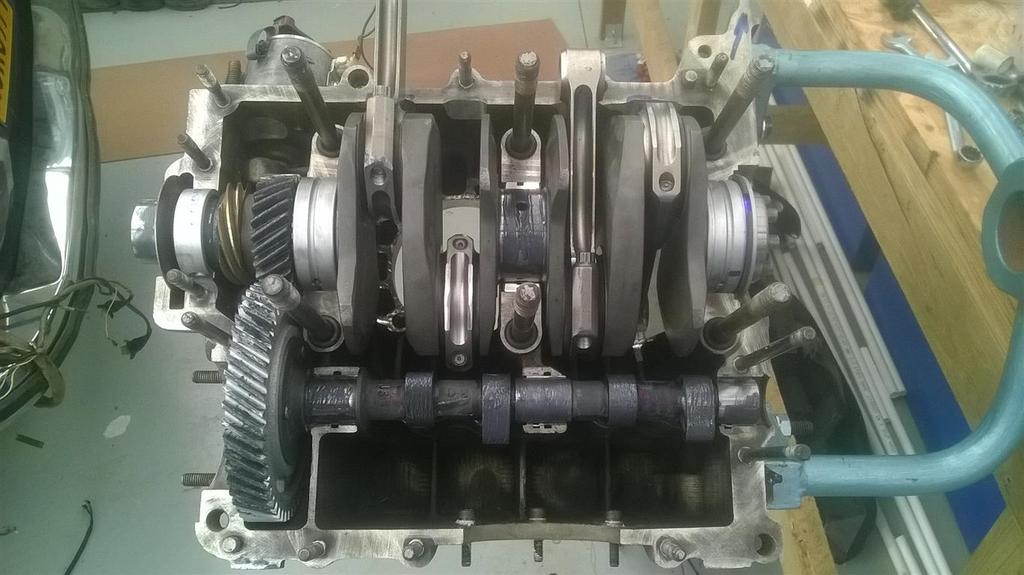
Slowly coming together
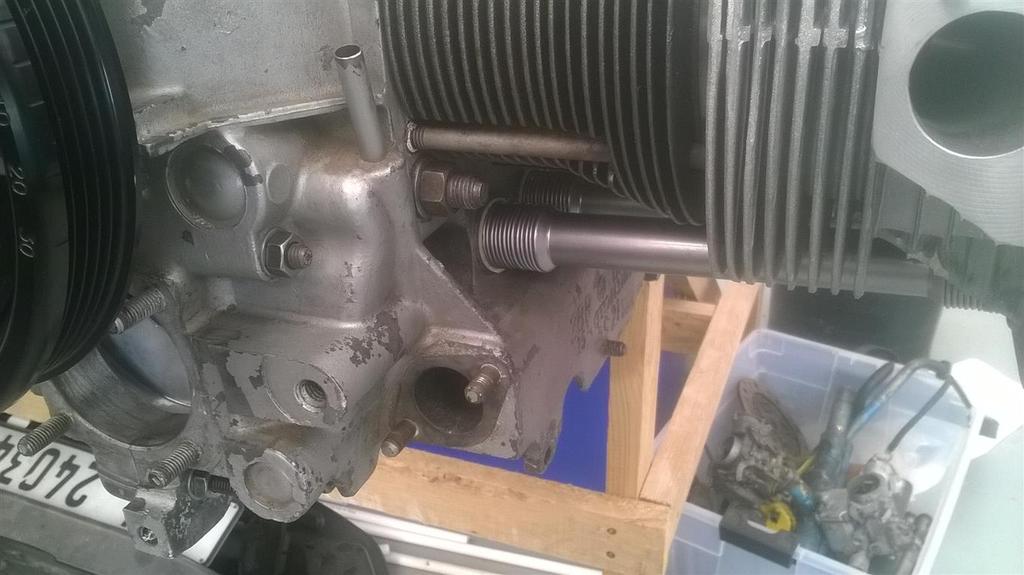
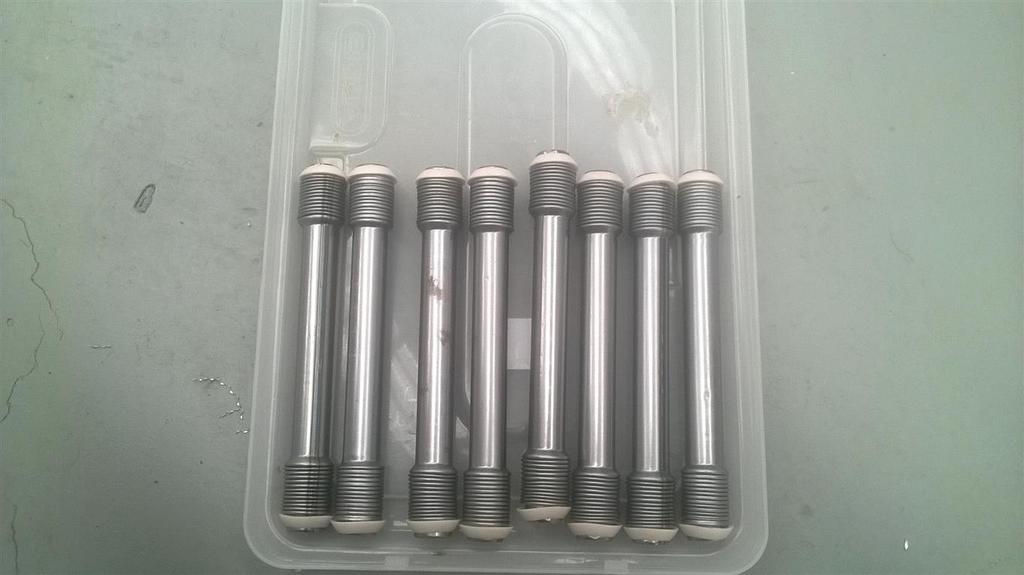
New pushrod tubes with imported silicon seals
long block nearly finished