Page 26 of 37
Re: Betty the Oval - Donovan D - ex-MINCE
Posted: Wed Jul 24, 2019 4:31 pm
by Donovan D
retrovan wrote: Wed Jul 24, 2019 10:27 am
Bracket #18 on 1st drawing, #13 on 2nd drawing, has a bush in it and this is taking up the slack of the shaft.
Not sure where you will find this bush, as I turned up one for the 52 from PTFE shaft.
If not you can bend the ears open but do not make it too tight, or your carb spring will not pull the peddle back and the rev's could run away from you.
Herman
The pedal shoulder sits quite snugly in the bracket itself, its just the inner shaft thats sloppy.
Do you perhaps have a picture of the assembly with the bush ?
https://youtu.be/snYiV-TKXTg
Re: Betty the Oval - Donovan D - ex-MINCE
Posted: Wed Jul 24, 2019 9:51 pm
by retrovan
You will probably find wear on the shaft and in the bush seat you say fits correctly
I found these parts to be totally oval.
The bracket has a bush welded into it on both sides,
What I did was to drill the bracket back to round, turned the shaft back to round, and turned a bush to take up this difference I have removed.
If you want it back to Stock, you need to remove the two bushes, turn up two new ones and press or weld then back into the bracket.
I found it easier to do a filler bush.
Would show you but would have to strip the whole peddle assembly,
If you want the short way out, then just turn up a step washer that will fit both inner and outer on the peddle end.
Thats the washer type part that just in front of the fixing nut on the shaft in your 1st drawing.
Herman
Re: Betty the Oval - Donovan D - ex-MINCE
Posted: Wed Jul 31, 2019 10:25 am
by Donovan D
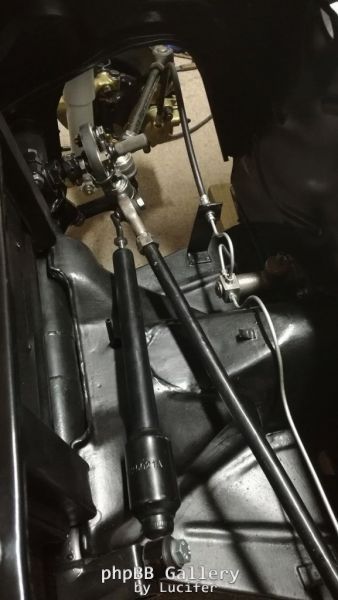
I ended up taking another short way and that was to make a 3mm spacer. The spacer is now between the tunnel and where the petrol pedal shaft bolts onto the tunnel.
Also made the little cable pin thingy.
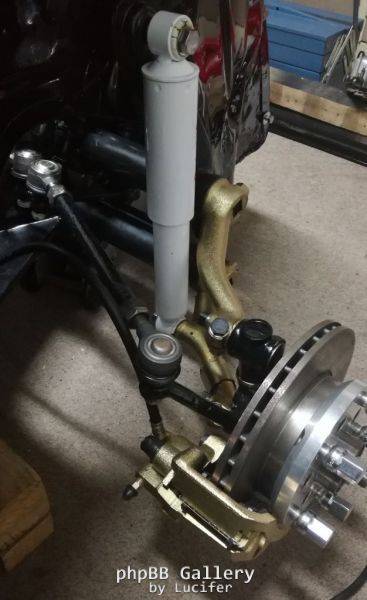
Things that are taking up time now are stupid things like getting the entire front suspension on. When I tried to bolt the shock on I noticed there was almost no thread in the beam to take the bolt. Everything had to come off again to drill and get the tread insert in. I ended up doing this both sides as the thread pitch of the insert is different to the one in the beam. I dont want to end up with different sizes left and right.

And then everything back on again. I ended up taking the adapters with the 12x1.5 studs to FFR to get the bigger studs inserted.
Seeing that I got all the brake parts from Dave I ended up taking the adapters back to him to press in the bigger studs just in case the other guy stuff something up.
I also managed to get the wiper motor in and connected. The only snag is the wiper motor is for a LHD. The wipers park on the drivers side.
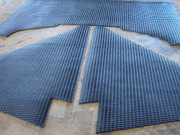
I also want to make the three piece tar board covers for the engine bay, what material can be used for this and where will I be able to get this?
Re: Betty the Oval - Donovan D - ex-MINCE
Posted: Wed Jul 31, 2019 12:19 pm
by Tony Z
this is going to be such a stunning car when you are done with it. Keep it up!!
Re: Betty the Oval - Donovan D - ex-MINCE
Posted: Wed Jul 31, 2019 3:47 pm
by Riaan.N
What disc brake setup are you using?
Re: Betty the Oval - Donovan D - ex-MINCE
Posted: Wed Jul 31, 2019 4:36 pm
by Eugene
Lyk flippen goed Donovan!
Re: Betty the Oval - Donovan D - ex-MINCE
Posted: Thu Aug 01, 2019 7:15 am
by Donovan D
Thanks all

The only down side to doing everything myself is that I see all the imperfections, places that werent fixed or straightened, scratches (that I make), things I thought was right but then realized it should not be there or someone drilled holes for who knows what sometime in this beetles life.
Riaan.N wrote: Wed Jul 31, 2019 3:47 pm
What disc brake setup are you using?
Not sure, I think its just a golf setup with the adapters.
Re: Betty the Oval - Donovan D - ex-MINCE
Posted: Thu Aug 01, 2019 7:57 am
by Riaan.N
Thanks Donovan!
For me, there is no better way to learn than to do things myself and if I make a mess I am confident that next time that I will do it much better.
That is a problem with such old cars and things in general which had a few previous owners. Kudos for you for doing it yourself, your doing great!
Re: Betty the Oval - Donovan D - ex-MINCE
Posted: Tue Aug 20, 2019 12:40 pm
by Donovan D
Feels like I have been getting some stuff done lately.
Started with the wiring, I pulled the Volkspares loom apart. Some of those wires are really thin.
It also seemed a bit short, traveling from the front of the car to the rear inside the roof channel. The coil wire was made up of a few smaller wires soldered together and taped up.
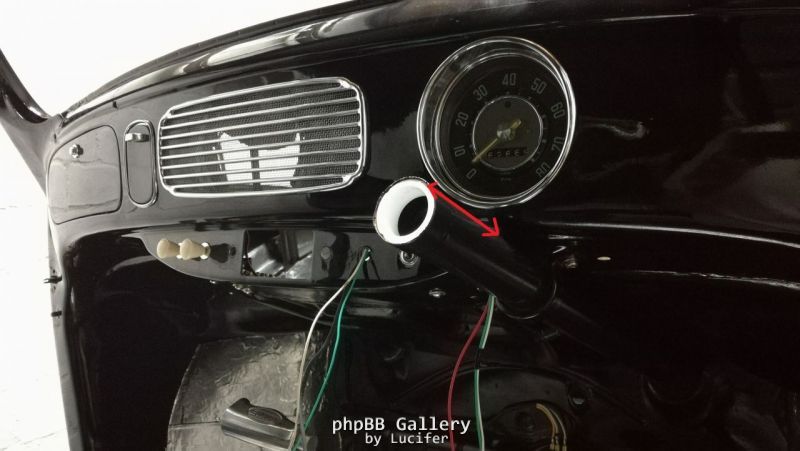
Im planning on running two different indicator systems. One operating from the normal turn signal switch, but for front and rear blinking indicators.
Then the plan is to remove the choke dash unit and insert a three way on-off-on switch with the choke knob attached. This will operate the semiphores and should look "original" in the dash.
The semiphores are in and I did scratch/chip paint trying to get them in. Luckily I still need to take the car back for all the touch ups once I have assembled it. The semiphores are also a bit skew and I cannot get them nicely lined up and get their gaps even.
Will post some pics tonight
Re: Betty the Oval - Donovan D - ex-MINCE
Posted: Tue Aug 20, 2019 1:35 pm
by Eugene
Donovan D wrote: Tue Aug 20, 2019 12:40 pm
Then the plan is to remove the choke dash unit and insert a three way on-off-on switch with the choke knob attached. This will operate the semiphores and should look "original" in the dash.
Why don't you rather keep all as it should be but run a separate circuit, to a hidden two way switch. Use the standard indicator stalk but when you want to use semaphores, you switch the hidden switch
Re: Betty the Oval - Donovan D - ex-MINCE
Posted: Tue Aug 20, 2019 2:02 pm
by retrovan
As it is possible to burn out the forgetful semaphores, I would replace the choke button with a period correct wiper switch or headlight switch and operate them from the dash when at a showing.
Fit the normal indicators on the original stalk.
I have found that you only use them at a show when someone wants to see them work. on my 59 I had them both working together, but they got very hot and always had to limit my indication.
On the 52 I have the semaphores on the dash (original place) and the indicators on an Oval stalk.
Herman
Re: Betty the Oval - Donovan D - ex-MINCE
Posted: Tue Aug 20, 2019 2:28 pm
by Donovan D
Yes normal front and rear indicators will operate from the US type 6-wire stalk.
Semiphores will operate from the ON (Left side semiphore)- OFF -ON (Right side semiphore) toggle switch in dash.
Correct this will probably only be used at shows or when someone wants to see it.
No use for the choke as it will not have an original engine.
Re: Betty the Oval - Donovan D - ex-MINCE
Posted: Wed Aug 21, 2019 8:21 am
by Donovan D
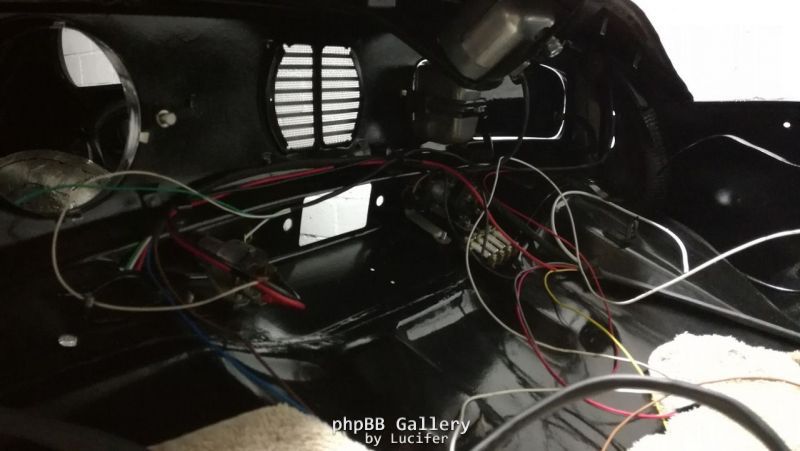
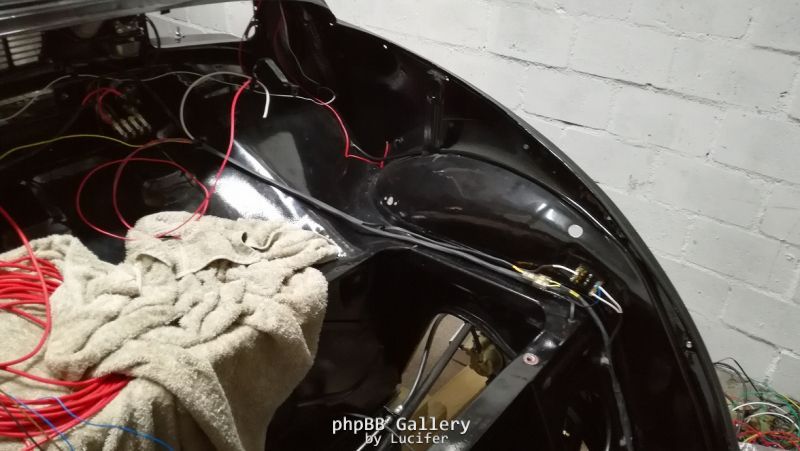
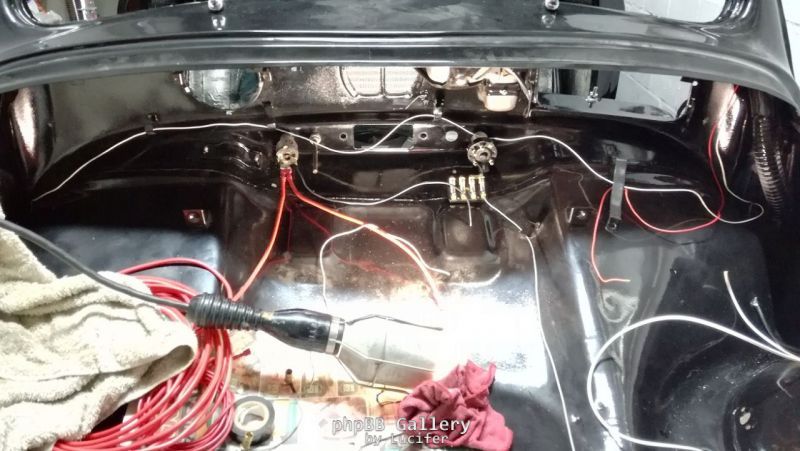
Just some pics of progress, not much to see.
Still need to tidy up and connect all the wires going to the rear.
Re: Betty the Oval - Donovan D - ex-MINCE
Posted: Thu Aug 22, 2019 3:38 pm
by Eugene
Donovan D wrote: Wed Aug 21, 2019 8:21 am
Just some pics of progress, not much to see.
Still need to tidy up and connect all the wires going to the rear.
Ah cool...see you wired a 220v lead light into the luggage area

Re: Betty the Oval - Donovan D - ex-MINCE
Posted: Fri Aug 23, 2019 1:06 pm
by Donovan D
Eugene wrote: Thu Aug 22, 2019 3:38 pm
Donovan D wrote: Wed Aug 21, 2019 8:21 am
Just some pics of progress, not much to see.
Still need to tidy up and connect all the wires going to the rear.
Ah cool...see you wired a 220v lead light into the luggage area
Ek moes, dit help my om al die

te sien wat ek aanjaag.
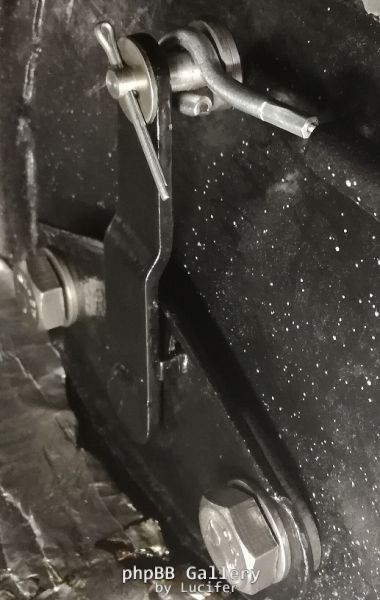
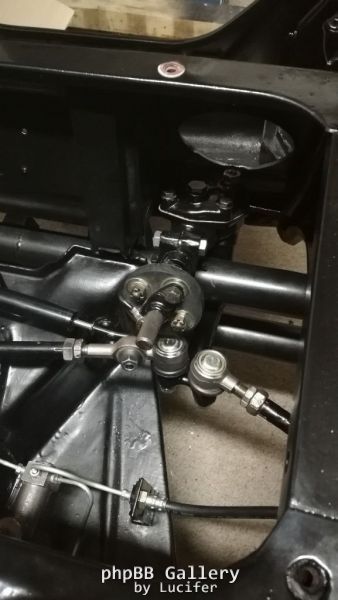
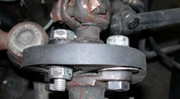
A question relating to the steering coupler bolts.
Something seems wrong here. I have the castle nuts and bolts with the hole drilled through the bolts, but if I tighten the nut the hole in the bolt ends up above the nut. Which would make the use of a split pin useless. These nuts and bolts do need to be proper tight, right ?
Im thinking just going with the nylock nuts and tightening it down.
Reference pic - this one has normal bolts and nuts
Then I received what Im hoping is the last box of needed parts for the beetle... not relating to the engine.