OK, time for an update... we'll have to see how much I can put in vs time I have spare.
As you guys well know, the case was scrap. I took everything out and saved what I could.
I got a replacement case for a bus from Bugger. I wasnt so keen on using a normal case and adding a moustache bar adapter which mounts onto the oil pump bolts.
After receiving the case, it was treated to a linebore. I recently acquired some nice tooling, so I decided it is time to put it to good use...
as well as making some space for everything to clear...

Unfortunately, this case was not a twin port case, but rather an early single relief case. There are modifications that you can make to improve the oiling of the single relief case, but I decided against going this route seeing as the engine isnt going to be a screamer of an engine, but rather a daily driver with a little more oomph for the hills.
I did however, convert the 10mm head studs to 8mm head studs. This involved me making up inserts, drilling and tapping the case and then inserting them. Also, on the newer twinport cases, the one headstud (cyl 3, upper, nearest to flywheel) is mounted into the main bearing and not the external part of the case like on the earlier cases. So I drilled this to the correct depth and put a insert in there too.
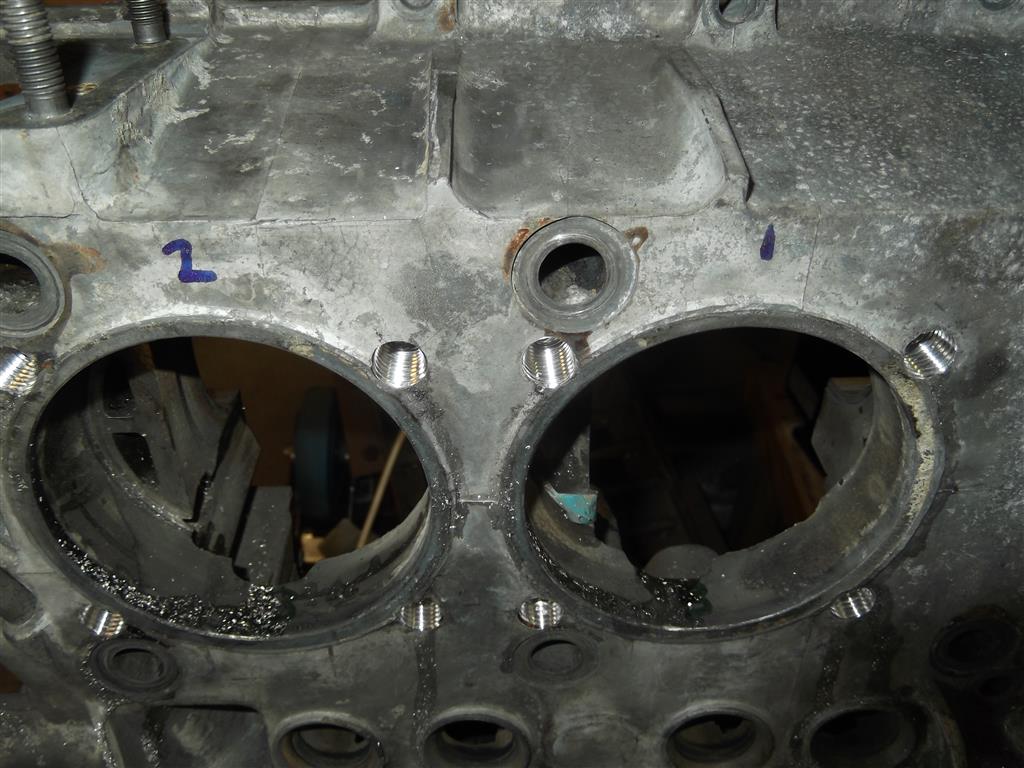
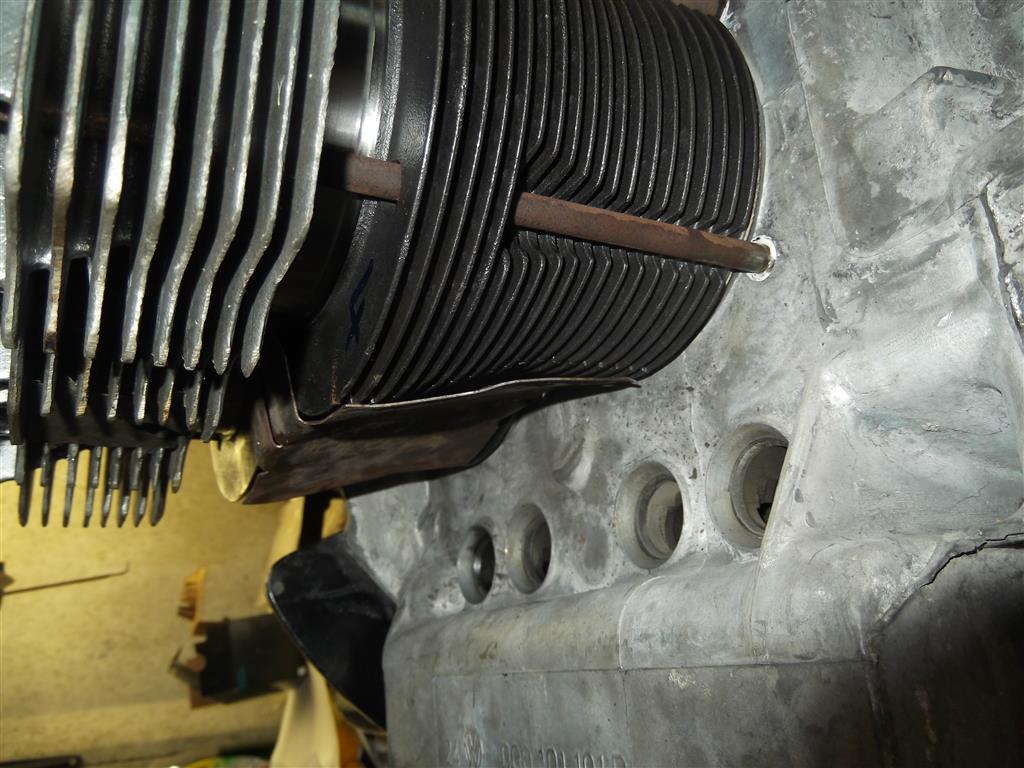
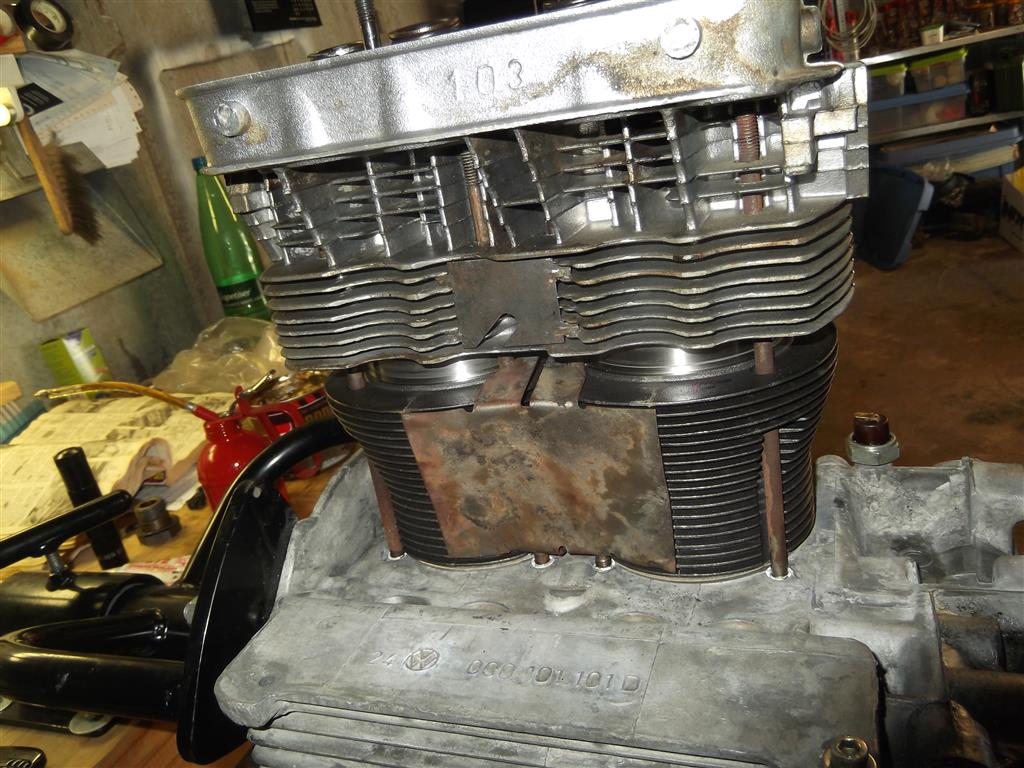
Then while moking up the engine, things stopped turning a few times. Mostly this was because of the dizzy drive gear falling out - I should have put the dizzy in for the build. But I also encountered the pistons bottoming out on the case itself. So to fix this, I relieved the block slightly to clear the pistons.
Here you can see me using clay to check the clearance.
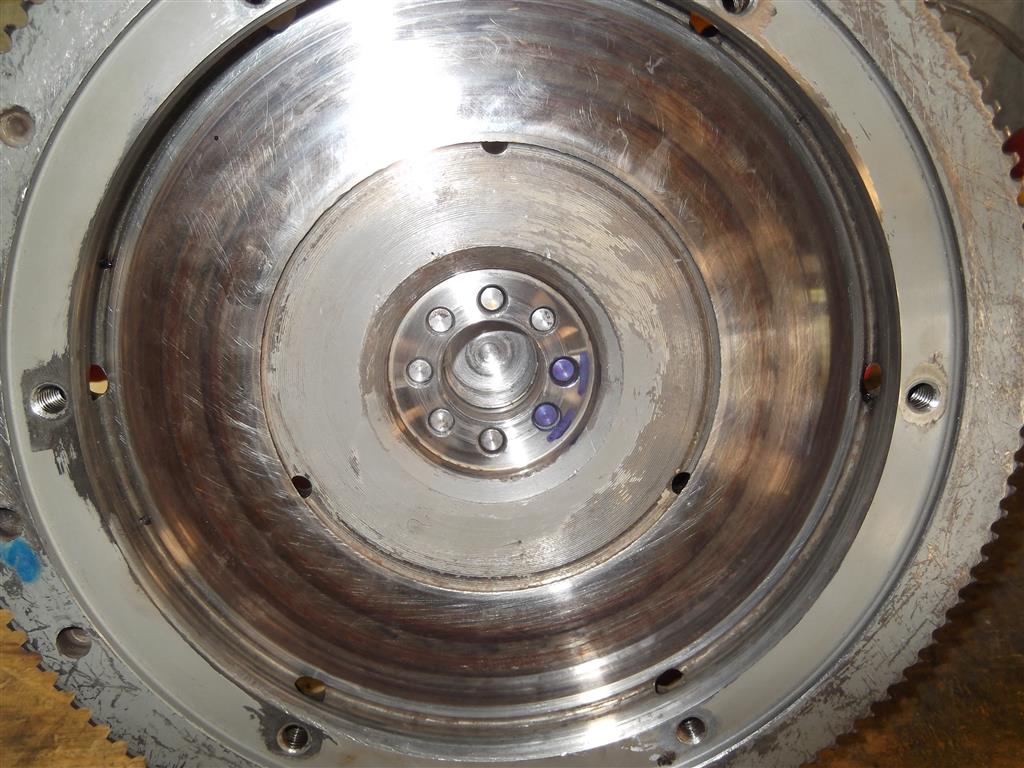
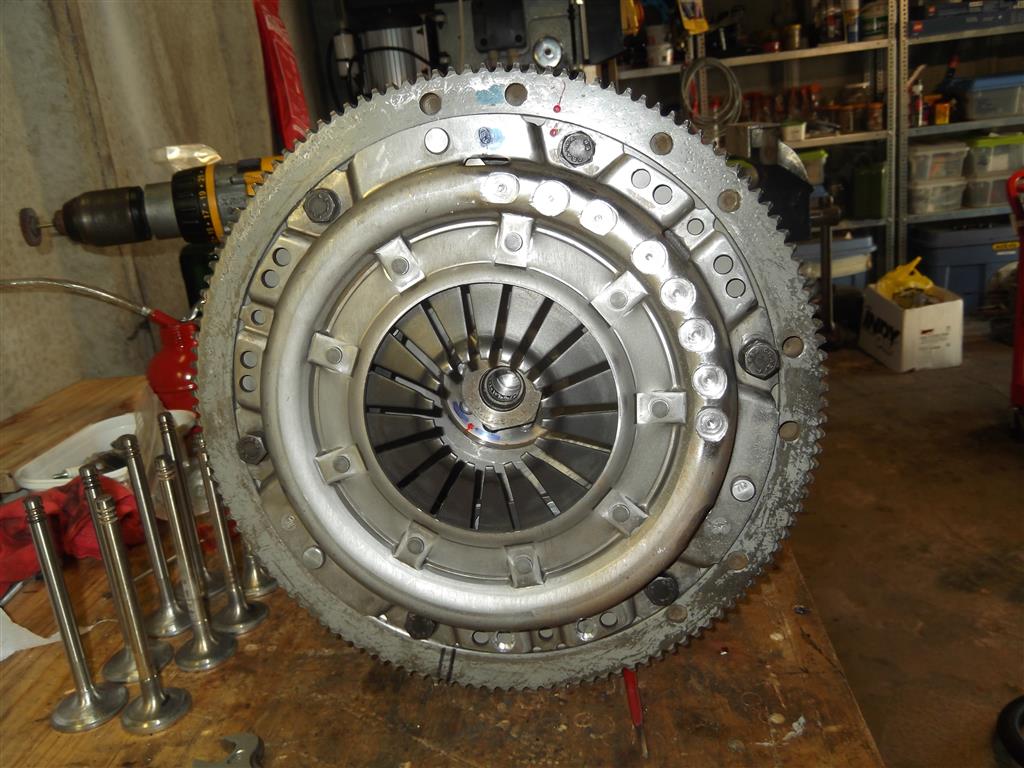
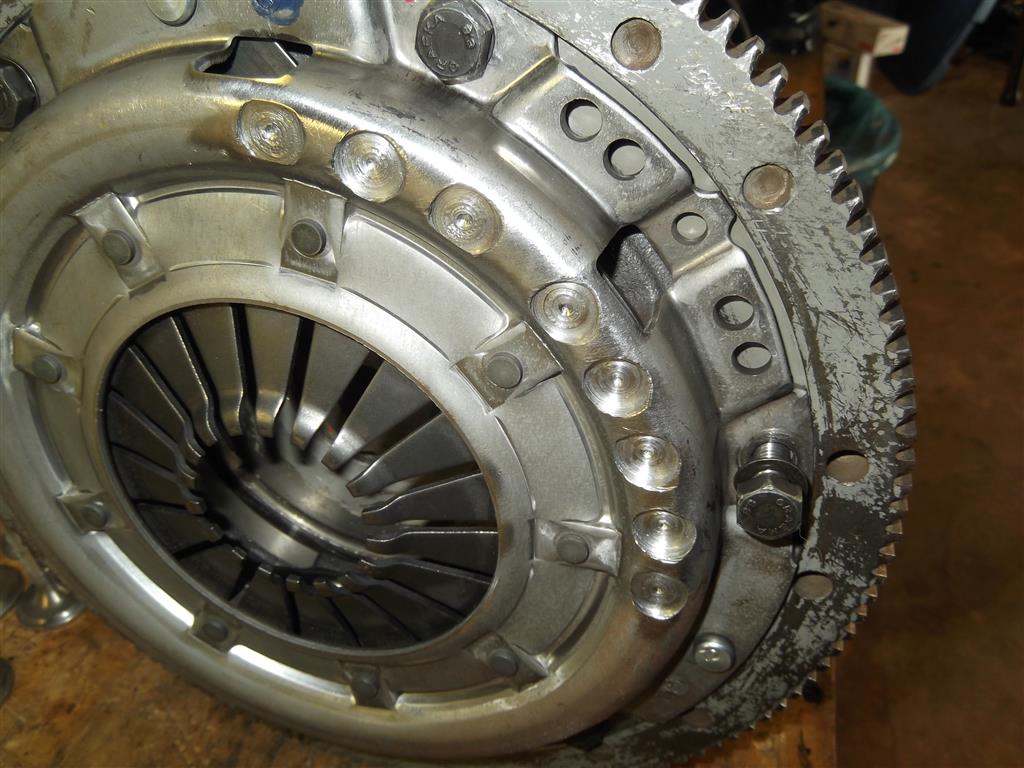
Then onto the flywheel...
stock has 4 dowel pins
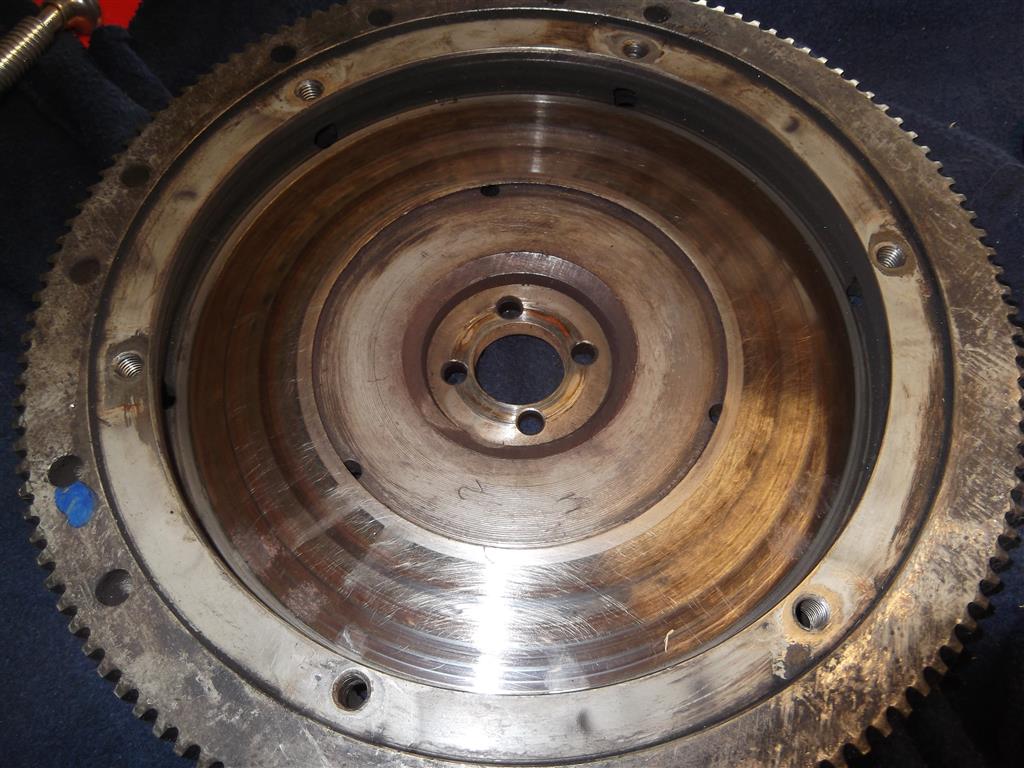
So I decided to open it up for the "normal" 8 dowel setup used when adding more power to help keep the flywheel in place.
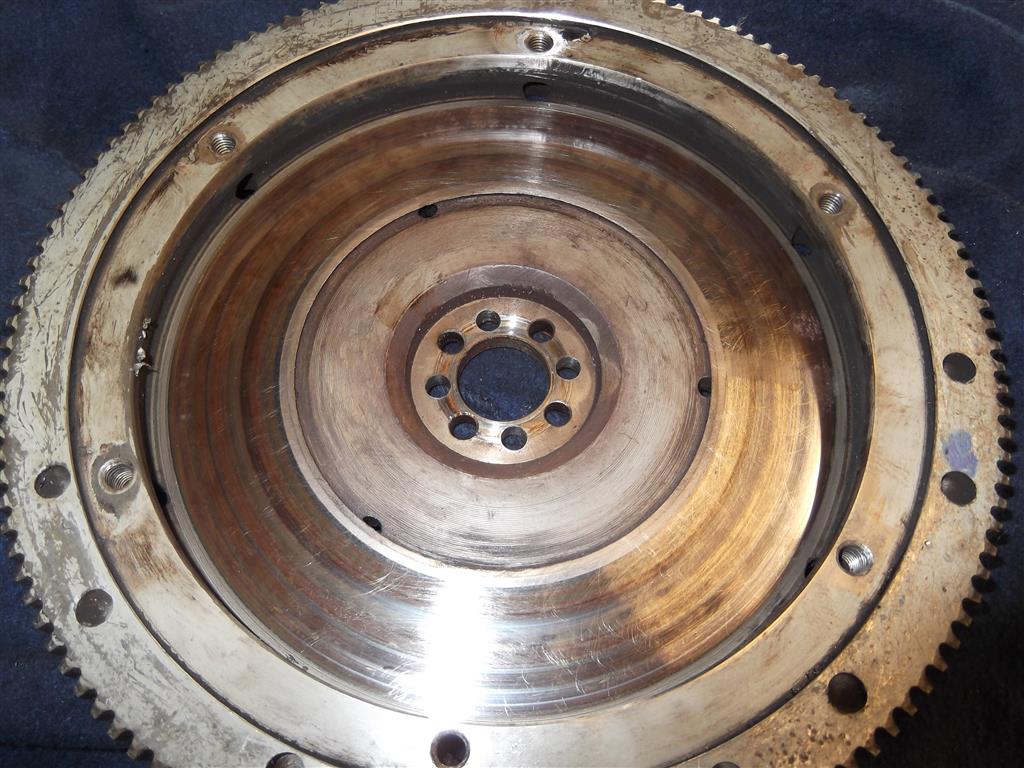
And then bolted it to the crank. Perfect fit - pretty tight but I am still able to (eventually) seperate the two without the need to make up a jog to remove the flywheel.
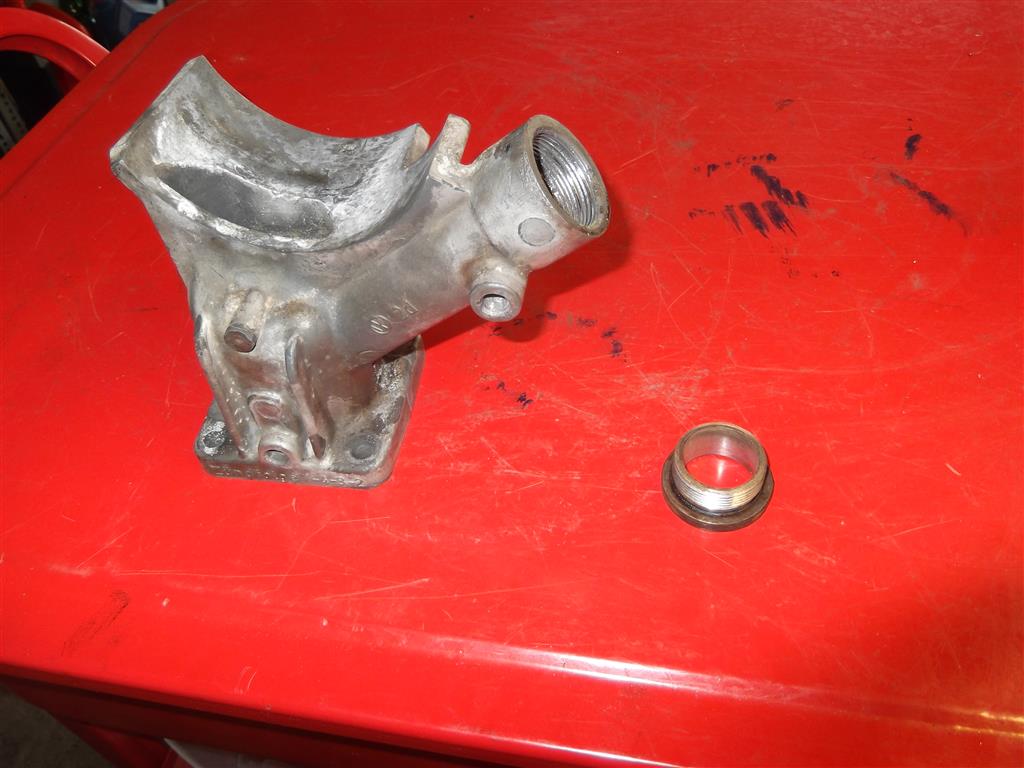
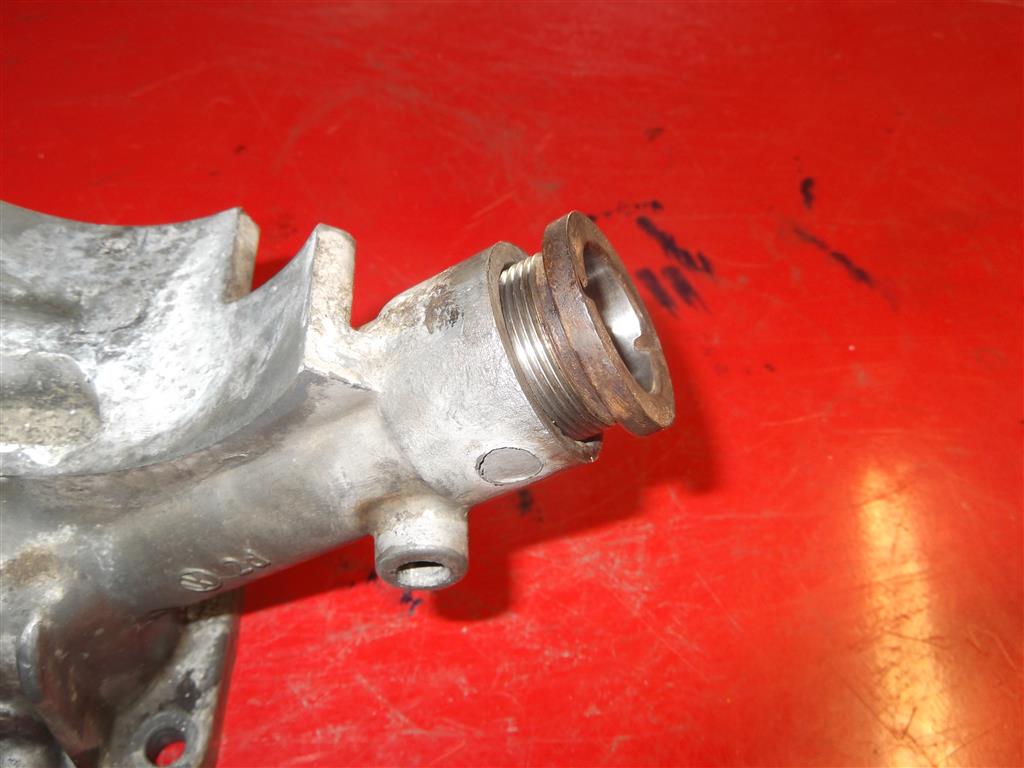
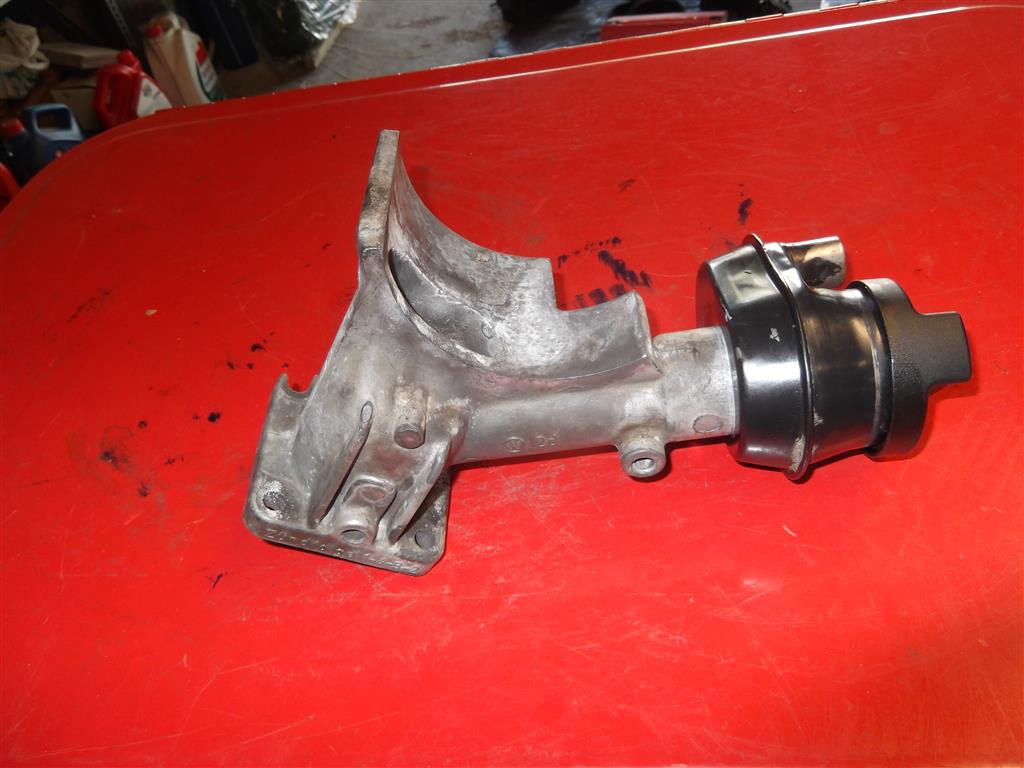
The alternator stand had a nice leak - so I went about fixing it
clean up everything, add some sealant and reassemble
Then at some point, I dropped off the internals for balancing.
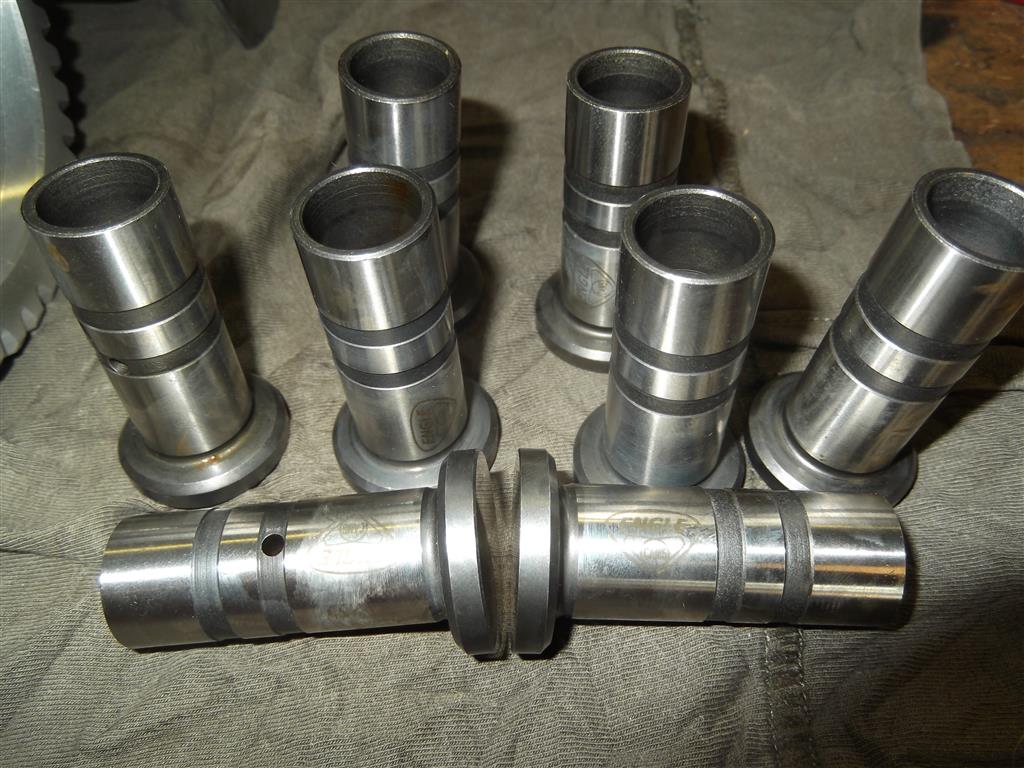
Keep in mind, this is nearly a new engine, with a new crank, new rods, new pistons and barrels, new oil pump, and new cam and followers.
Most of the parts were pretty close out of the box, but the pressure plate was way off. You can see all the material cut out to lighten one side
A few pics...


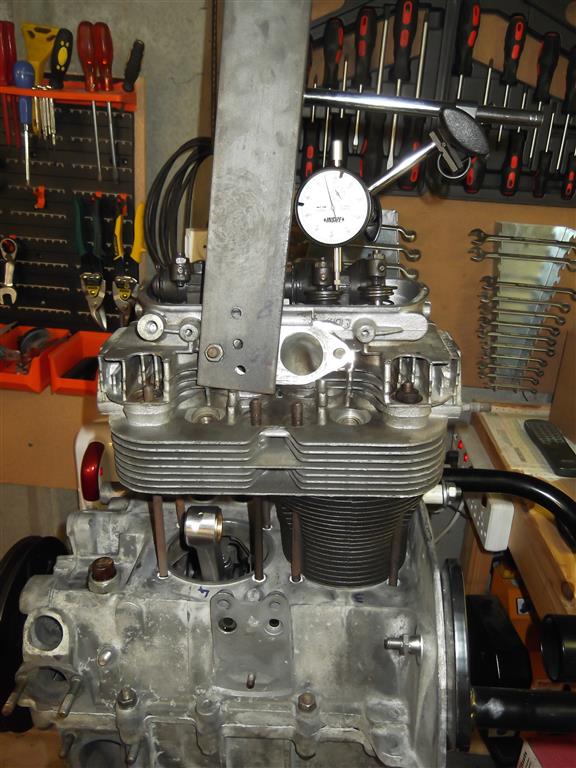
Setting deck height and finding the exact point of TDC.
I set the deckheight to 1.25mm. This needed a 0.5mm spacer on cylinders 1&2 and a 0.75mm spacer on cylinders 3&4, as well as the paper gasket.

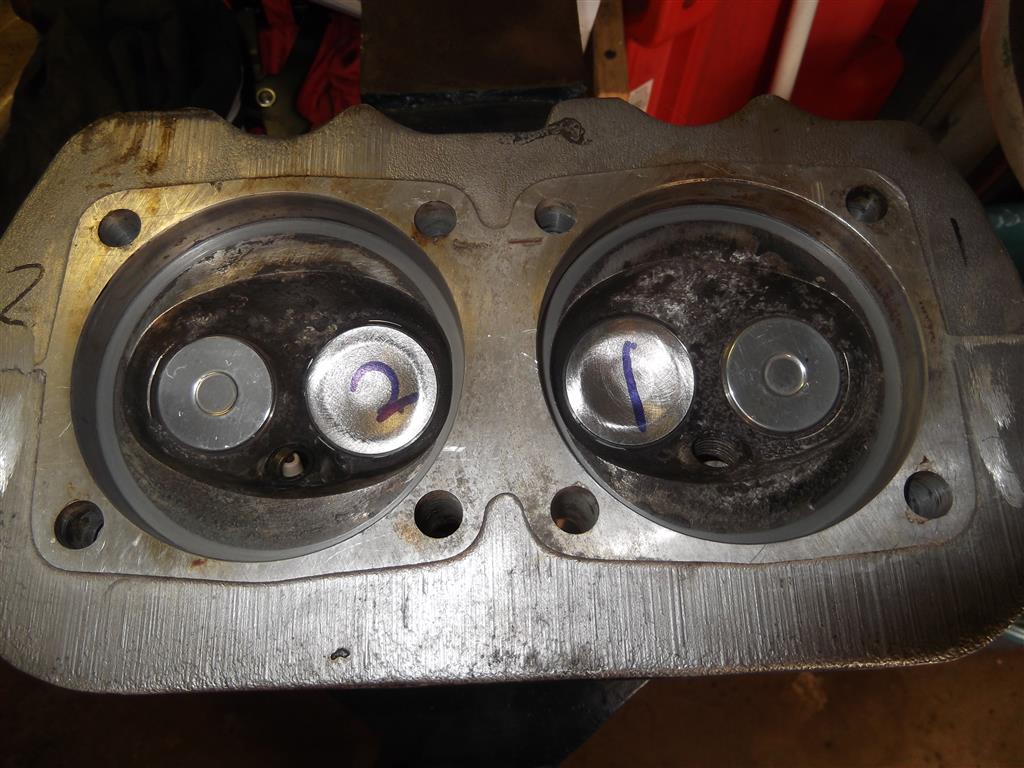
And then it was time for my mildly modified cylinder heads, cut for a little higher compression and new valves installed, with a few tricks here and there…
And then looking into a few minor details… making the “forget me not” tins fit “properly” instead of “just fitting”

And then setting rocker geometry.
Skip a few steps and its time to set endplay. This one took a while but I did use two different methods to measure and both ended up with 0.1mm float

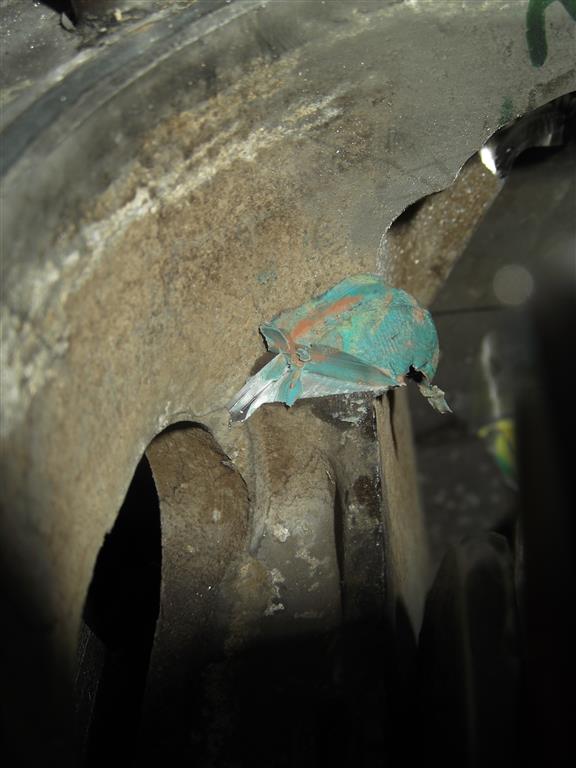
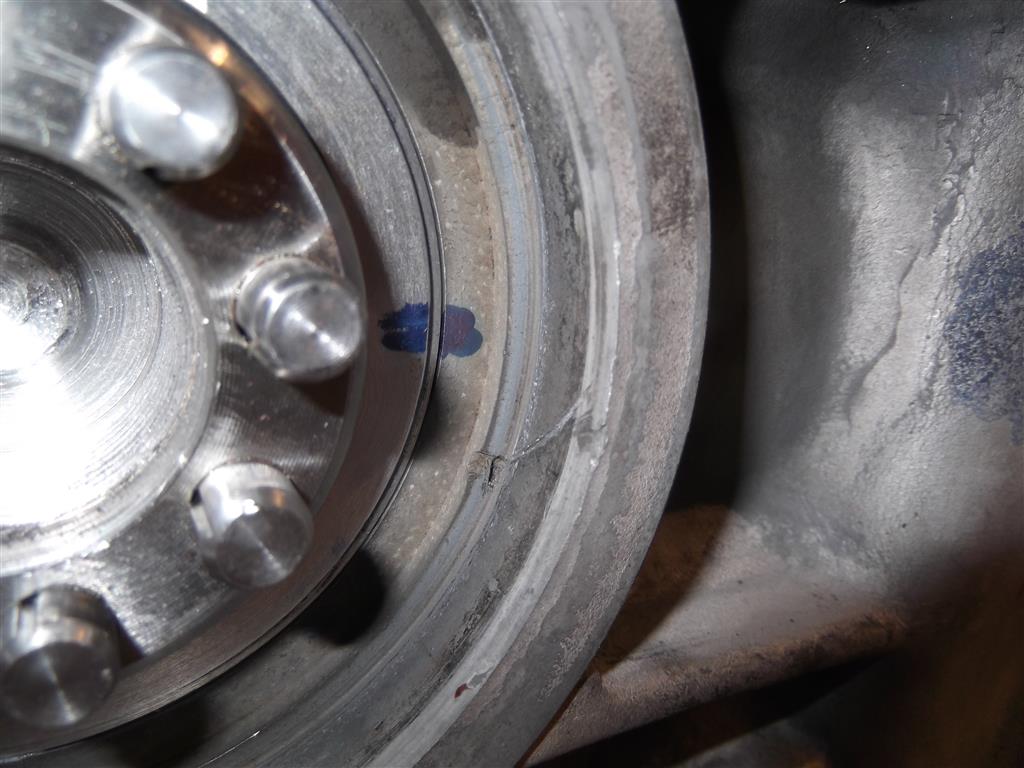
Flywheel off again to install the seal. But before putting in the seal, I had to deal with this little gouge that some moron at some point carved into the casing to get the seal out. It doesn’t look like much, but it is nearly 1mm deep and also about 1mm wide. Plenty enough to let oil past the seal and all over the flywheel .
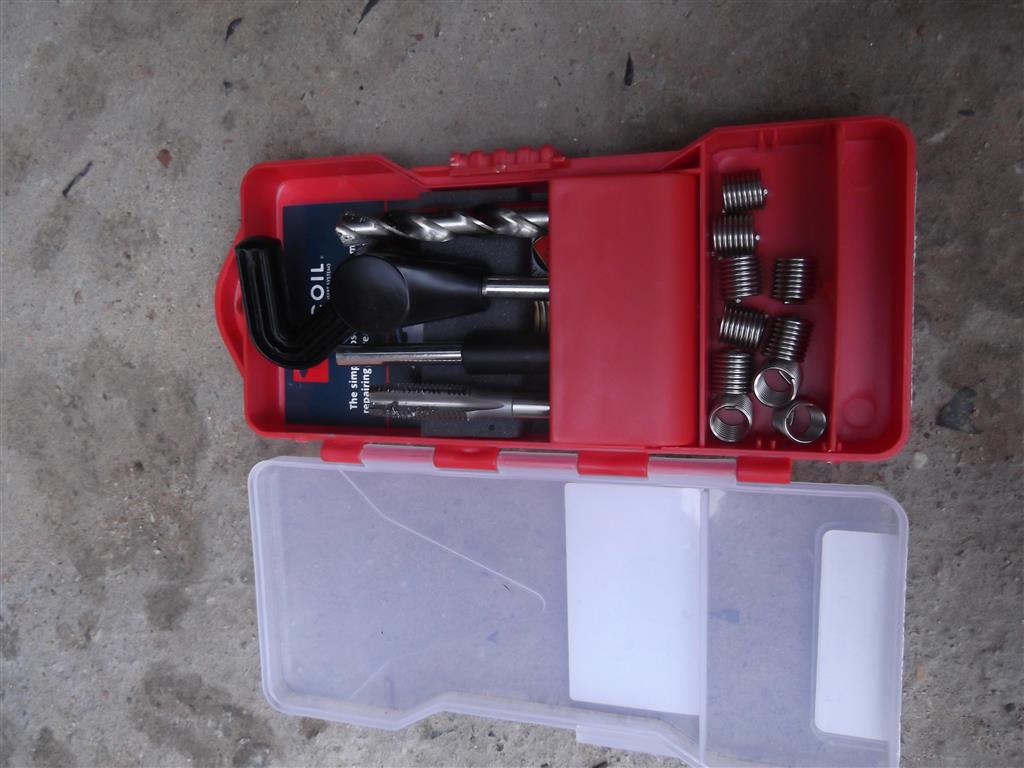
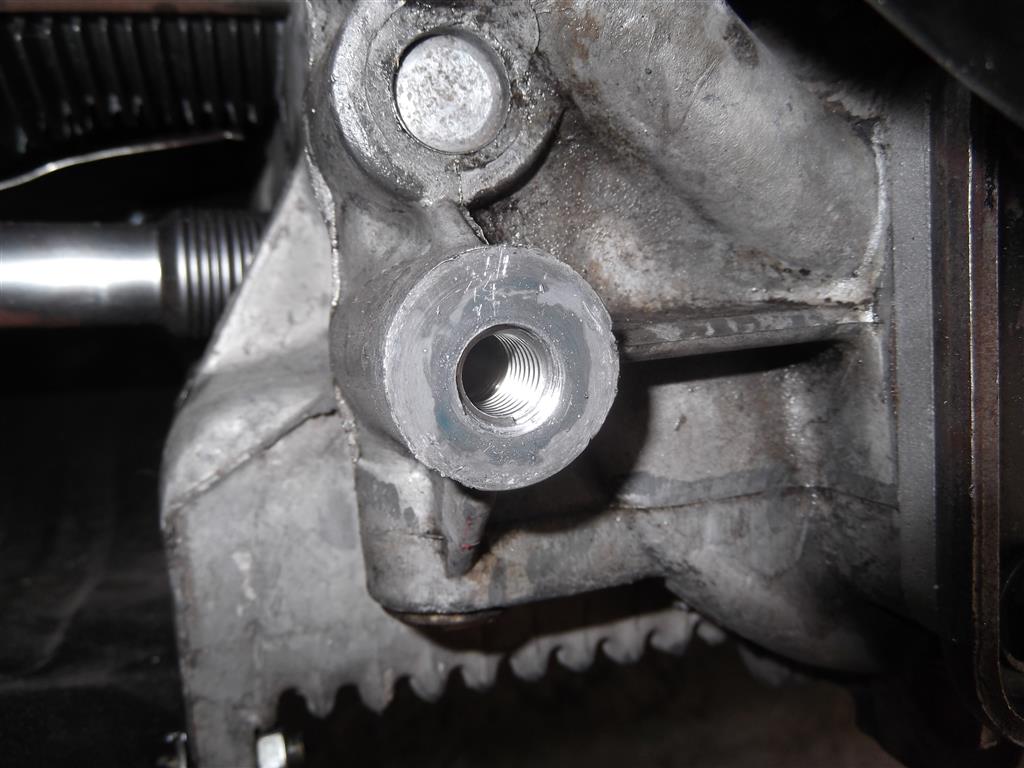
And then while fitting the engine, I found one of the moustache bar mounting points had been stripped… so out with the helicoil kit and put a new thread into it.
Then it was time for the break-in period. Everything setup, timing set by eye and carbs set by eye as best as possible. Made some temp wiring for the fuel pump and a tachometer in the engine bay so I can keep an eye on the engine speed while keeping an eye out for leaks.
When starting, i ran the fuel pump for a few seconds to prime the carbs, then tried to start the engine as normal. It fired immediately. I was fairly chuffed

Everything ran well, but I found the exhaust doesn’t fit particularly well. So this needed a bit more work later on… its still not perfect, but much better than it was.
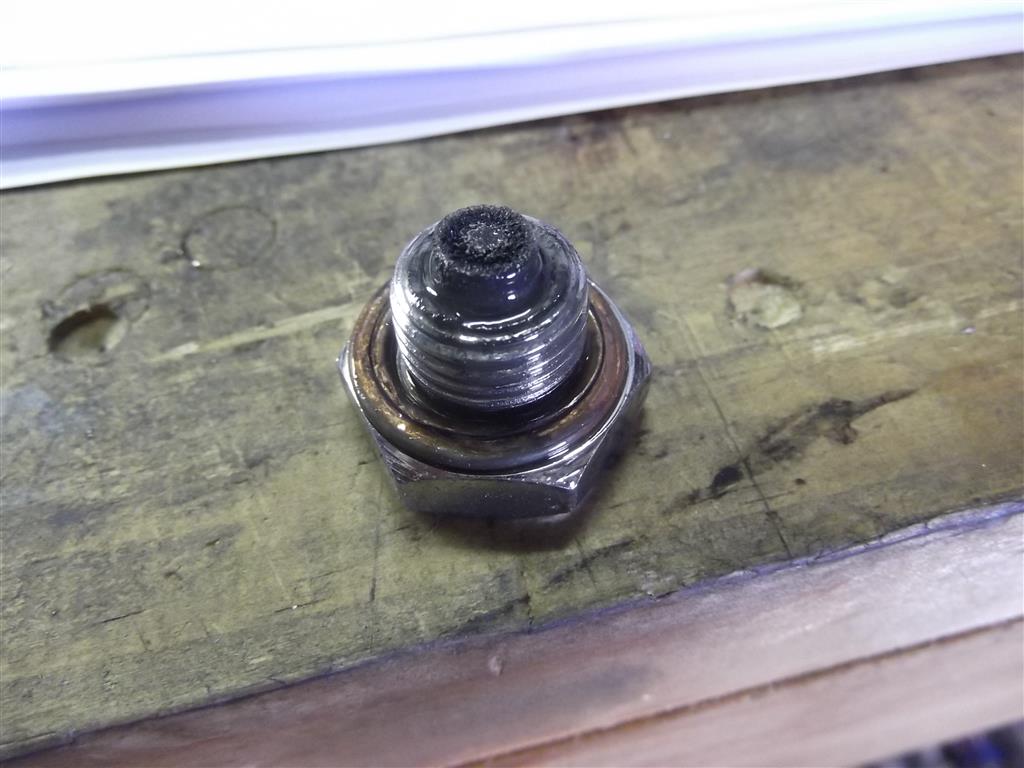
So after the initial cam break in period, it was time to drain the oil.
I use a magnetic drain plug to catch all the little bits so I can have an idea of how things are wearing…. As you can see, not much happened during the break in period, which is a good thing.
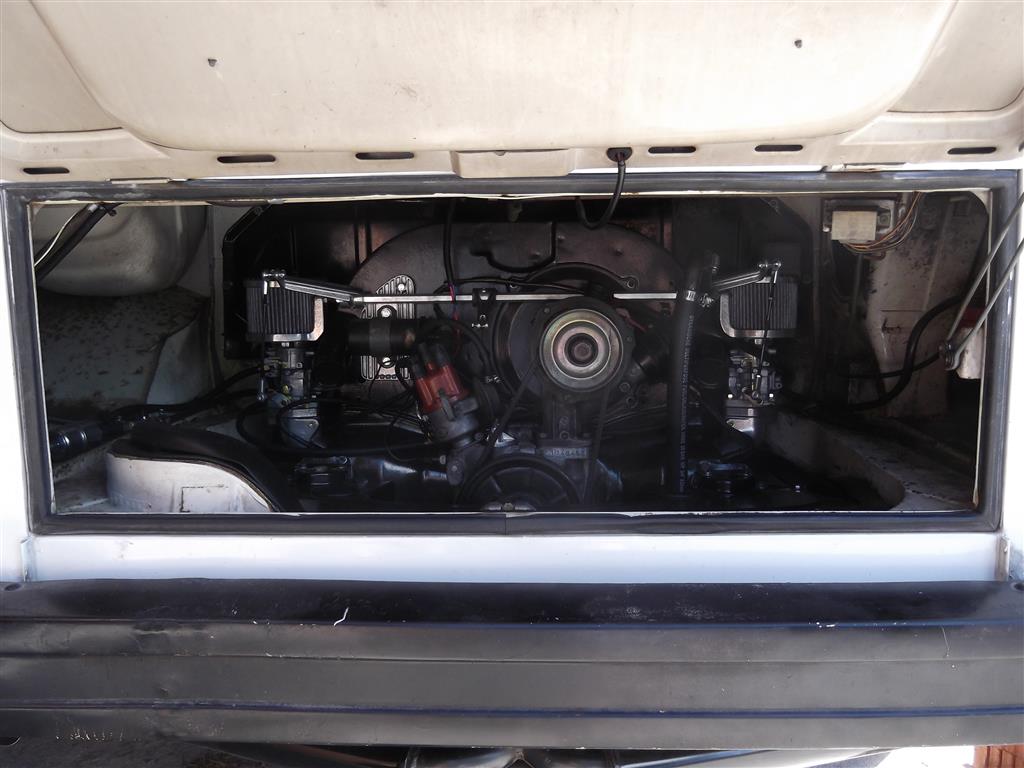
And this is more or less how the engine bay looks at the moment.
You can see that the dizzy sits at a funny angle. That is from the dizzy drive gear coming out a few times during assembly. It still works perfectly, it just sits at a funny angle. Good thing I am using an electric fuel pump and not the mechanical one

This morning I took the bus out on its first drive.
The results were great. 50km without any issues.
After the 20km drive home at 90km/h, as soon as I pulled into my driveway, I got out to feel the dipstick and it was warm, but not hot. I could hold it indefinitely without burning my hand. Remember, rule of thumb is that the engine is too hot if you cannot hold the dipstick for 10seconds without burning your hand.
So mine is running at a great temperature, all while running in the rings and barrels – it is this point where they create more heat than usual.
What is left to do on my worklist for this engine?
At some point I need to work on the carb jetting. Oh yes, I think I forgot to mention, this is a weber ICT carb kit.
I also need a different fuel pump relay. This one works fine and only works when the engine is running, but I realize now that there is another relay which one can buy which runs the pump for a few seconds to prime the carbs before you start the engine.
Then I need to get the exhaust sorted.
And I am not 100% happy with the carb linkage. So I need to make a plan here too.
Other than that, I am very happy with the progress so far.