My German Import RHD 58 - Updated

Give details and pictures of your ACVW projects here.
Post Reply
User avatar
karmakoma
Full-time Bug Nutter
Posts: 4126
Joined: Sat Mar 29, 2008 9:11 pm
What model do you have?: 69 dual trunk coupe
Location: Gauteng
Has thanked: 1 time
Been thanked: 8 times

Re: My German Import RHD 58

Post by karmakoma »

Will heed your advice guys thanks.
Anyone have a puller I can borrow? I can just see those pulleys spoiling the rest of the engine bay once the rear firewall is in.
Unfortunately this weekend's free time might be spent getting her running again. I checked the cables quickly before work this morning, and nothing was connected incorrectly or loose. Perhaps that old cable from the coil to the "vonk verdeler" :-) broke.
Will let you know what I find!
User avatar
lowlight
Fuel Injection
Posts: 2004
Joined: Fri May 18, 2007 3:10 pm
What model do you have?: beetle, bus, kg
Location: Pmb-KZN
Has thanked: 5 times
Been thanked: 14 times
South Africa

Re: My German Import RHD 58

Post by lowlight »

If you can get in to spray the bottom pully I would tape it off and spray it in place, especially if you cant get a puller.
Some days we are the flies , some days we are the windscreens
User avatar
karmakoma
Full-time Bug Nutter
Posts: 4126
Joined: Sat Mar 29, 2008 9:11 pm
What model do you have?: 69 dual trunk coupe
Location: Gauteng
Has thanked: 1 time
Been thanked: 8 times

Re: My German Import RHD 58

Post by karmakoma »

What a busy week! Helped arrange my mother-in-laws birthday bash, which was saturday. Had family and friends attend from all over the country. Lifts, invitations, directions etc, but thats nothing to do with ACVW, only that I had little time to play.
After the obligatory sunday lunch as well (nothing like a good plate of homestyle cooked food for a sunday afternoon :-) ) I thought I better do something on the beetle.

First thing was to get her started, after last weeks engine work.
Pic below, still lots of work to do, but not too bad, even in the harsh daylight.

Image

Before I start fiddling and unscrewing anything, I thought I'd just try start her again to try and figure out where the problem lies. Took off the main coil wire on both sides and reconnected it.
Would you believe it, she started first time!

With that sorted, I sanded down a rust spot on the right front of the car (Where the badly repaired accident damage is) and just covered it with a coat of primer and black spraypaint to prevent further rust. I dare not post a picture as it looks horrible, but its only until I can get it sprayed properly. The rust that was there was just surface, and I made the spot about 30% larger to make sure I get any rust lurking on the sides.....

Once that was done, it was getting cold, so I figured Its time for something I could take inside. I thought I would replace the assist straps with 2 x 2nd hand ones I had bought earlier. But when I took the old ones off, I realized they don't look the same. On close inspection after removal, the old ones didn't actually look too horrible. As long as I finish one item a week then we are making progress,
So into the bucket they went. Actually remembered to take a before pic in the nic of time!

Image

and although they are discoloured a little from all the years in the Pretoria sun, they look decent enough to re-use imho.
Small tear on the one, but I turned it around so it's hidden at the back. Should be fine once back in the car.

Image

Completing the firewall is next on the agenda. Was going to try today, but you know how it is when you rush something, bound to make a mistake!
User avatar
Rudi02
Oil Cooler
Posts: 337
Joined: Thu Jun 14, 2007 7:14 am
What model do you have?: 1952, 1957,1958,1959
Location: East Rand
Has thanked: 1 time
Been thanked: 33 times

Re: My German Import RHD 58

Post by Rudi02 »

Those straps just look so good.
User avatar
karmakoma
Full-time Bug Nutter
Posts: 4126
Joined: Sat Mar 29, 2008 9:11 pm
What model do you have?: 69 dual trunk coupe
Location: Gauteng
Has thanked: 1 time
Been thanked: 8 times

Re: My German Import RHD 58

Post by karmakoma »

Time for an update.
Not much done to the car, but lots of behind the scenes work.
Gave the papers to someone I know to start the licensing and registration process.

Made a orange/red air filter element sticker to look like the original, came out ok. I printed it on regular non gloss sticker paper, gives it more of a vintage look in my opinion (not all new and shiny).

Did a REAL BIG JOB today. Scanned in the entire 58 owners manual and divided each page so its one manual page per pdf page.

Image

That took AAAAAGGGGESSSS. While I was sitting there scanning, and then compiling, I read through some of the items again. The old manuals are invaluable. Really amazingly thorough. If anyone is interested I will email it to you, or perhaps EBEN wants to put it up on the site for download. After tweaking it a bit I got the original scans (170MB) down to a 7 mb pdf, while maintaining decent quality.

While I was browsing through the old documentation, I came across something the PO had mentioned, but I had CLEAN forgot about, the ... wait for it... ORIGINAL SALES INVOICE :shock: :

Image

and the deposit receipt attached to it:

Image

I then remembered that this week is most probably my Beetle's 51st Birthday (date of production) :hangloose:

Good thing then, that I spoilt her rotten today!

Went down to Van Den Brink's and managed to find a 4 TAB hood!!! Lots of free rust (mostly surface). But it is the correct type and salvageable :D , also got an almost new looking 6V Bosch wiper motor. Have to check if it has the same mechanism as mine, but should be, and a 6V interior light globe.

THEN, I went to Calooker, to pick up some items I ordered a while ago: (BTW, he's bug is looking great, and should be ready for Ferdi's swapmeet - no pressure! :twisted: )

Image

The items in the boxes I will reveal once she has had her paintwork completed and they can be fitted. Not too difficult to guess some of them though :) , also got a pair of new heavy duty running boards. Have to restore and fit the old wide beading to them and we are just about ready for a show.

Only items left to get now are the carpets and sections of headliner. Then the REAL work starts. I would call that a great beetle birthday, wouldn't you ?

:party:
User avatar
beetlefanatic
Donor
Donor
Posts: 3014
Joined: Wed Jan 30, 2008 9:59 am
What model do you have?: Late Bay, Syncro x 2
Location: Pretoria
Has thanked: 8 times
Been thanked: 12 times

Re: My German Import RHD 58

Post by beetlefanatic »

Congratiolations on your baby's birthday! You have to spoil him rotten. They get old so quick. :roll: :D
The only substitute for cubic inches are more cubic inches.
User avatar
Dutch_Diver
Full-time Bug Nutter
Posts: 4028
Joined: Tue Nov 20, 2007 8:52 am
What model do you have?: 64 bus & 63 Bug
Facebook: www.facebook.com/people/Frank-Van-Hoof/576686903
Location: St Ives, Dorset, UK
Been thanked: 10 times
Contact:

Re: My German Import RHD 58

Post by Dutch_Diver »

I can't wait to see more! When do you think she will be complete?
"MO" - 1965 Splitscreen bus --> http://www.aircooledvwsa.co.za/viewtopi ... =37&t=9305" onclick="window.open(this.href);return false;
"BOBBIE" - 1963 Beetle --> http://www.aircooledvwsa.co.za/viewtopi ... 23&t=11338" onclick="window.open(this.href);return false;
User avatar
Farhaad
Fuel Injection
Posts: 2114
Joined: Sat Jun 27, 2009 10:52 pm
What model do you have?: memories
Location: cape town
Been thanked: 2 times

Re: My German Import RHD 58

Post by Farhaad »

karmakoma, great progress, looking good congrats. btw wat did u use to clean up those plastic handles.
User avatar
karmakoma
Full-time Bug Nutter
Posts: 4126
Joined: Sat Mar 29, 2008 9:11 pm
What model do you have?: 69 dual trunk coupe
Location: Gauteng
Has thanked: 1 time
Been thanked: 8 times

Re: My German Import RHD 58

Post by karmakoma »

Dutch, once she is roadworthied and licensed, then I can take her for spraypainting, and when she comes back, fit all the goodies and that will be that. Once the licensing is done though, nothing prevents me from driving her around! No problems as far as I can tell.

Farhaad, I used ordinary sunlight and water and handy andy on the tough spots.
Last edited by karmakoma on Mon Aug 10, 2009 1:13 am, edited 1 time in total.
User avatar
karmakoma
Full-time Bug Nutter
Posts: 4126
Joined: Sat Mar 29, 2008 9:11 pm
What model do you have?: 69 dual trunk coupe
Location: Gauteng
Has thanked: 1 time
Been thanked: 8 times

Re: My German Import RHD 58

Post by karmakoma »

Update 9/8/09

Firstly, apologies for the quality of the pics, my cellphone is usually handy, but it does not take great pics in low light conditions, and I only started at 4:30.

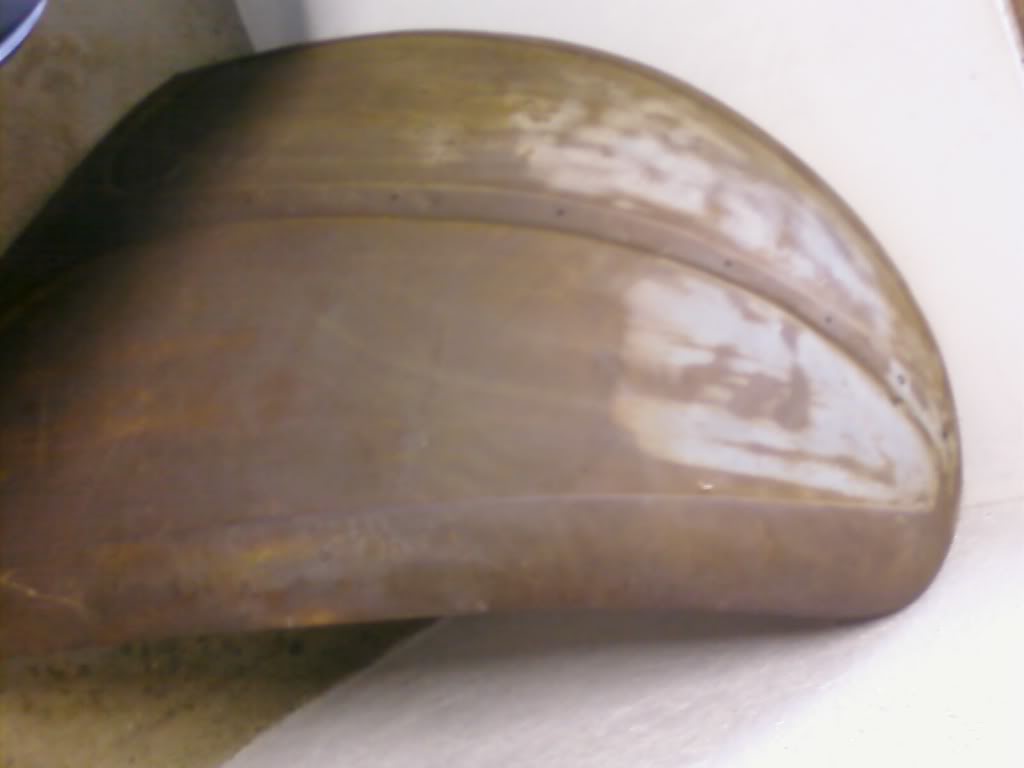
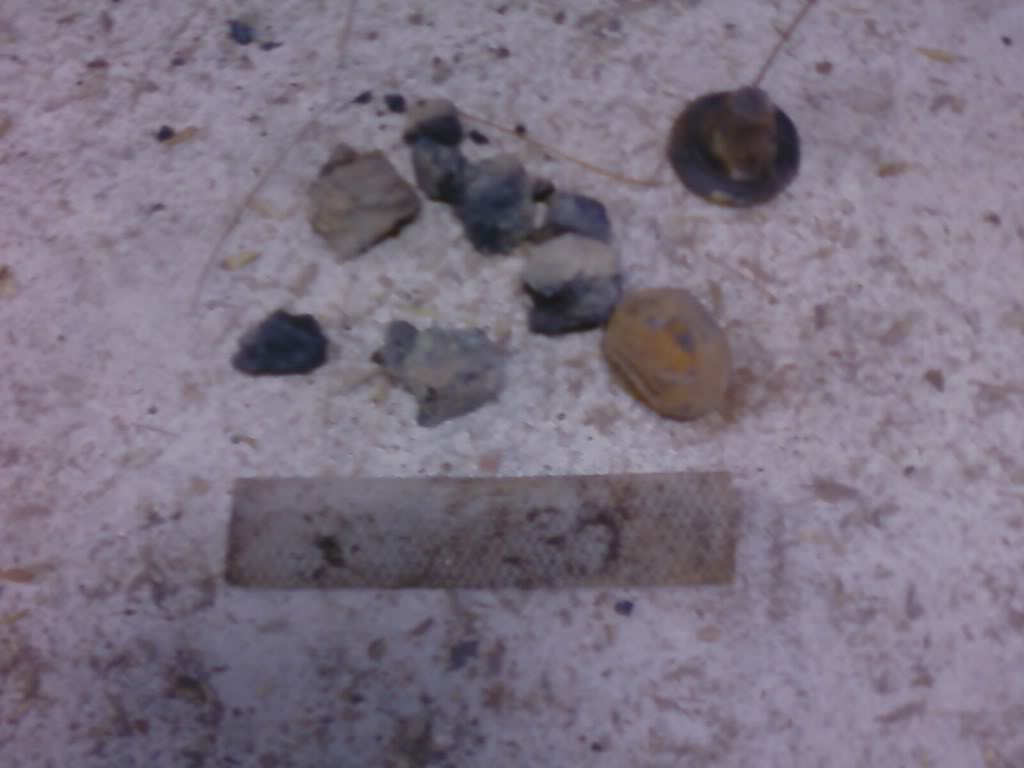
Started fiddling around with my car today, and found some rust - EEEEKKKK.
The bottom of the passenger side A-Pillar is rusted through. Fortunately only the outside skin, the part the door attaches too and the heater channel (by some miracle) is all fine. I used a steel wire brush and an old toothbrush to get all the loose rust off and out of all the crevasses, then painted it with a rust converter to stop the rot from spreading. Did the same with the rust spots on the bonnet and front wings. What is strange about the A-pillar's rust, is that the entire pan, and under the wings is as clean and dry as you will find in a beetle. I can only assume that the car was left in the rain with the bonnet off, as it looks to have rusted through from the inside ? And look at the stuff that came out of that hole, a piece of charcoal, some velcro, couple of stones! What the ??!!

Image

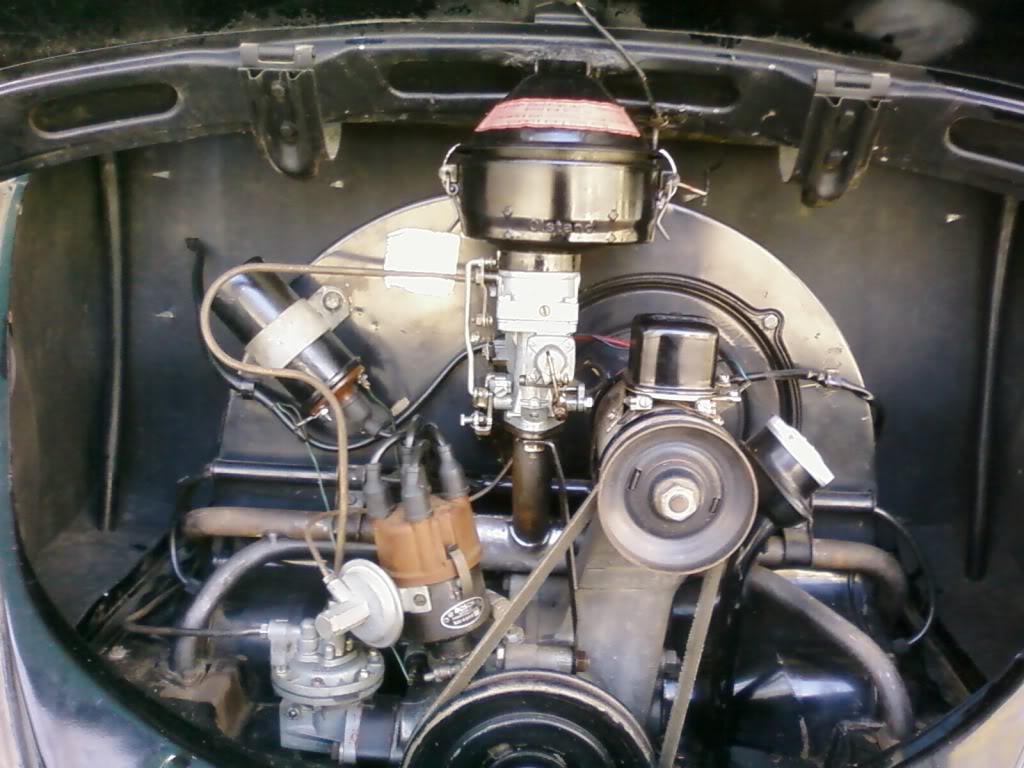
Fitted the new firewall this afternoon. That sounds so simple :lol:
Let's call it my guide on not the ideal way to fit a firewall.

Preperation:
Invite a friend/relative or compel your old enough KID to help. You can do this alone, but trust me, it's better to have someone help. (I did not think it necessary, so I struggled alone)

Drop the engine.
Again, you can do this with the engine in place, like I did, BUT DAMN, what a mission! I am pretty sure it will be a LOT easier with the engine out.

Right, now that we have that out of the way.

Step 1:
Disconnect the battery.
Step 2:
Double check that you disconnected the battery - dont ask. :-)

Make sure all the metal spikes protruding from the firewall are nice and straight.

The new firewall material is pretty thick and strong stuff, so not too easy to manipulate.
I took the air filter off, and then slid the firewall in from the top. I realized later it would also have been easier to do had I removed the engine lid.

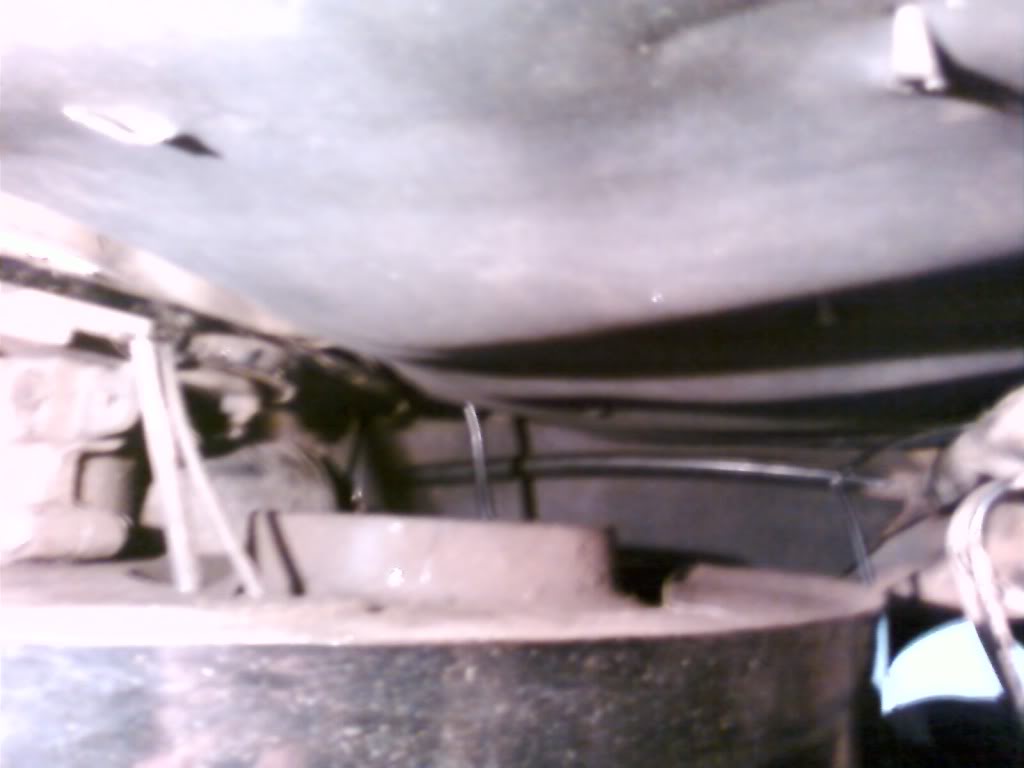
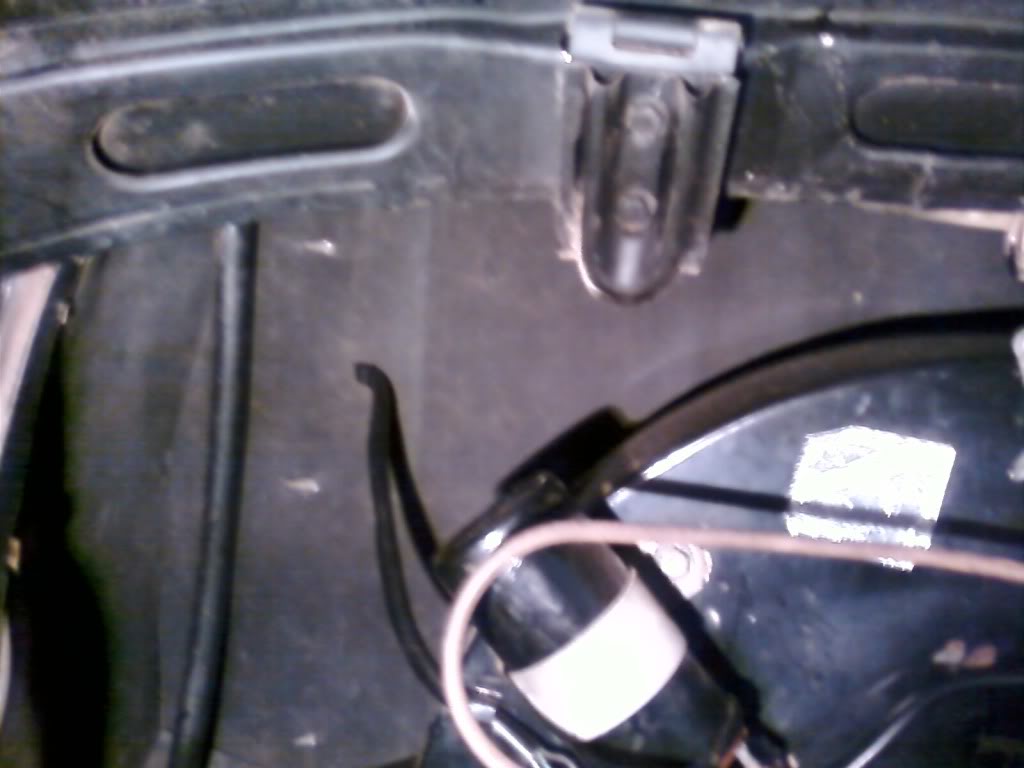
Started at the bottom and made sure the new firewall was nicely tucked in along the bottom of the engine bay and also behind the engine tin seal at the back of the doghouse cooler. Besides the bunch of spikes I also found two large metal tabs directly behind the engine fan intake (felt them, could not see them at all), slid the new firewall behind them and bent them back as tight as the limited space would allow.

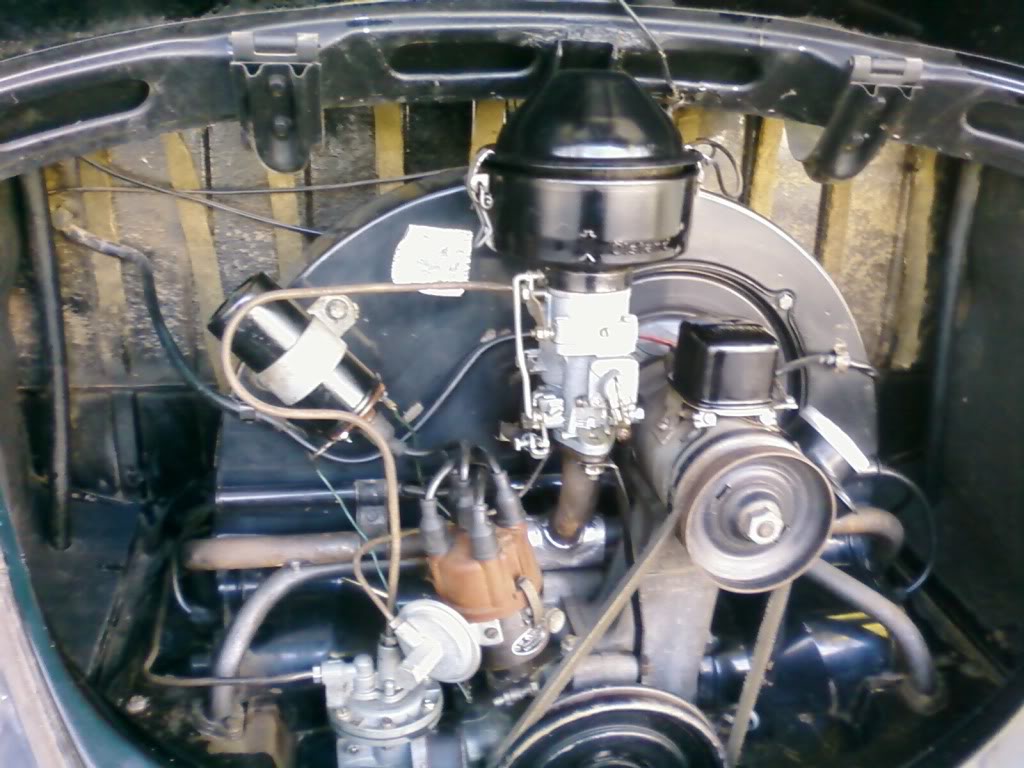
I had a lead light with me, so I could take some pics afterwards of what was going on back there:
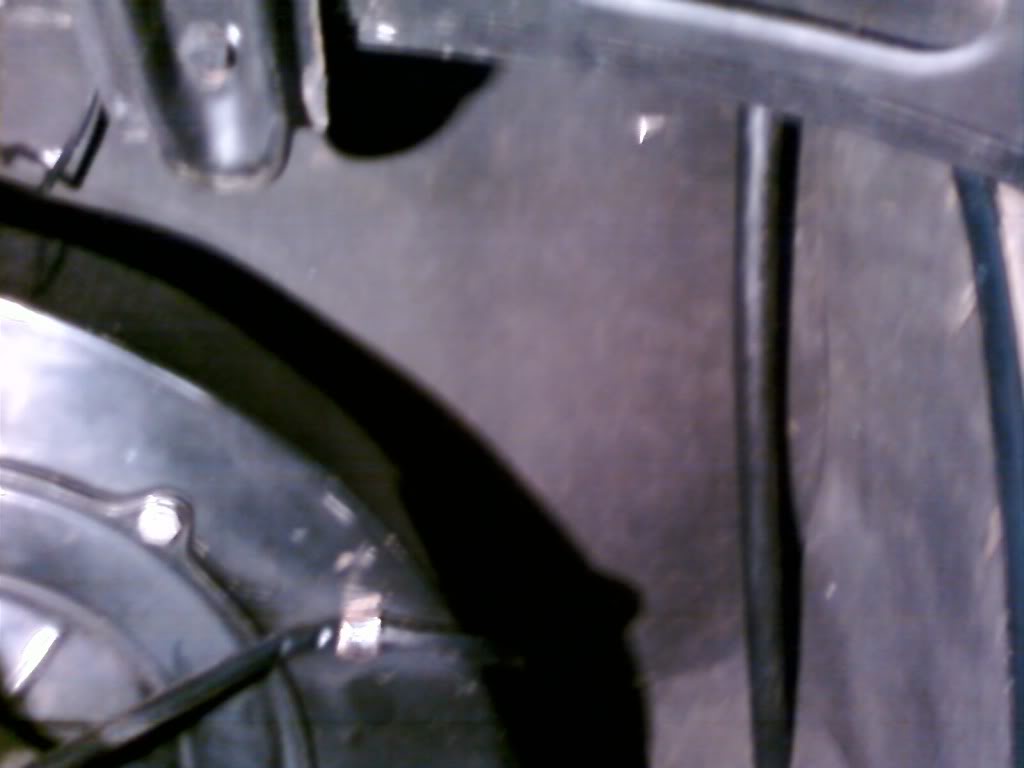
Image

The FAN:

Image

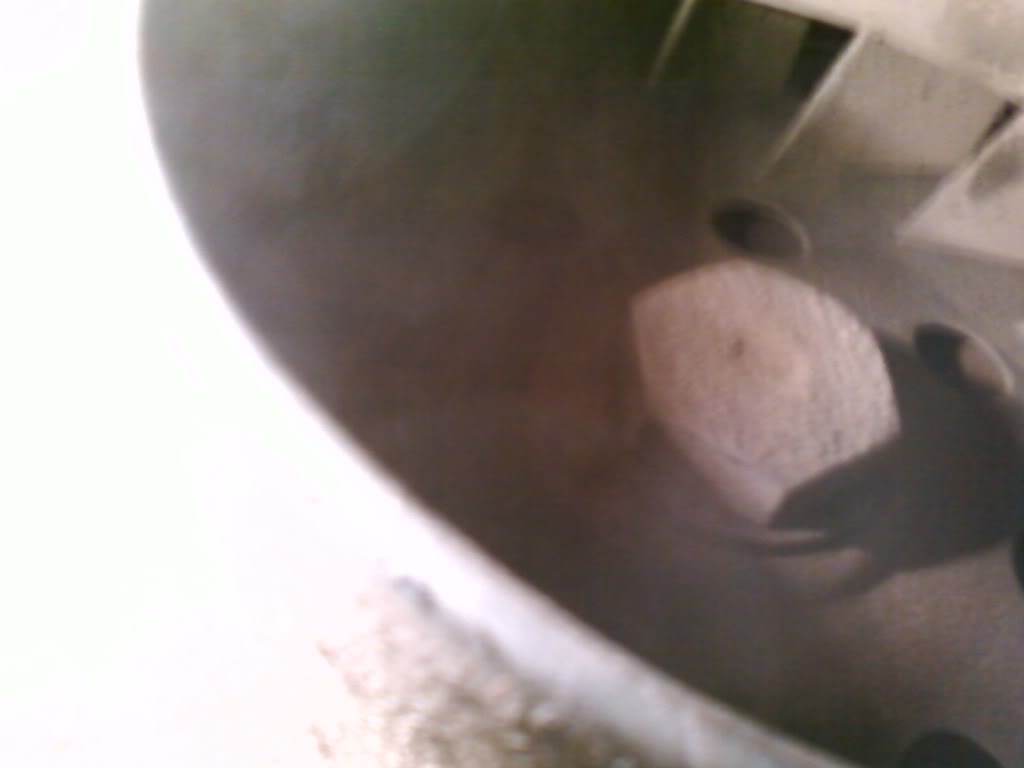
Working from the bottom up I then pushed the firewall through the spikes as tight to the metal as possible, and bent them closed. This sounds much quicker and easier than it is, as you cannot see or get in behind the engine, so its working blind and feeling your way as you go. At least the bits to the left and right of the engine was not too difficult.

Image

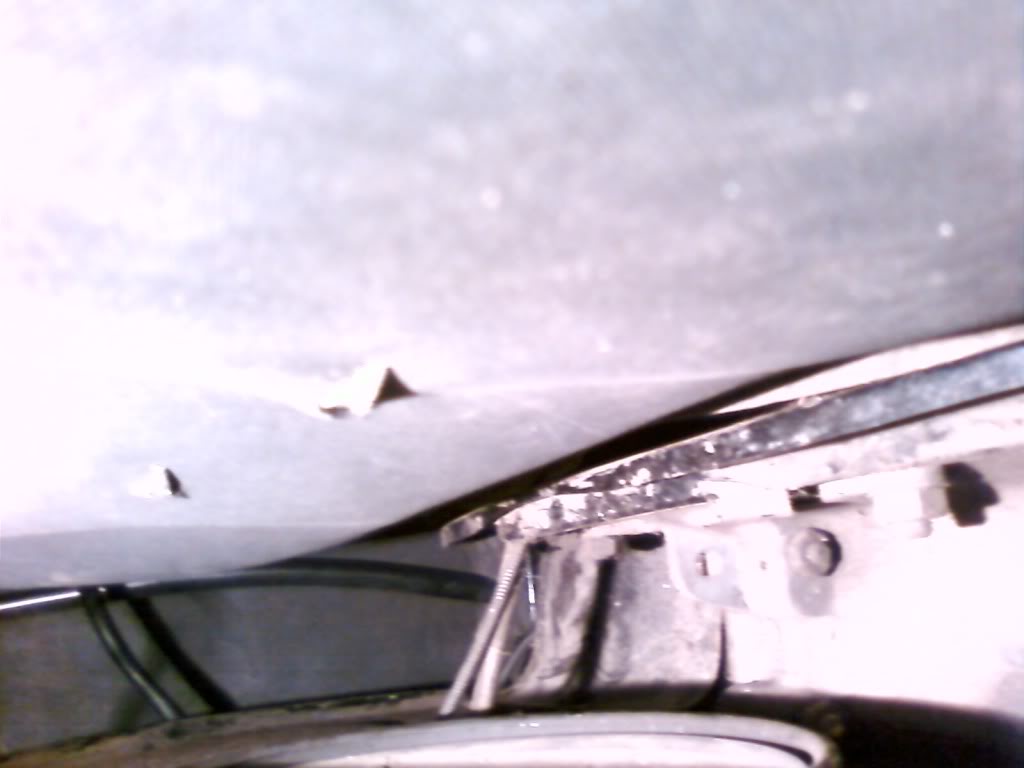
I checked and double checked and got it as tight to the metal backing as possible, then folded the top of the firewall double, and pushed it in behind the drip rail with the back of a small wrench, to get it in there as tightly as possible and to make sure it stays in place.

This short description of the process took me a couple of hours! Oh, before I forget. I undid all the wires going to the engine, measured their existing location. Then measured this out on the firewall and cut the holes to thread them through before starting the fitment process. Definately the easier way to do this.

I also listened to the advice offered, and used some upholsterers spray-on glue (Got a can from MICA). Sprayed the back of the new firewall in the area behind the fan intake with some before pushing it back against the metal. I am confident this will also help secure the firewall. Those metal spikes are pretty good at keeping it in place though, so if all yours are in tact and you have the patience to re-use them, I can't see how the firewall will come loose.

Left Side (note the spikes):

Image

Right Side:

Image

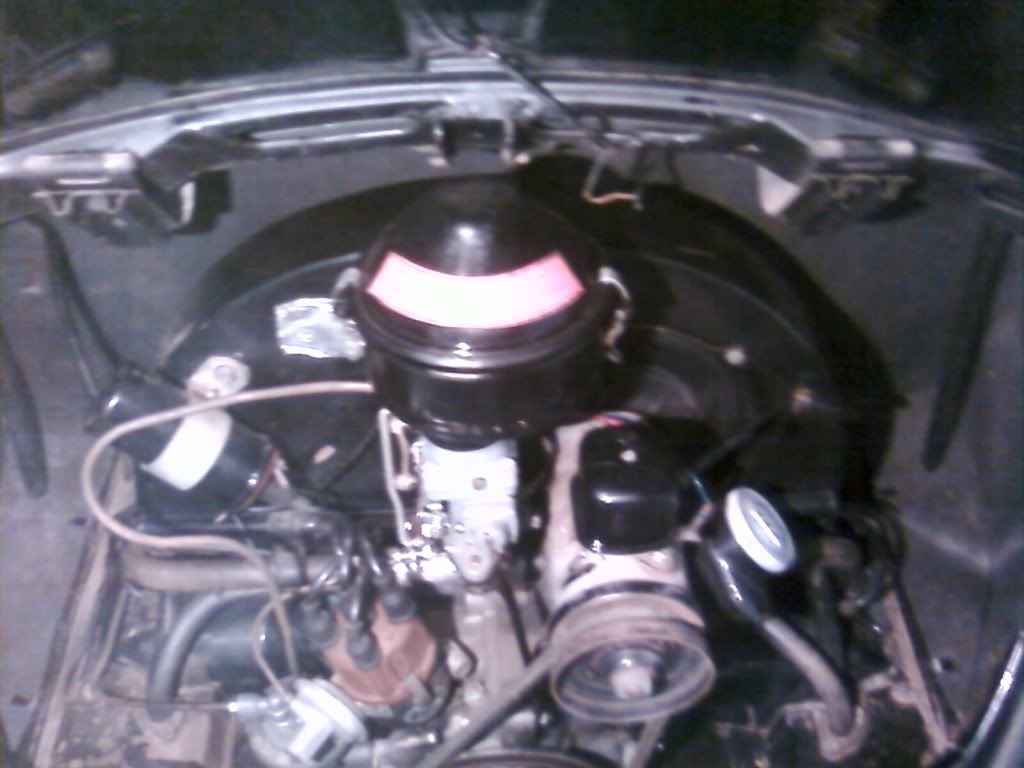
Reconnected the battery and then it was time to test, started the engine up and at idle all was well, increased the rev's and looked for any pieces flapping around but all was still good. So one MAJOR job can be ticked off my list. :hangloose: :-)
Also make sure to fit the sides and bottom pieces last, I had to remove them again in any case to get the back piece in.

Image

Will take some better pictures during the day.

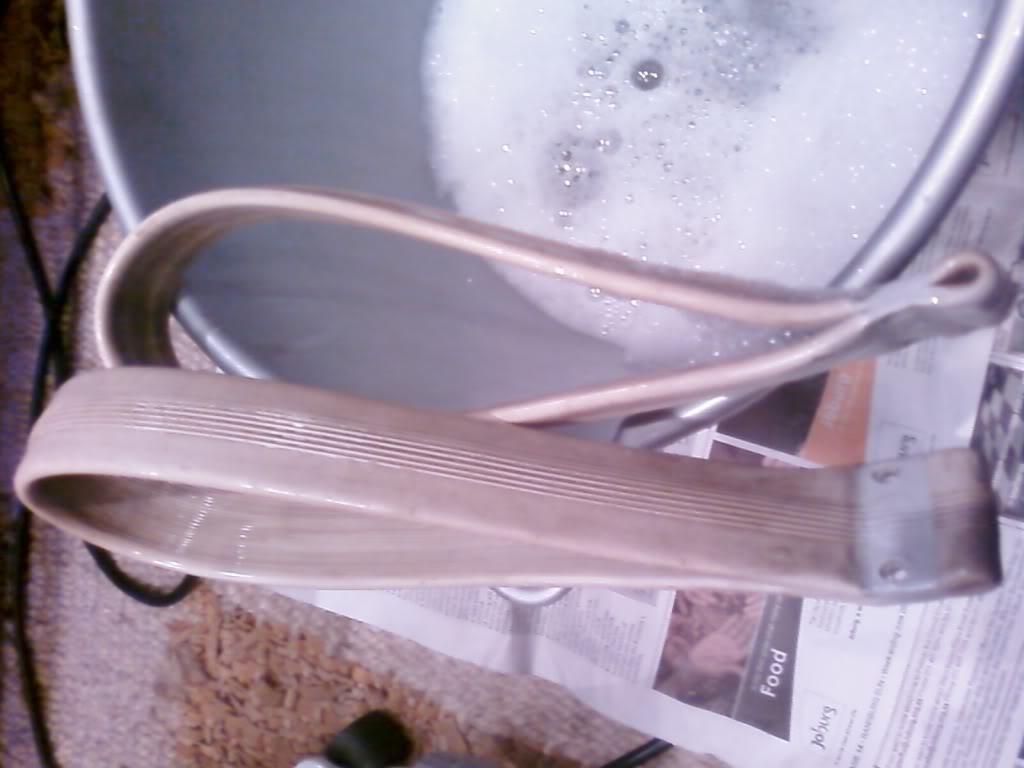
You would think this was enough done for one day, but no, Karma was feeling STRONG, hehe, and I haven't had a chance to work on my car properly in a while, and I was already dirty, so time to fit the wiper motor I got yesterday.

I tested the old one again just to make sure it was really faulty, another blown old fuse confirmed that. :roll:

Removed the two wiper arms and blades, then the nuts holding the assembly to the body, one nut just about under the vw bonnet badge and out comes the entire thing.

Removed the tired motor from the assembly, and the name says it all. A VOC

Image

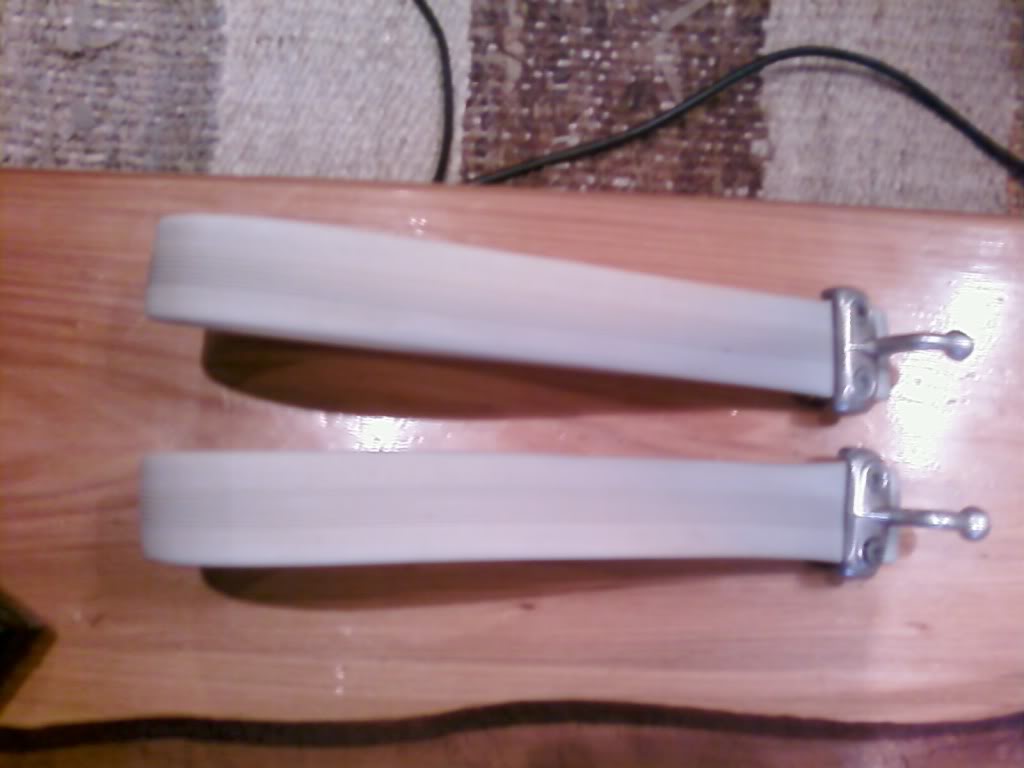
Fitted the new (old but working) Bosch motor to the assembly:

Image

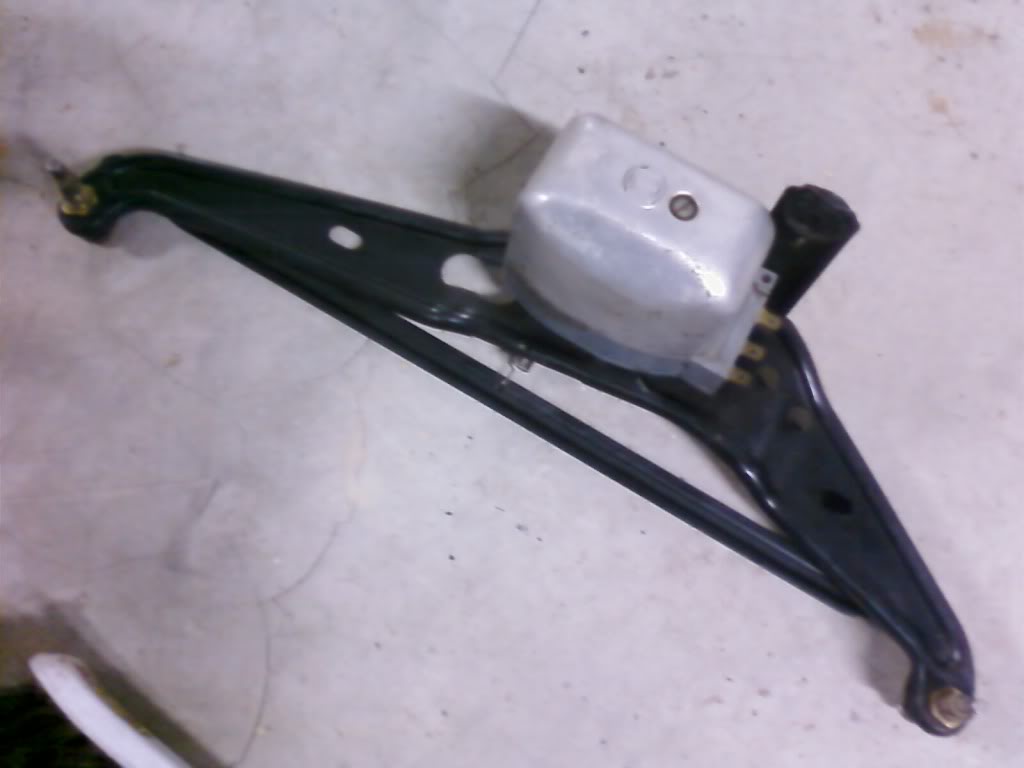
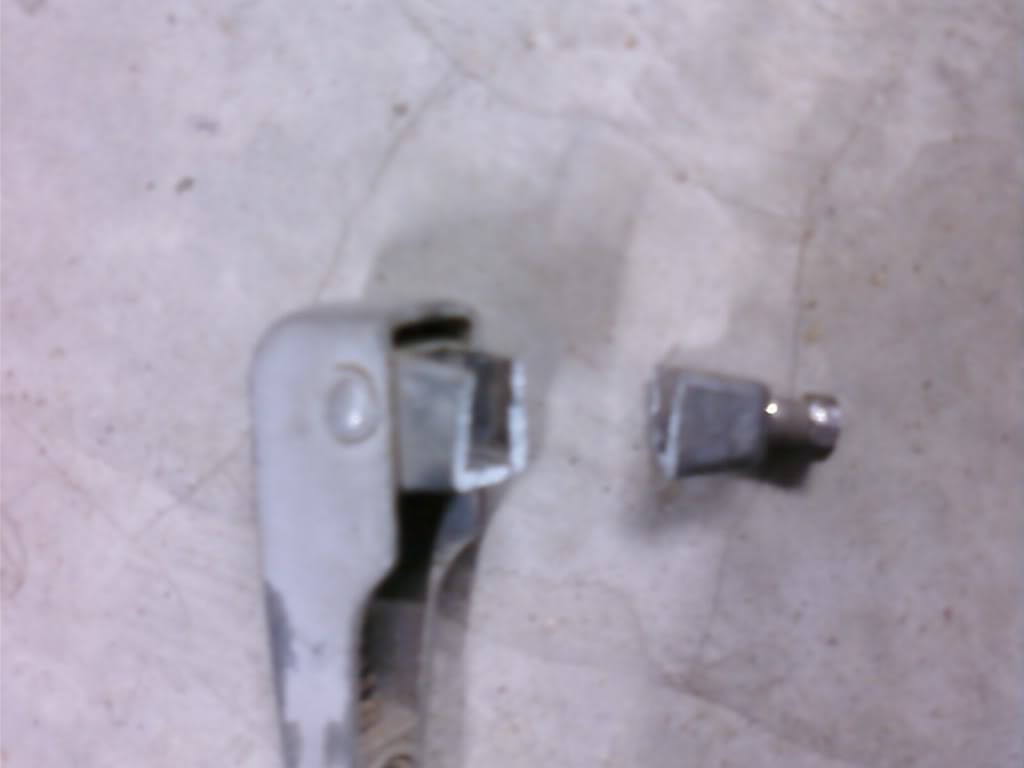
Then bolted it back into place, fitted the wiper arms and just when I though it was a great days work, the passenger side wiper assembly broke as I was tightening the screw :cry:
It was obviously brittle with age, but still, not funny. Anyone have a wiper arm for me ?

Image

Image

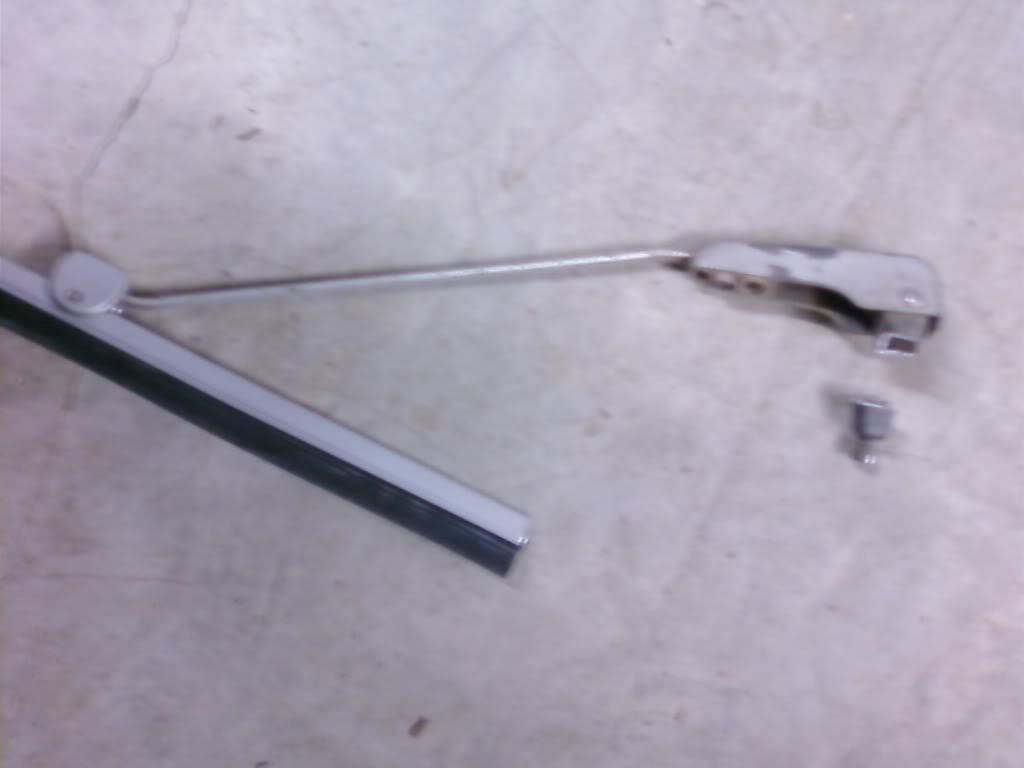
At least the drivers side is fine and the wipers now work :hangloose:

All-in-all not a bad days work, but phew, that took a little longer than expected.
User avatar
karmakoma
Full-time Bug Nutter
Posts: 4126
Joined: Sat Mar 29, 2008 9:11 pm
What model do you have?: 69 dual trunk coupe
Location: Gauteng
Has thanked: 1 time
Been thanked: 8 times

Re: My German Import RHD 58

Post by karmakoma »

No Thread is complete without some rust pics.

My 4 Tab hood: Yes, my wife just shook her head when I brought this home!

Image
User avatar
karmakoma
Full-time Bug Nutter
Posts: 4126
Joined: Sat Mar 29, 2008 9:11 pm
What model do you have?: 69 dual trunk coupe
Location: Gauteng
Has thanked: 1 time
Been thanked: 8 times

Re: My German Import RHD 58 - Updated 9/08/09

Post by karmakoma »

Cool, my 58 manual is on The Samba!
http://www.thesamba.com/vw/archives/manuals/type1.php

Look for April 58 - English - Yours Truly - Riaan
User avatar
karmakoma
Full-time Bug Nutter
Posts: 4126
Joined: Sat Mar 29, 2008 9:11 pm
What model do you have?: 69 dual trunk coupe
Location: Gauteng
Has thanked: 1 time
Been thanked: 8 times

Re: My German Import RHD 58 - Updated 9/08/09

Post by karmakoma »

Pic I took this morning of the new firewall.

Now all it needs is a good clean....

Image
User avatar
beetlefanatic
Donor
Donor
Posts: 3014
Joined: Wed Jan 30, 2008 9:59 am
What model do you have?: Late Bay, Syncro x 2
Location: Pretoria
Has thanked: 8 times
Been thanked: 12 times

Re: My German Import RHD 58 - Updated 9/08/09

Post by beetlefanatic »

HI Riaan, that engine bay looks clean except for the bit of tin that needs some more paint. :twisted:

From the pics it looks as if the wiper arm could be the same as a split bus one. Maybe the fundi's can comment. No problem then, just run down to Autozone and get a new one. :D Please get me one as well for the split. I'll sort the money out when I get back.
The only substitute for cubic inches are more cubic inches.
User avatar
Dutch_Diver
Full-time Bug Nutter
Posts: 4028
Joined: Tue Nov 20, 2007 8:52 am
What model do you have?: 64 bus & 63 Bug
Facebook: www.facebook.com/people/Frank-Van-Hoof/576686903
Location: St Ives, Dorset, UK
Been thanked: 10 times
Contact:

Re: My German Import RHD 58 - Updated 9/08/09

Post by Dutch_Diver »

KK, I'm glad you posted this as I'm just about to fit the rubber firewall kit that I bought off Calooker earlier and this has made me think about it more. Nice work! :hangloose:
"MO" - 1965 Splitscreen bus --> http://www.aircooledvwsa.co.za/viewtopi ... =37&t=9305" onclick="window.open(this.href);return false;
"BOBBIE" - 1963 Beetle --> http://www.aircooledvwsa.co.za/viewtopi ... 23&t=11338" onclick="window.open(this.href);return false;
Post Reply