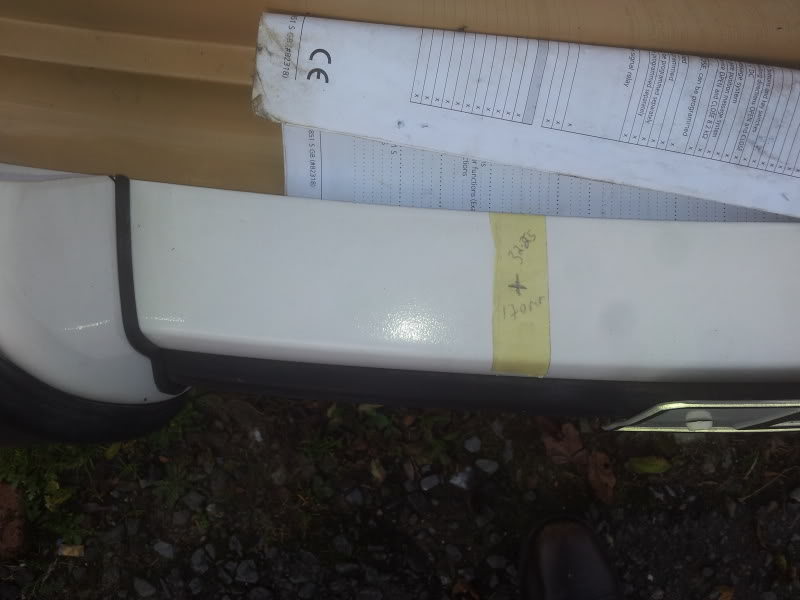
Fouth coat:-
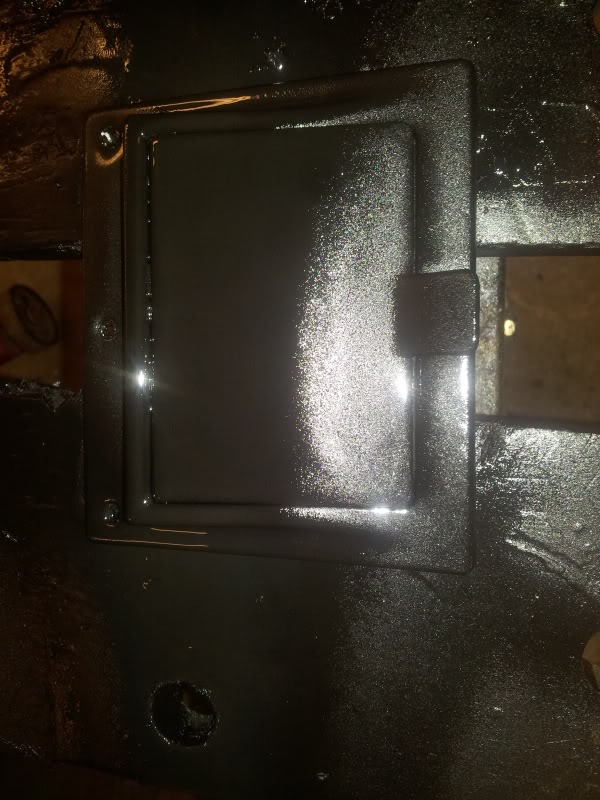
Fith coat:-
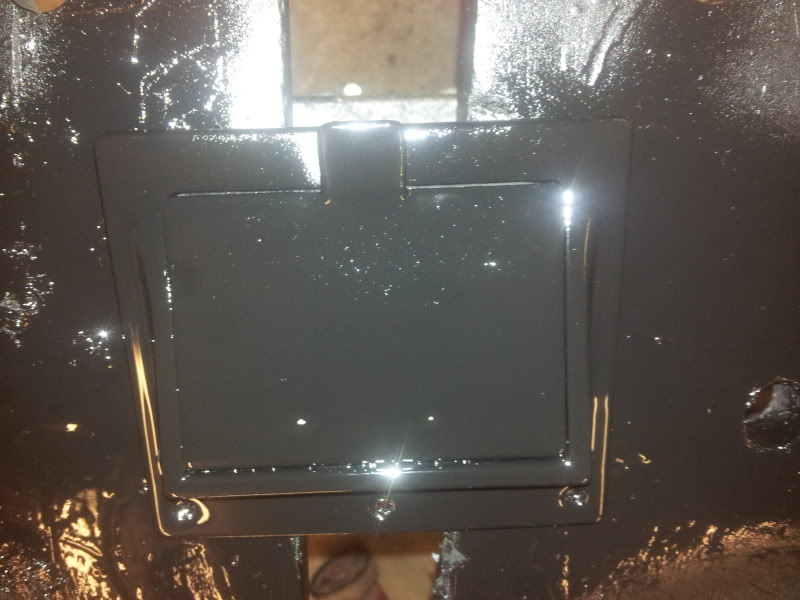
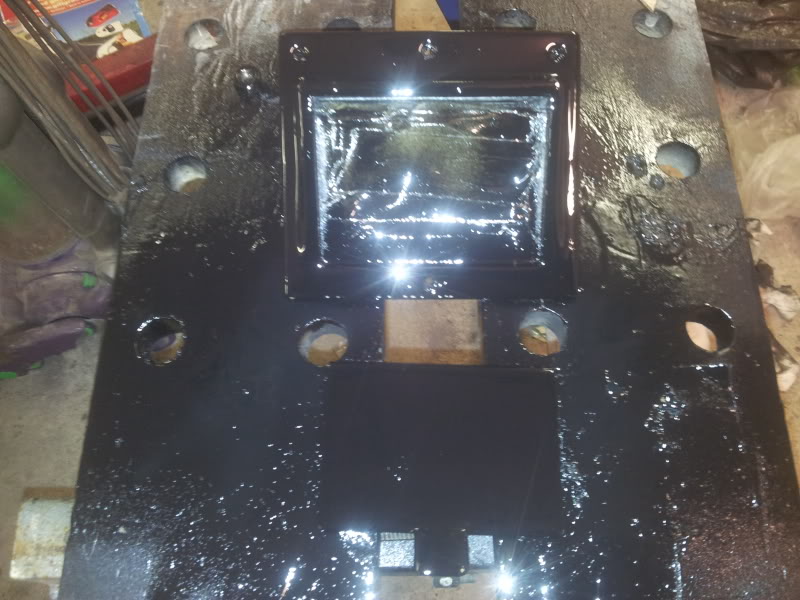
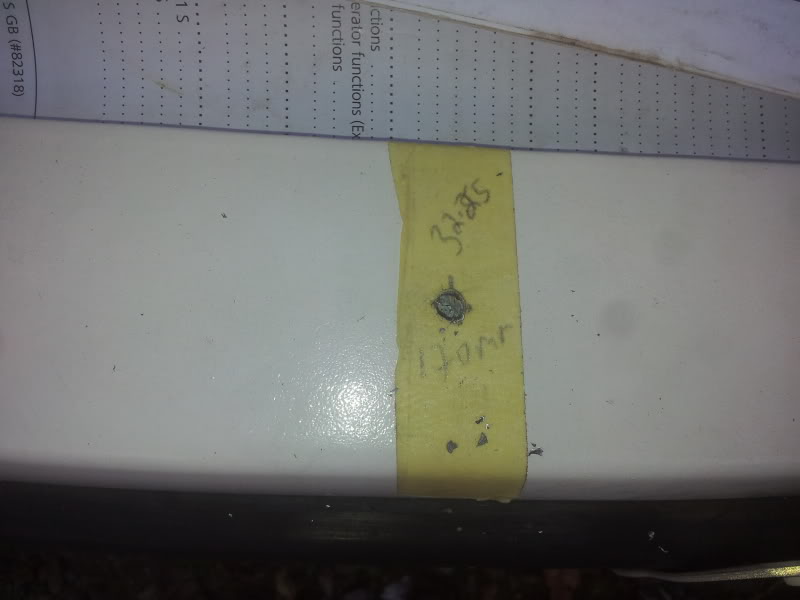
sixth coat:-
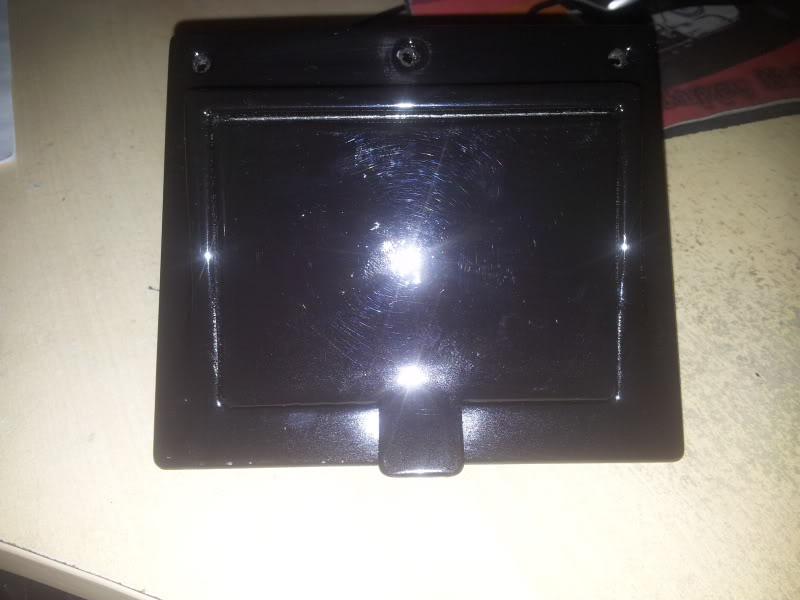
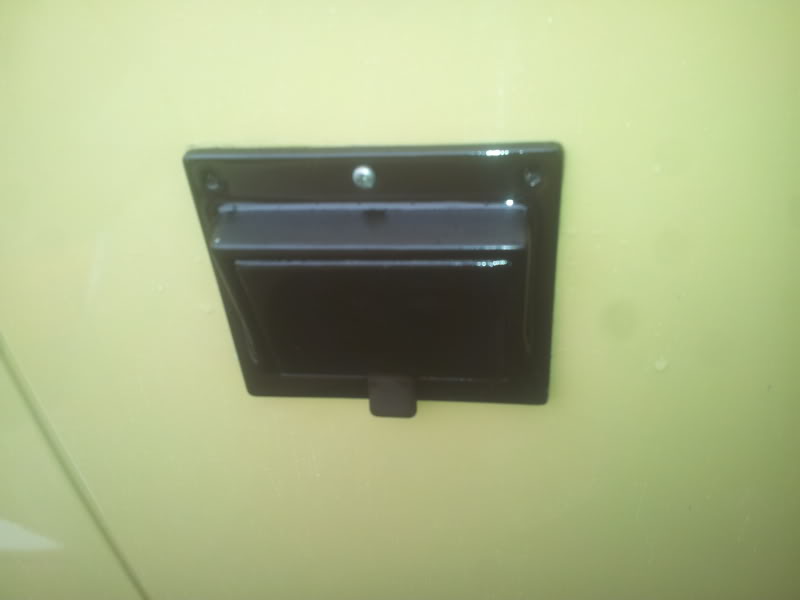
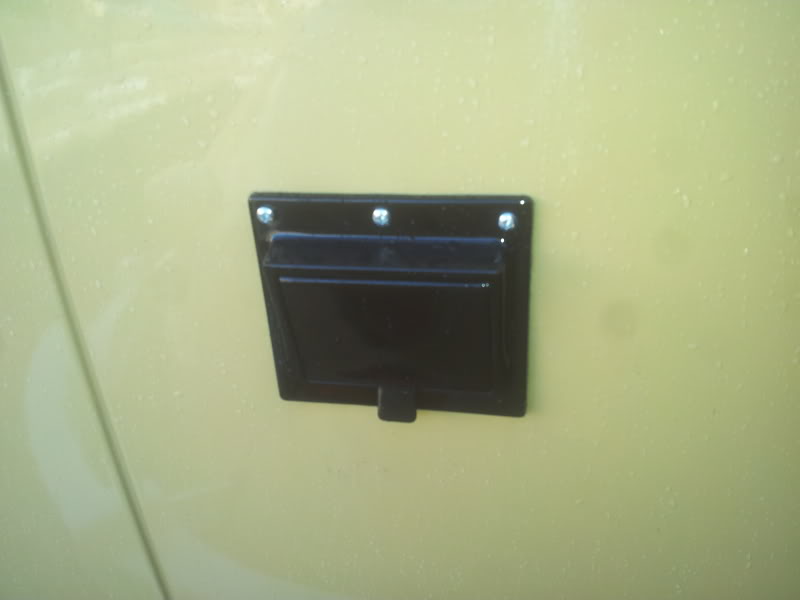
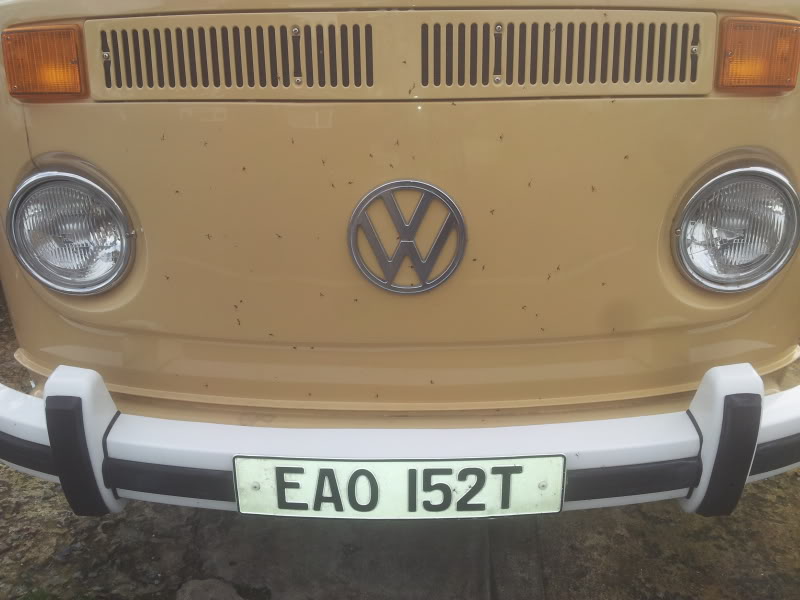
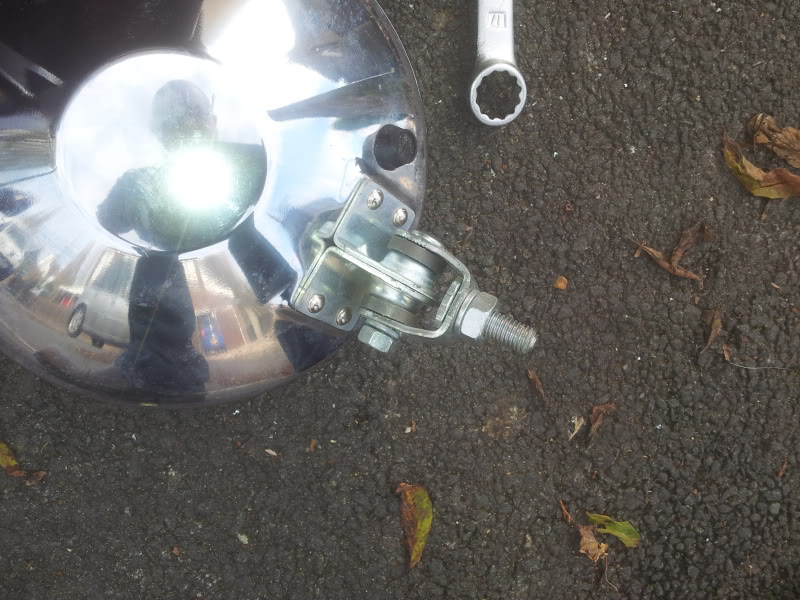
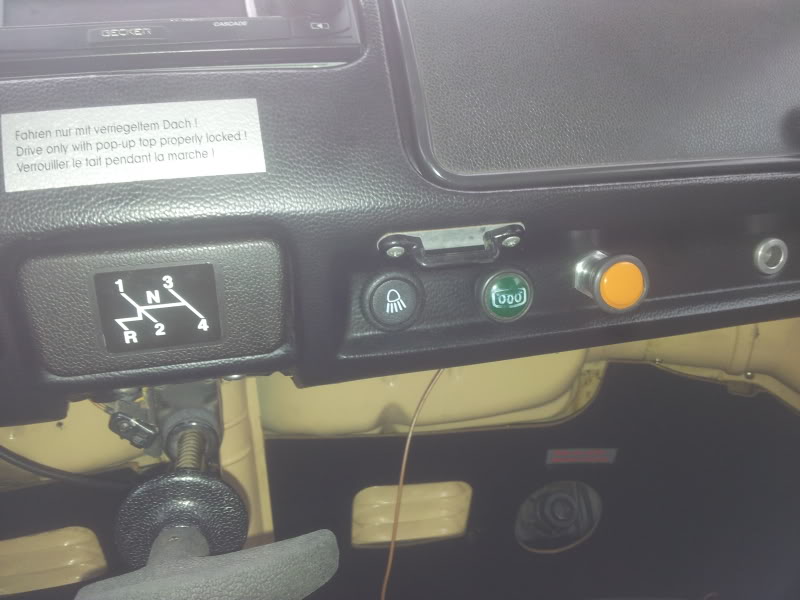
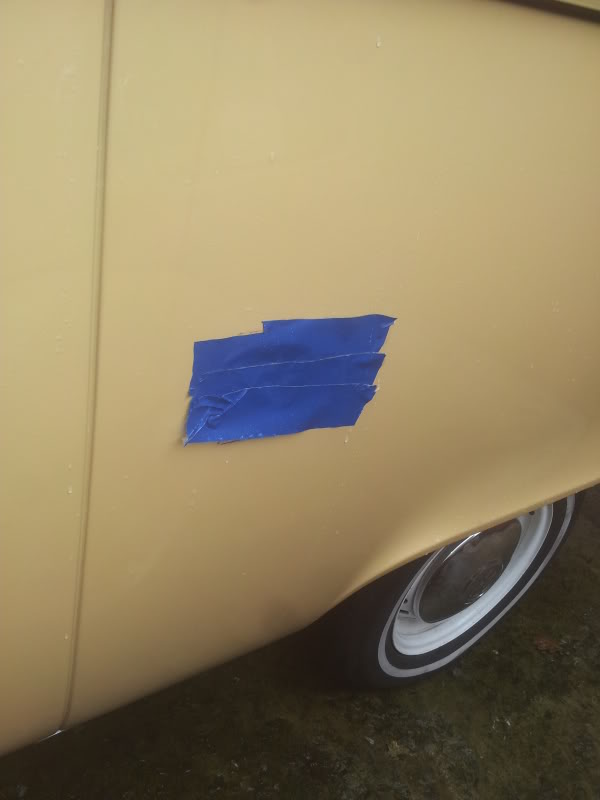
Put this on so the rain doesn't get into the cavity:-
Sixth coat:-
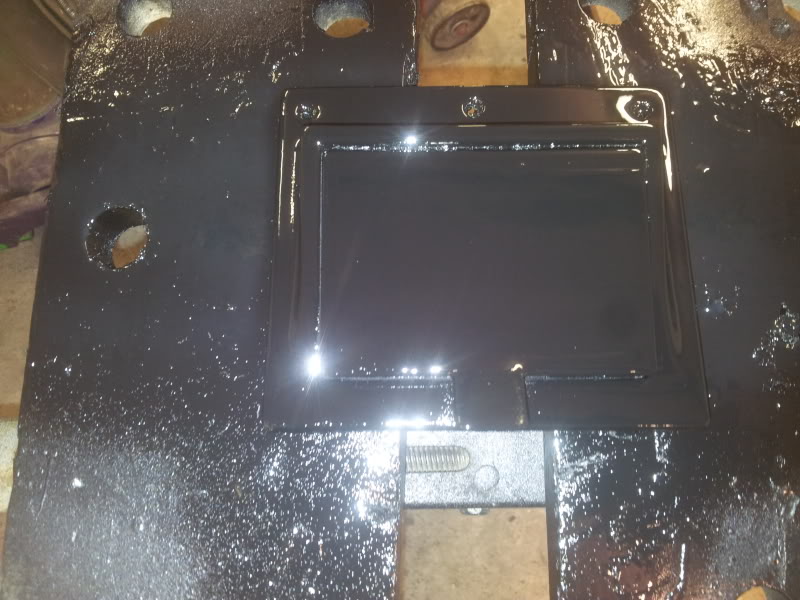
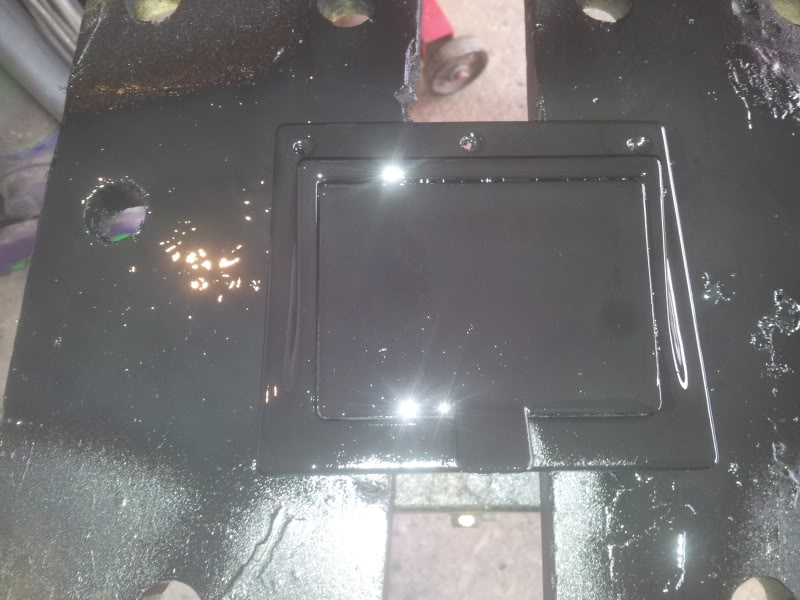
Seventh coat:-
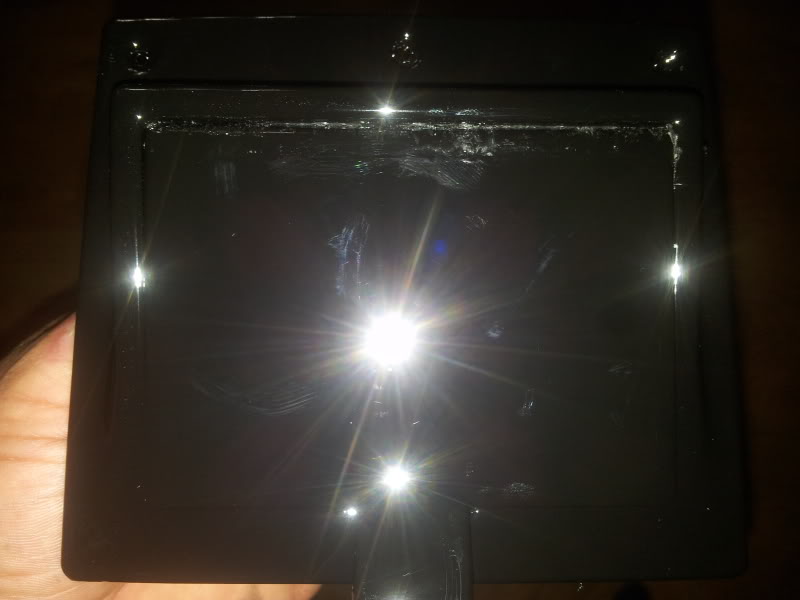
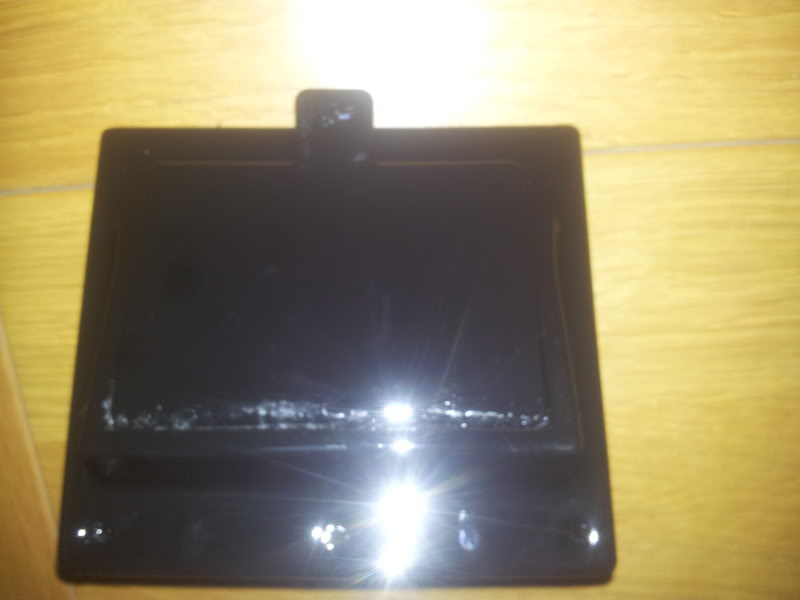
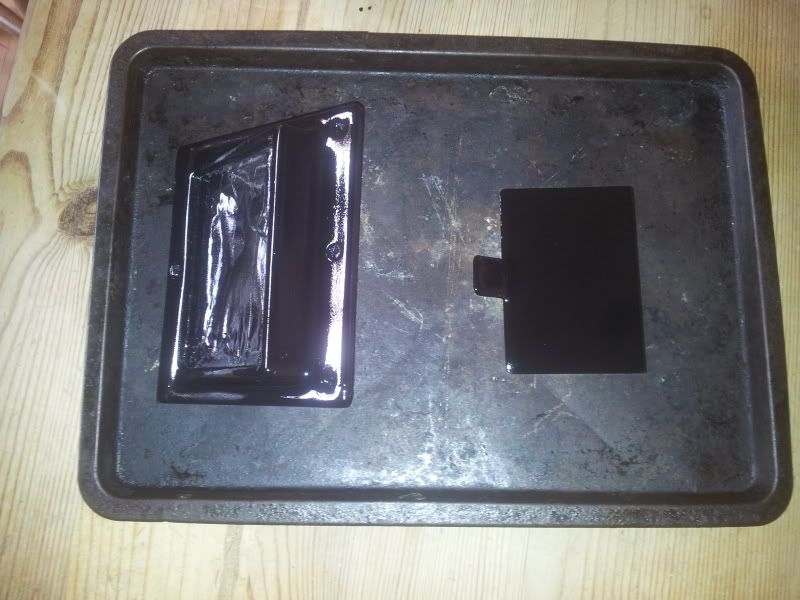
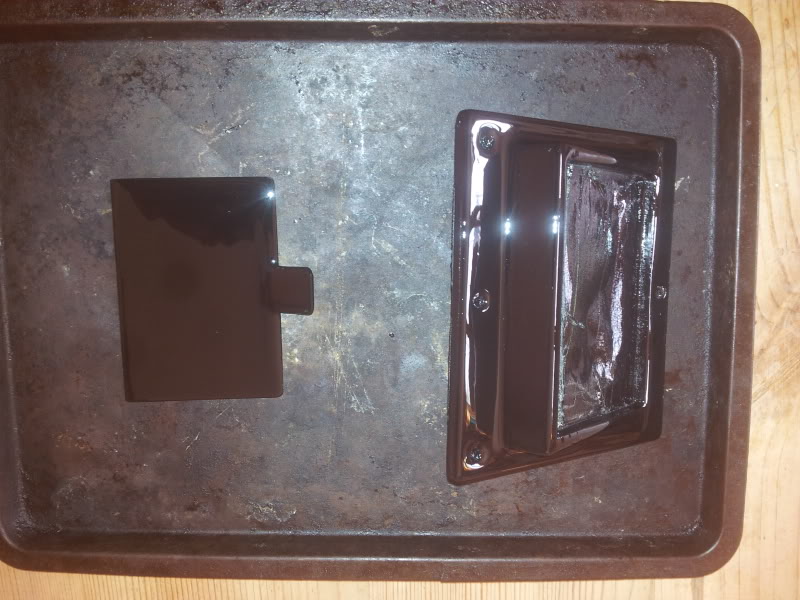
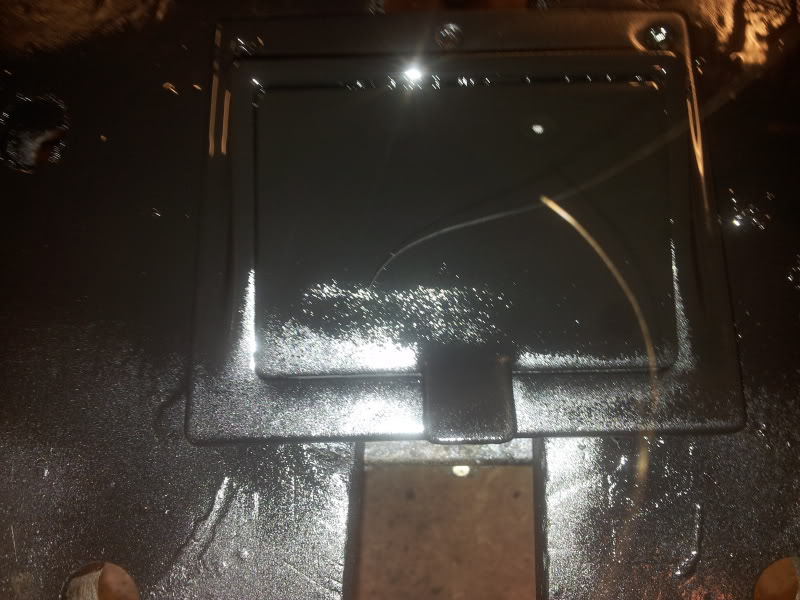
Looks like I put too much on It needs another one now, the paint is so thick I marked it by opening the lid doh!
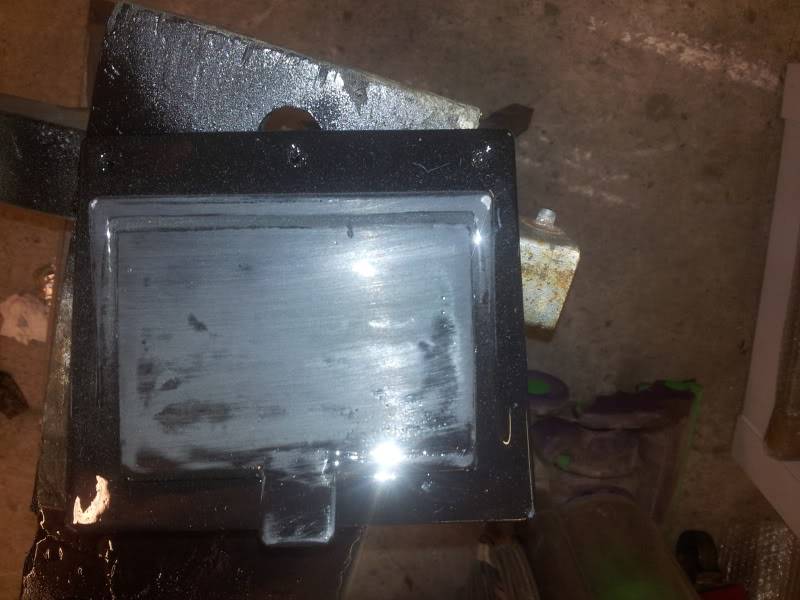
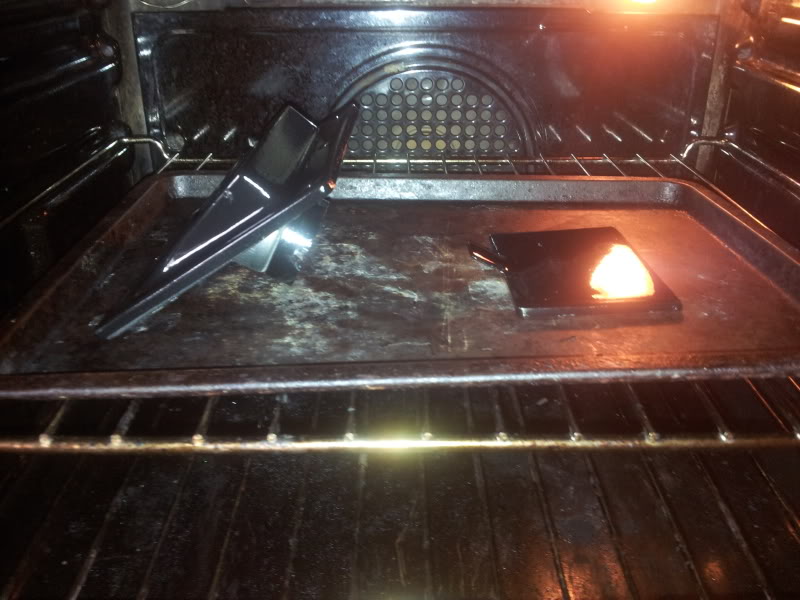
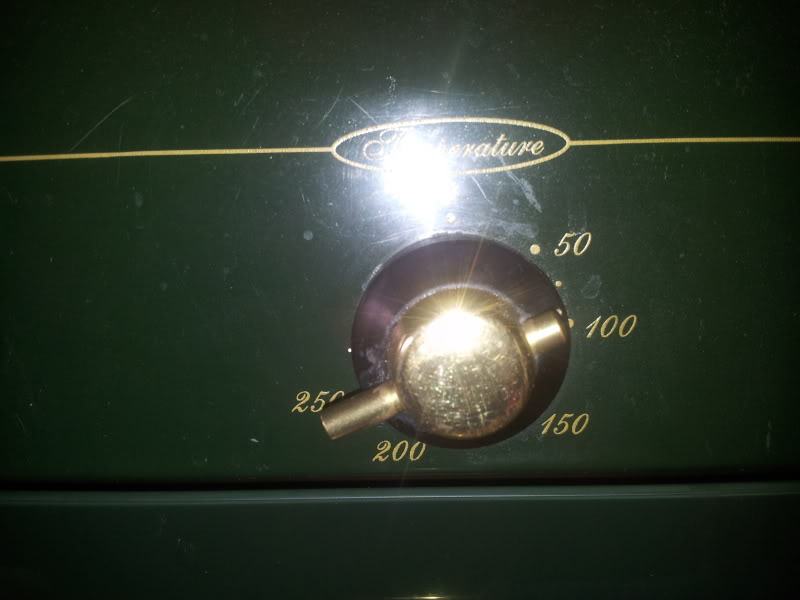
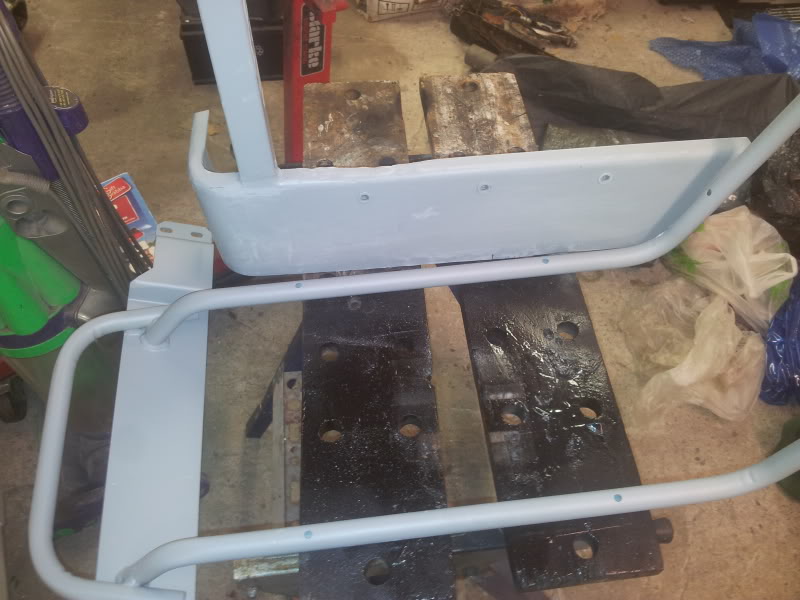
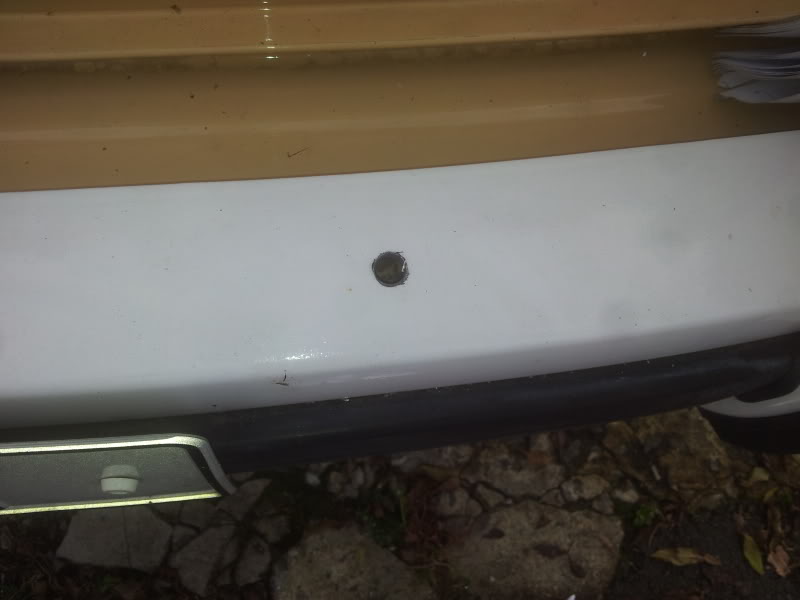
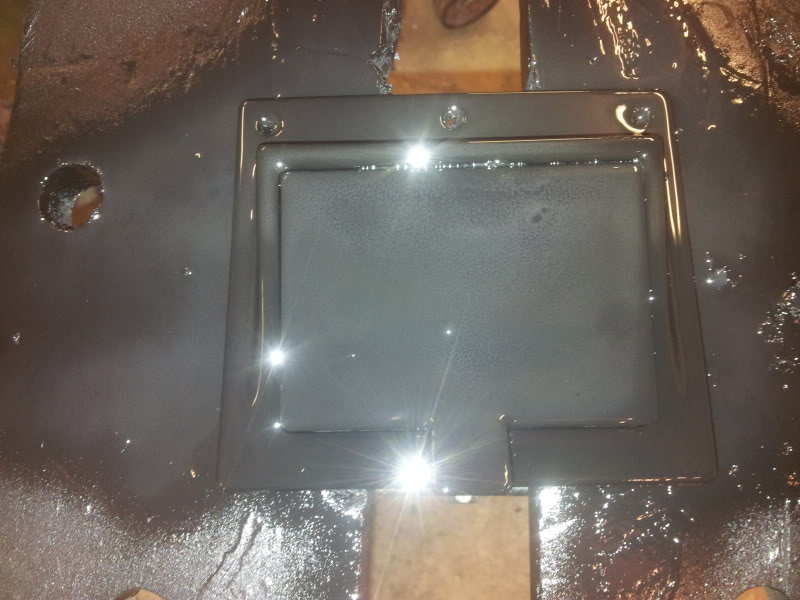
I'm going to put it in the oven now at 60 deg C to bake it off, when it cools, I'll sand it & give it a light dusting just to put the sine back:-