My 1972 1600
Posted: Wed Aug 12, 2009 11:23 am
Hi guys my nmae is Scott and I live in the ever sunny UK 
 I thought this would be agood place to share my project photos so heres the story:
Hey folks, finally got a new bug after missing my old one far too much! Going to be doing a sympathetic resto over the next few months so thought I'd share....
The story..
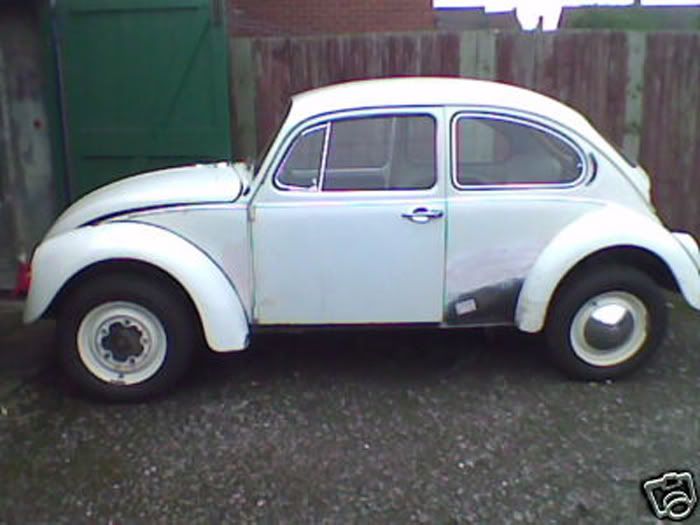
Found her on ebay local to me so went and had a nose. She's a tax exempt 1972 South African import in what I think is Pastel White? Being an SA bug she has the kooky early pan with link pin beam, wide five wheels but a later body and a padded 13-0 dash? Odd...she was imported in 1979 so she's no newcomer to the UK..
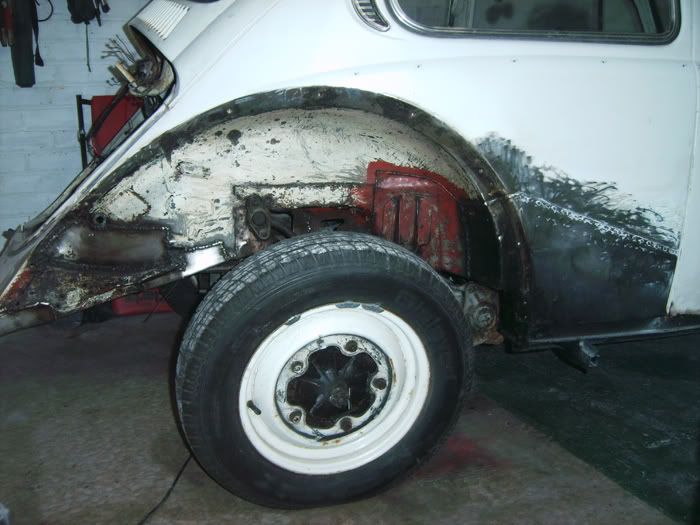
The seller had been restoring her and put in two new pans, heater channels, rear quarters, A post repairs, lower front inner wings, some rear bumper mounts and some plating to the bulkhead, rear seat area, the usual really. It's had a full front clip but this looks like it's been on for a while. The spare wheel well is immaculate. His welding isnt pretty but it's solid and better than I can do (cant weld!)...unfortunately he moved house and lost his garage so the bug was moved to a lock up where she has sat for a few months gathering dirt!
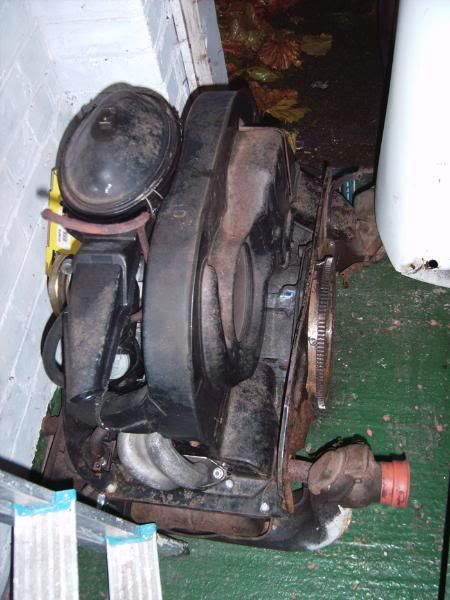
I paid £500 for her and for that I got a complete car minus some engine bolts, seat belts and some other fiddly little bits. I also got a rebuilt 1600tp with an alternator conversion and a brand new clutch in the box. I cant vouch for it as I havent heard it run but it looks clean enough, has no end float etc so time will tell. The guy also gave me three decent books on restoring bugs and campers.
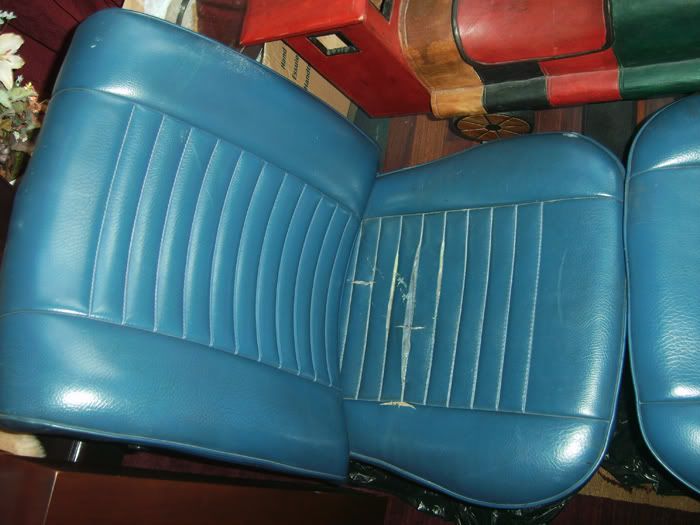
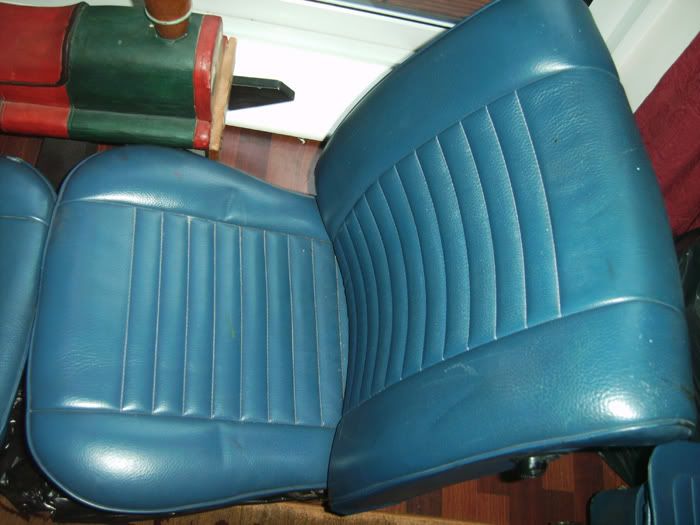
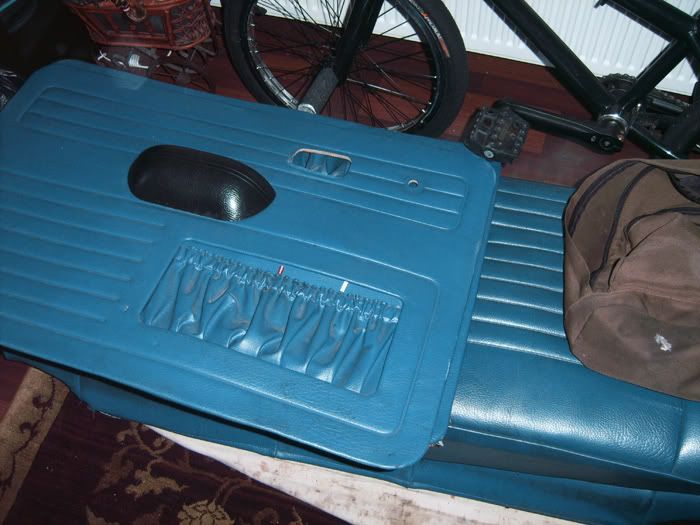
The plus points so far are four good original wings, both the doors are good, wiring is relatively untouched, engine lid and bonnet both in good condition, and the interior is also decent bar some ripped seams on the drivers seat which I hope to have repaired. Headliner etc is all good. Also has nice rear popouts! The pass side door opens and shuts without any drop...
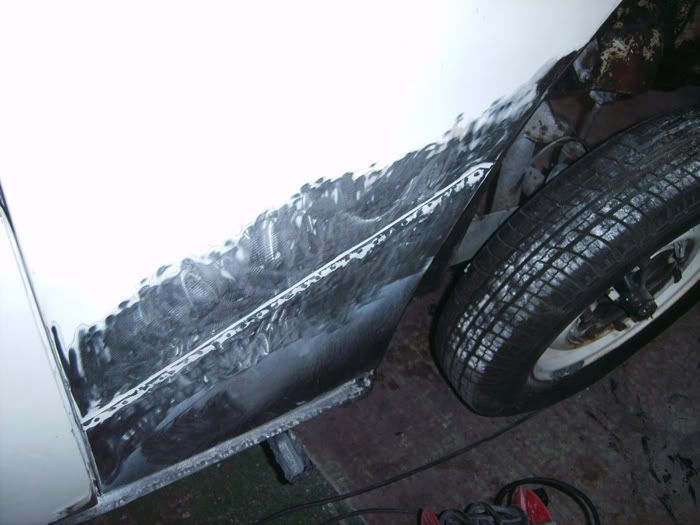
Bad points.. Needs a battery, need to test all electrics and the engine but fingers crossed! A lot of filler had been slapped on the front and rear quarters but never sanded as he never got round to it... the drivers door wasnt bolted on properly and it needs a front widscreen as it has a crack in it...
Ok now the lecture is over :yawn: heres some pics....
I dont have many good pics of her as she arrived but heres what I have:
Original ebay pic
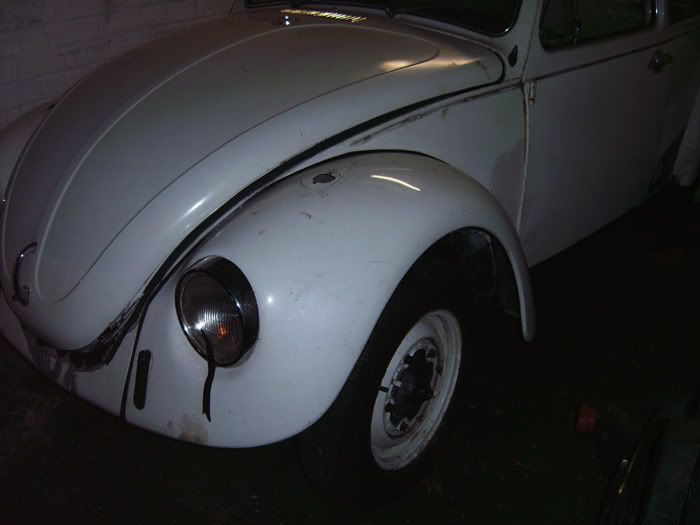
Some of the front, if you look close you can see the filler on the quarters...

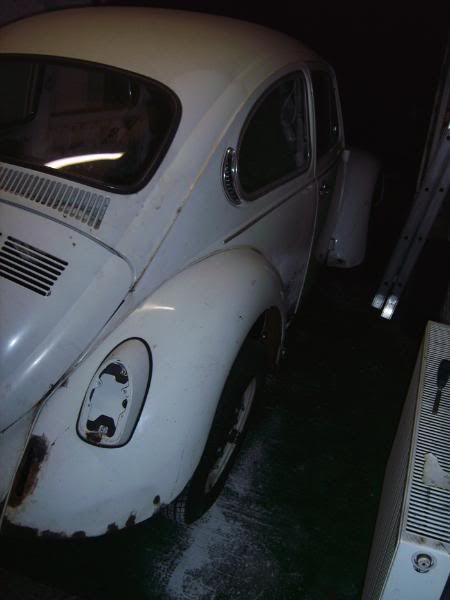
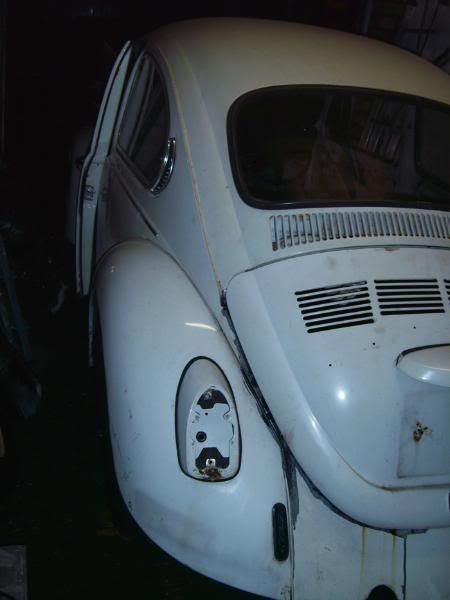
and back....
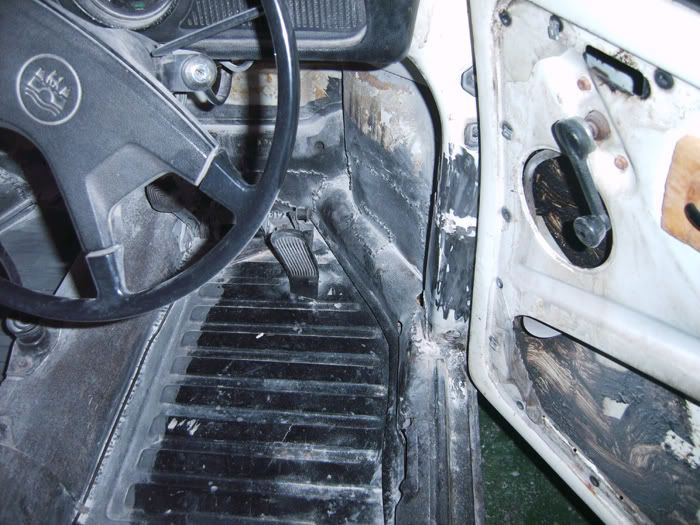
inside....


Hey folks, finally got a new bug after missing my old one far too much! Going to be doing a sympathetic resto over the next few months so thought I'd share....
The story..
Found her on ebay local to me so went and had a nose. She's a tax exempt 1972 South African import in what I think is Pastel White? Being an SA bug she has the kooky early pan with link pin beam, wide five wheels but a later body and a padded 13-0 dash? Odd...she was imported in 1979
The seller had been restoring her and put in two new pans, heater channels, rear quarters, A post repairs, lower front inner wings, some rear bumper mounts and some plating to the bulkhead, rear seat area, the usual really. It's had a full front clip but this looks like it's been on for a while. The spare wheel well is immaculate. His welding isnt pretty but it's solid and better than I can do (cant weld!)...unfortunately he moved house and lost his garage so the bug was moved to a lock up where she has sat for a few months gathering dirt!
I paid £500 for her and for that I got a complete car minus some engine bolts, seat belts and some other fiddly little bits. I also got a rebuilt 1600tp with an alternator conversion and a brand new clutch in the box. I cant vouch for it as I havent heard it run but it looks clean enough, has no end float etc so time will tell. The guy also gave me three decent books on restoring bugs and campers.
The plus points so far are four good original wings, both the doors are good, wiring is relatively untouched, engine lid and bonnet both in good condition, and the interior is also decent bar some ripped seams on the drivers seat which I hope to have repaired. Headliner etc is all good. Also has nice rear popouts! The pass side door opens and shuts without any drop...
Bad points.. Needs a battery, need to test all electrics and the engine but fingers crossed! A lot of filler had been slapped on the front and rear quarters but never sanded as he never got round to it... the drivers door wasnt bolted on properly and it needs a front widscreen as it has a crack in it...
Ok now the lecture is over :yawn: heres some pics....
I dont have many good pics of her as she arrived but heres what I have:
Original ebay pic
Some of the front, if you look close you can see the filler on the quarters...
and back....
inside....