Some more progress again.
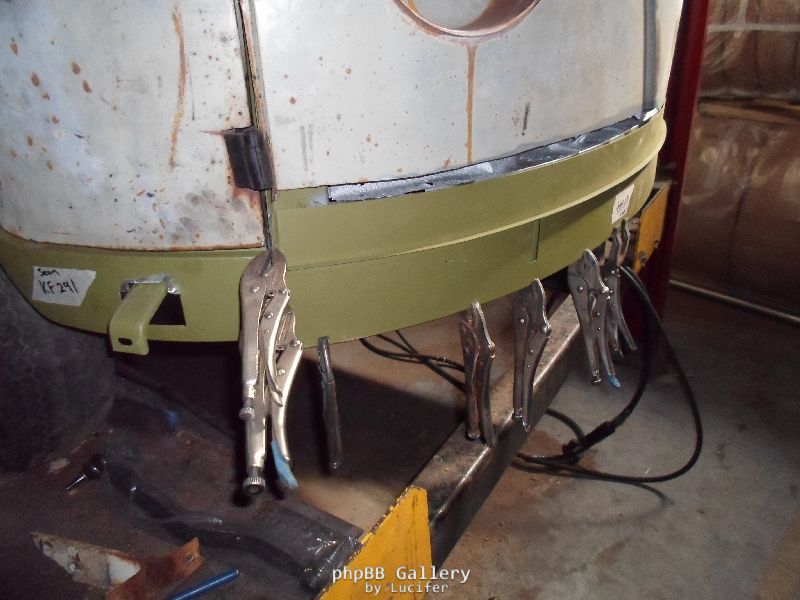
I started with the lower nose repair panel this weekend, this was a job I thought would be a little tricky, but it didn’t turn out that bad. The only difficult part was to try line up the “V”, I started from the middle and worked my way out and in the end it lined up quite well.
Here it is before the lip has been folded over the front valance.
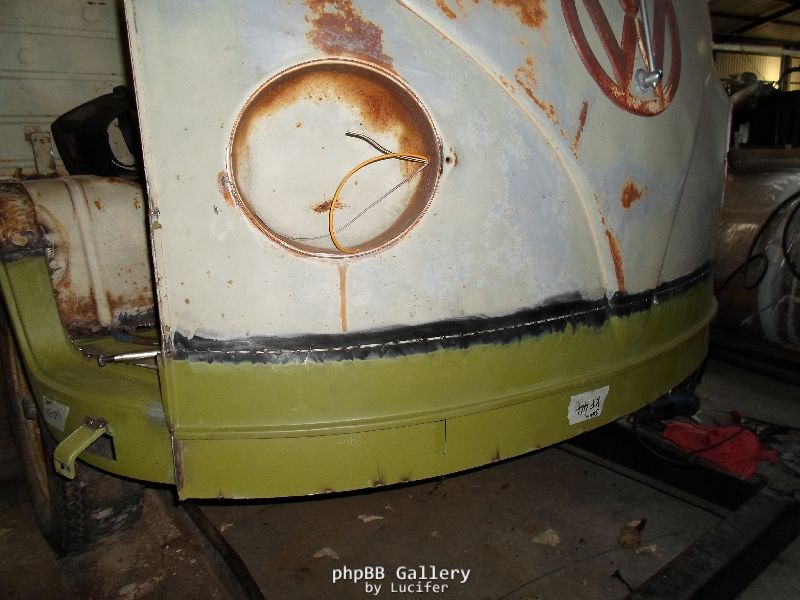
I was also a little hesitant with this job of folding this lip over and uncertain of a tool, but made this effort from some bar tube and a handle and with this tool slowly worked this seam over. I was amazed at how well it actually worked, it took forever and felt as if my arm was going to fall off from swinging that hammer so many times, but did a damn fine job in the end. I made a second version of that tool to finish off with a much smaller square shape to give the lip a nice tight fit.
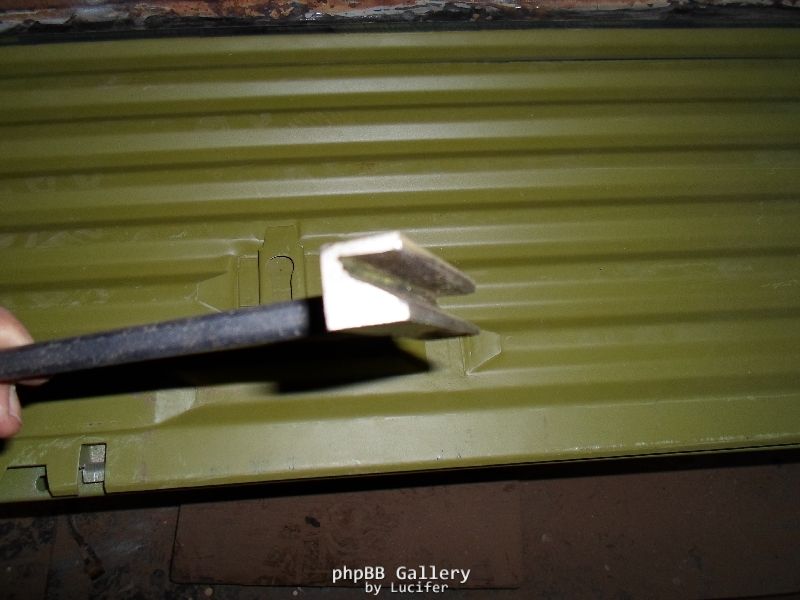
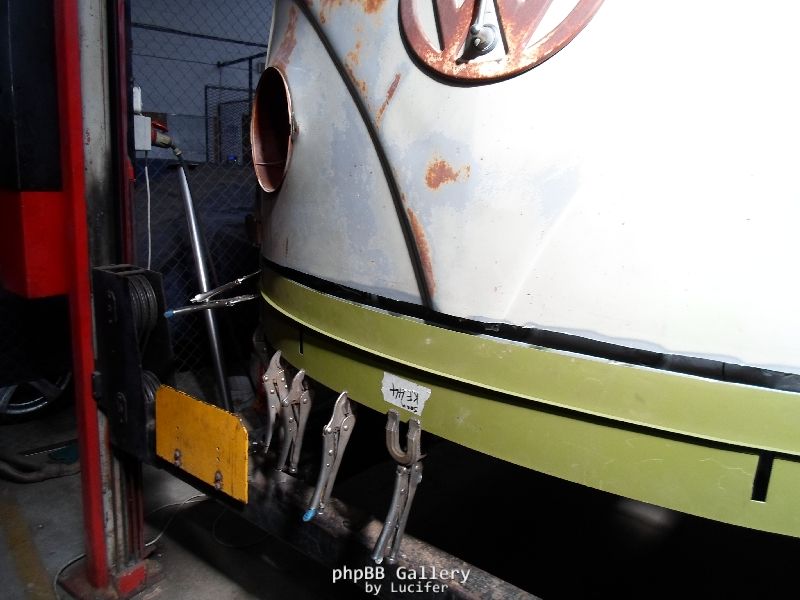
After lip folded over.

I am really stoked at how well this nose section fitted. I just can’t find faults with these KlassikFab panels.
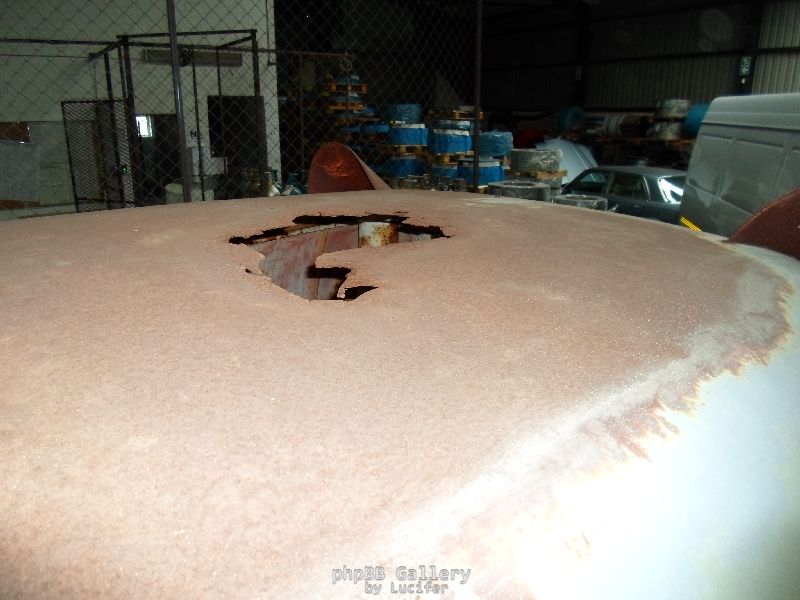
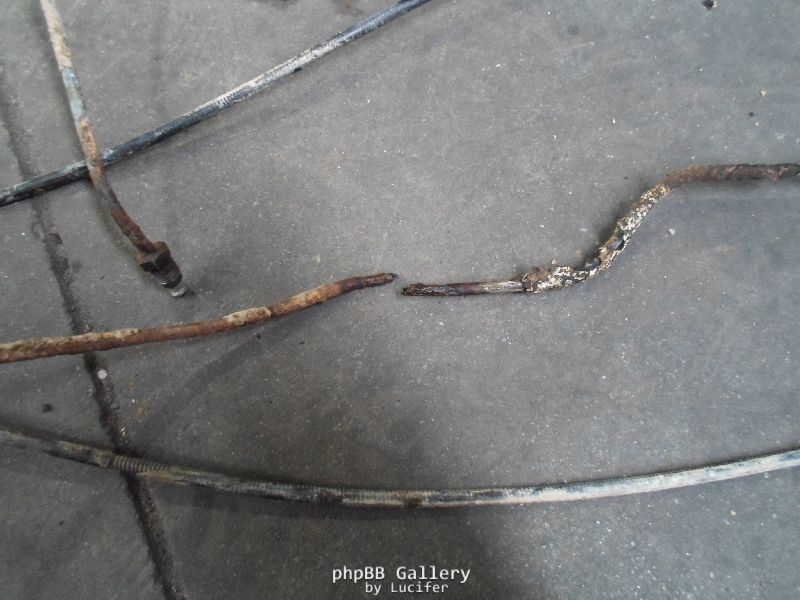
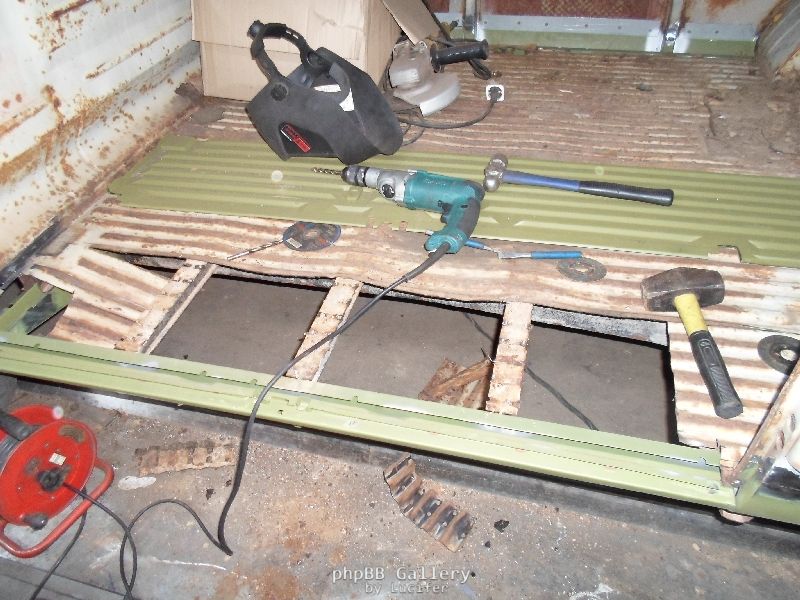
I moved over to the cargo floor repair sections too. It’s quite a job drilling out all the spot welds; my Fleetline for some reason was much easier to remove, I just folded the floor over and hit the hell out of it which broke the spot welds, not on this German bus though.
In the process of removal.
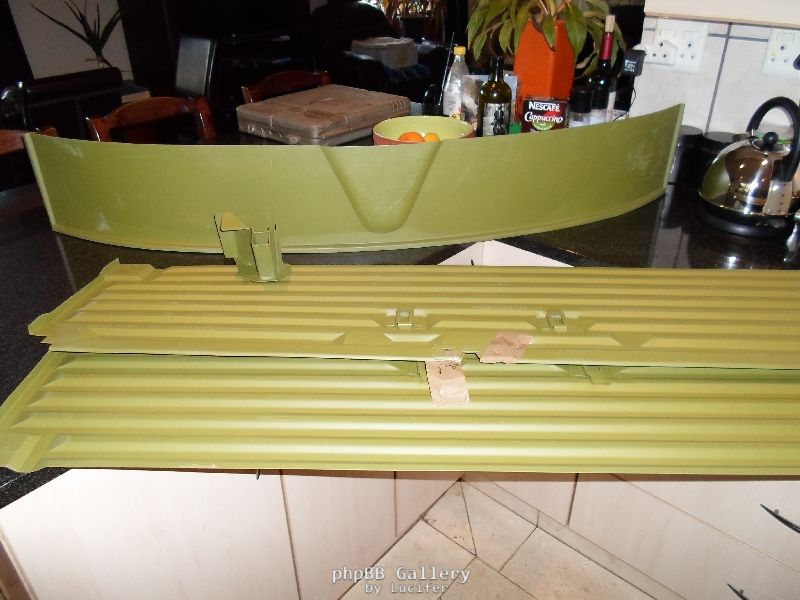
Trial fitting floor repair sections.
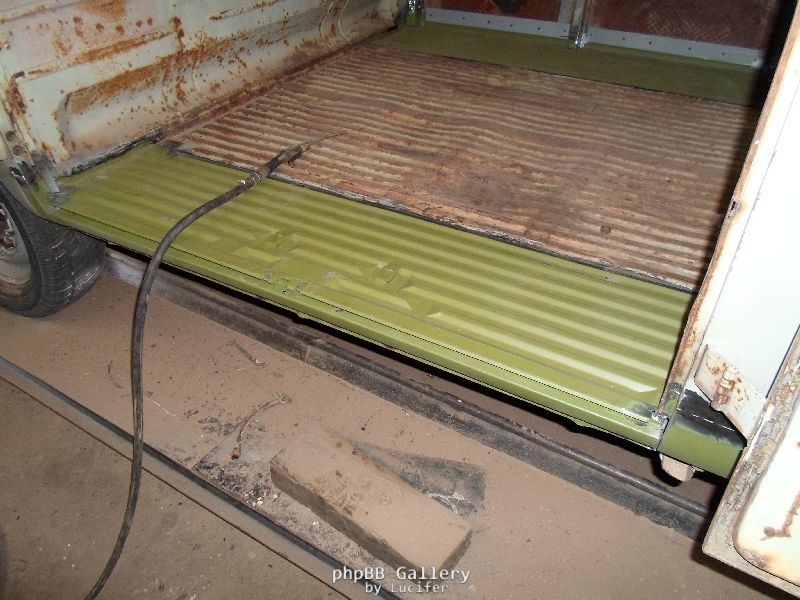
Since this pic I have tried straightening the middle part of the floor since it was seriously wobbly from loading over the years. I managed to line it up with the new sections but it isn’t great. I am going to carry on next weekend with this job.