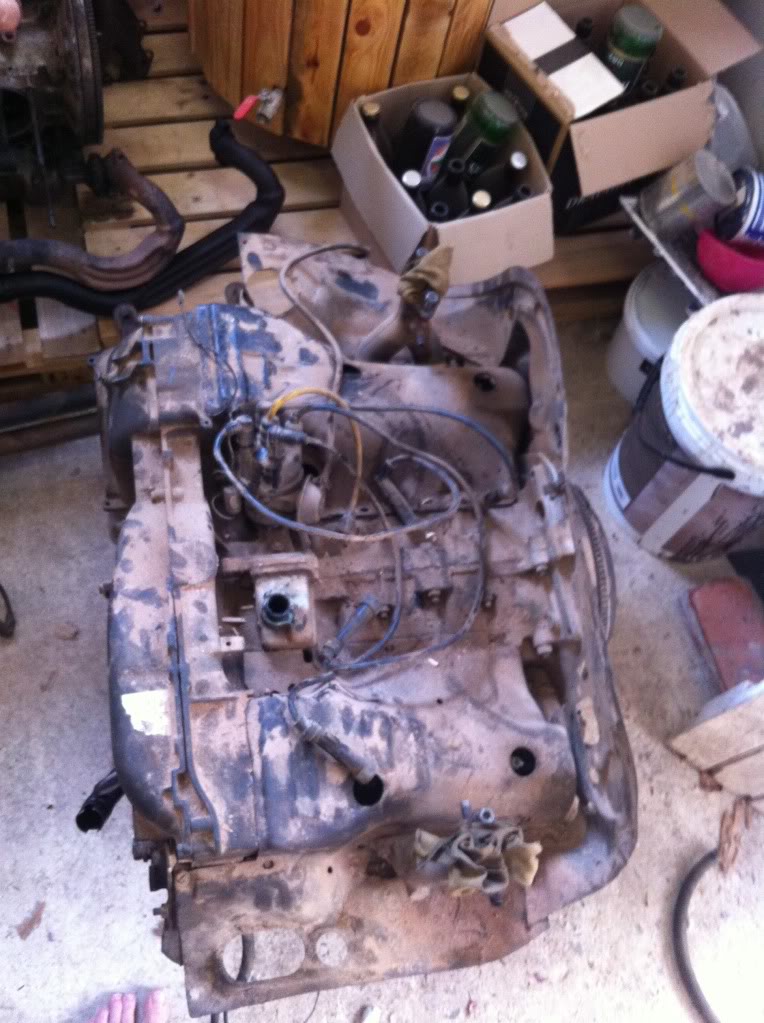
A few months ago I purchased 2 motors as parts for my bus should anything go wrong. The one motor, the one i will be working on, was "complete" in the sense that it was bolted together. the second having dropped a valve some time ago was in peaces and was missing a piston and a barrel for obviate resinous.
My thinking was that if i needed something I could ether find it on one of the 2 motors or barter something for the parts i need.
The problem is that every time I walked past the motor on the floor in my little workshop I kept thinking: "I wonder what is in there?" So i thought I would have a look... Over the course of this side project I will be adding to my tool collection as needed and as money allows, in the hope that eventually I will have all the tools needed to work on Graces with out having to use a 3rd party. Also hope to add to my knowledge to the same end.
So I humbly venture forth armed with a open mind, a modest tool box and a keen thirst for knowledge. So please feel free to correct me or scold me or even throw things if I make mistakes. hopefully I will come away with a better understanding of the air-cooled VW.
Some background... I am pretty handy with a spanner and have disassembled a 1600 TP motor and my bus T4 2000 but was always to nervous I would screw up some where in the reassembly so I enlisted People to help.
the time line for this is open ended and a I will make up my mind what I will use the motor for as I go along. As far as power and so on goes Im thinking keep it stock as much as I can. I would like to get a Impi upright fan shroud for it and put it is 60s Calli style beetle or if I'm ever so lucky a Barn door panel van... (I can dream)
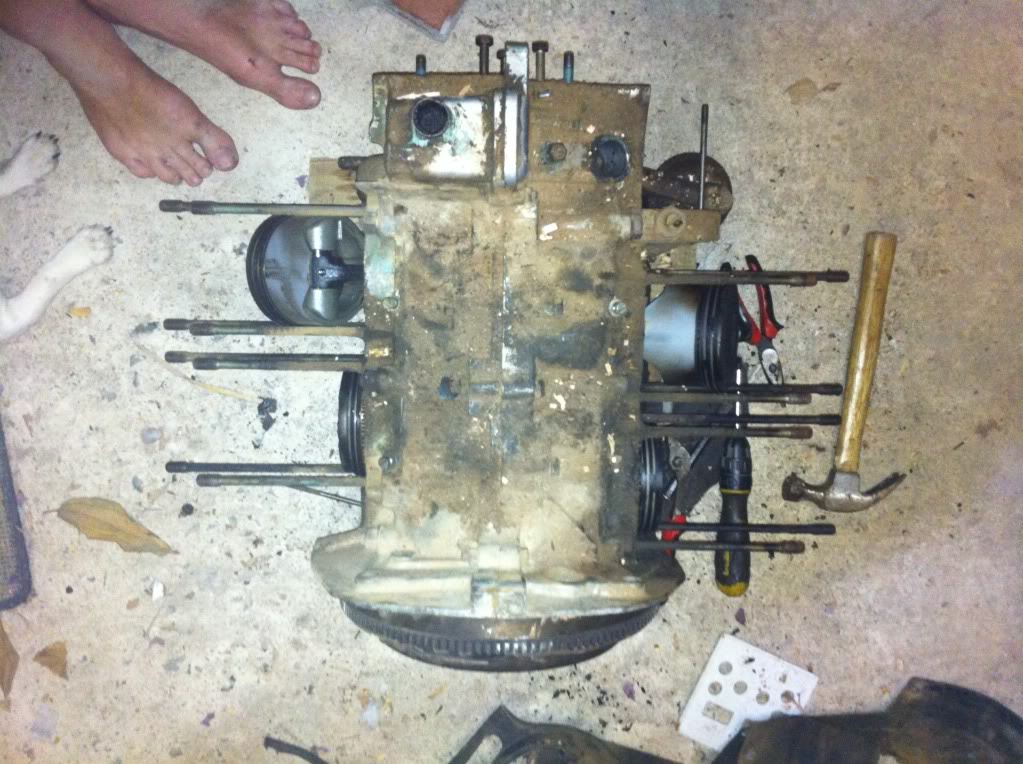
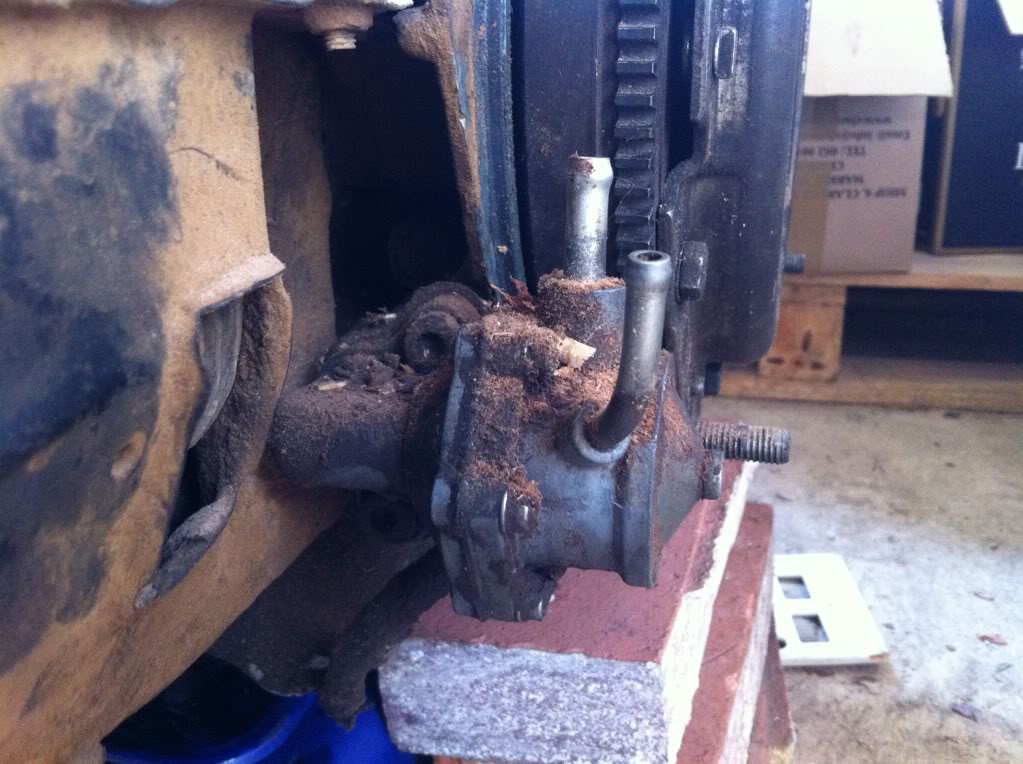
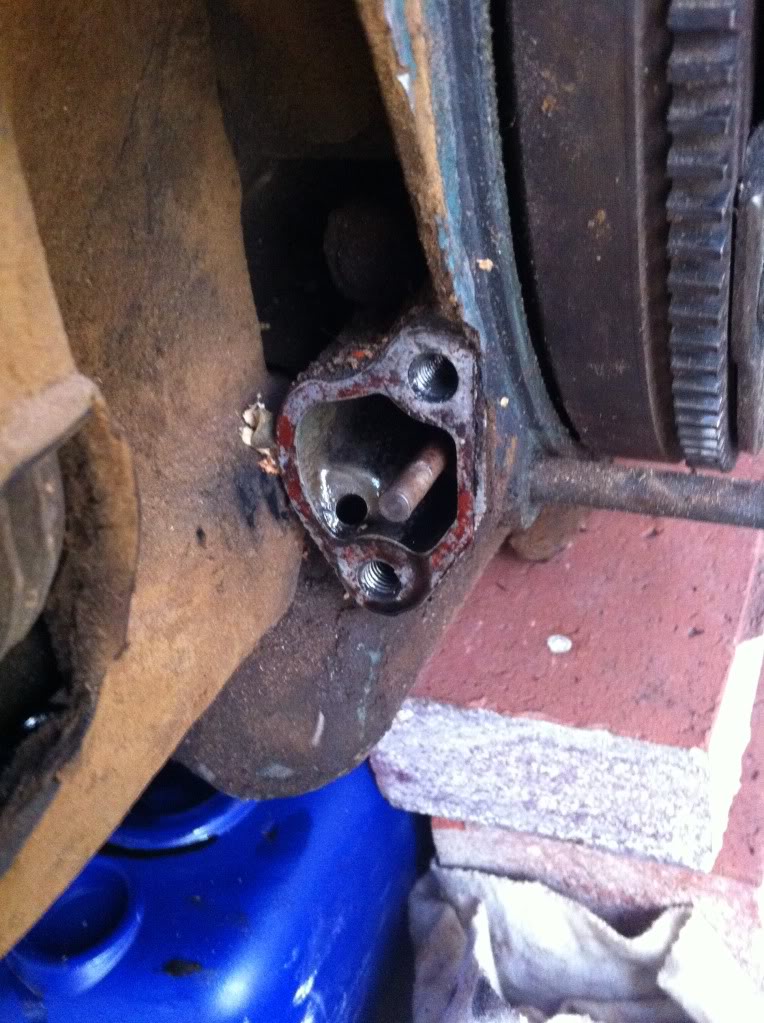
Ok so i started my removing the oil and fuel pump. I had never seen a T4 fuel pup before so this was interesting, what I found strange was the 3rd smaller pipe that is on the motor side of the pump diaphragm. does any one know what that is for?
Draining oil
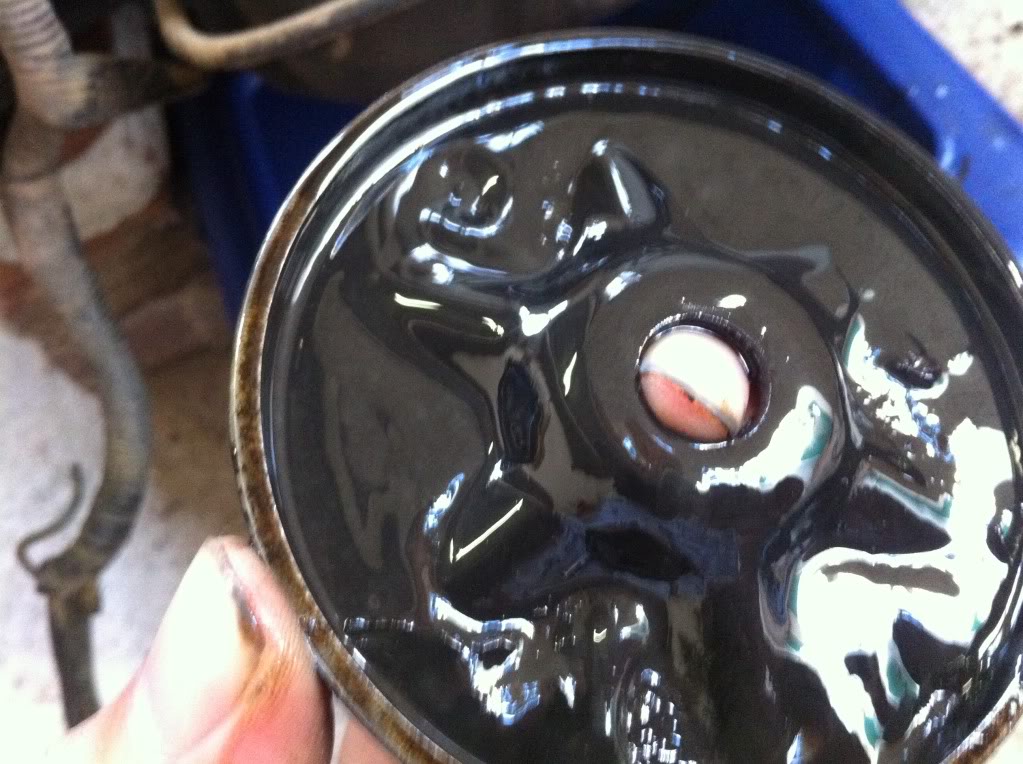
look at that metallic mud.
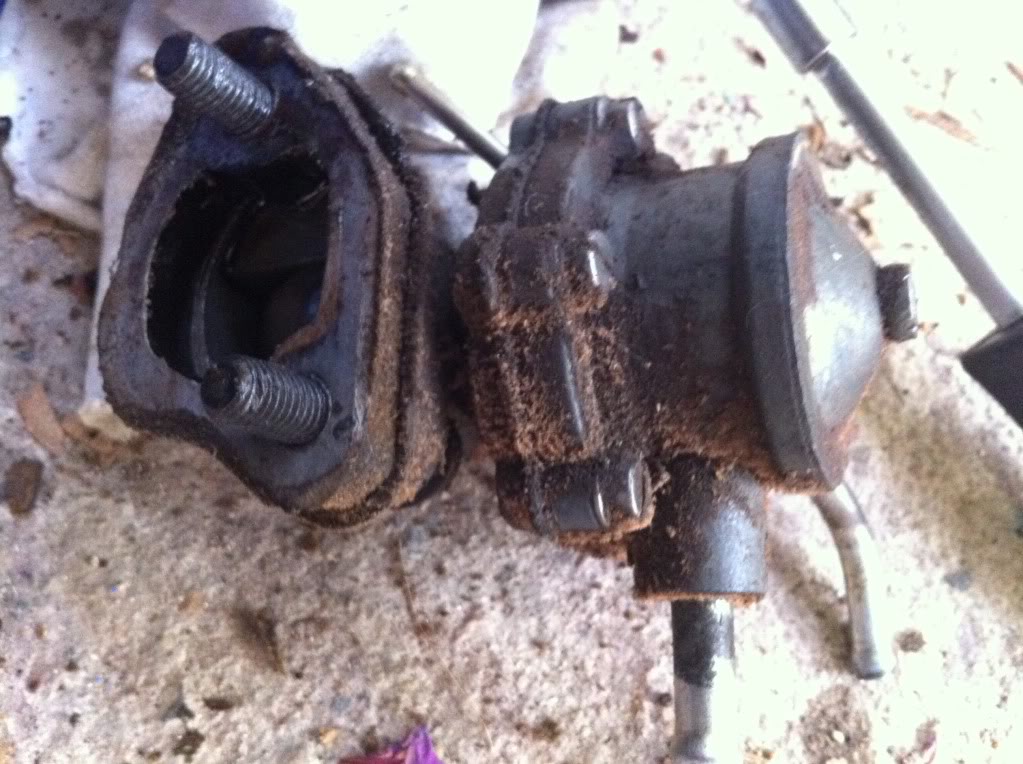
then fuel pump
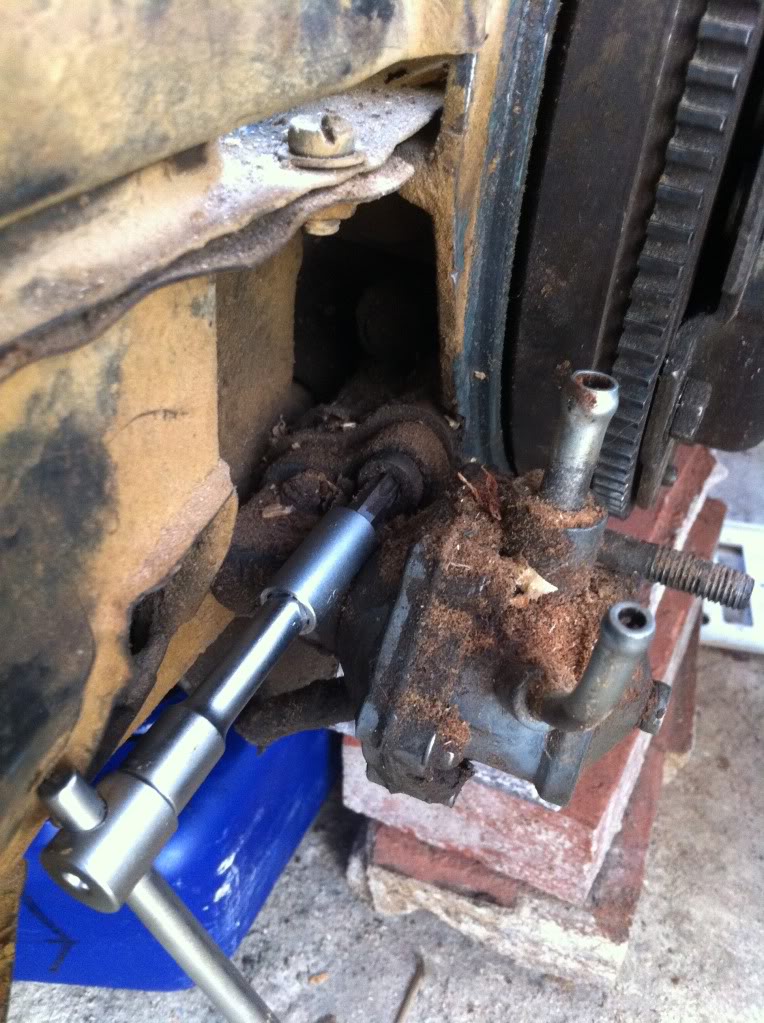
you can se the pump pushrod here
Then the carbs are next. (no picks sorry)
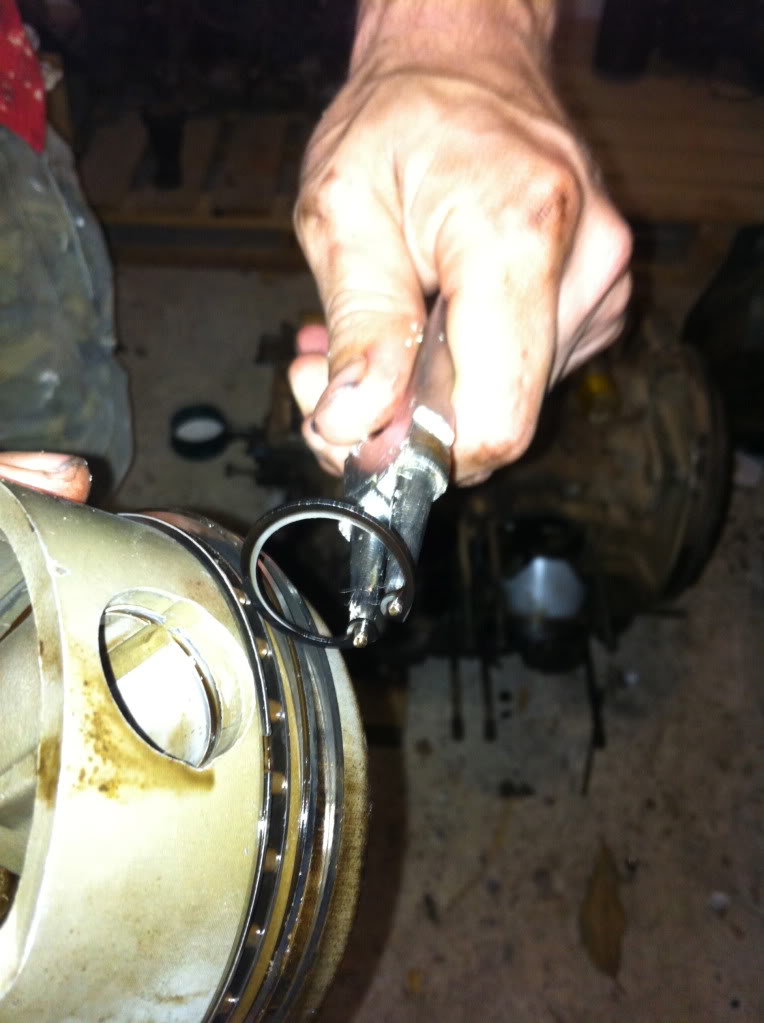
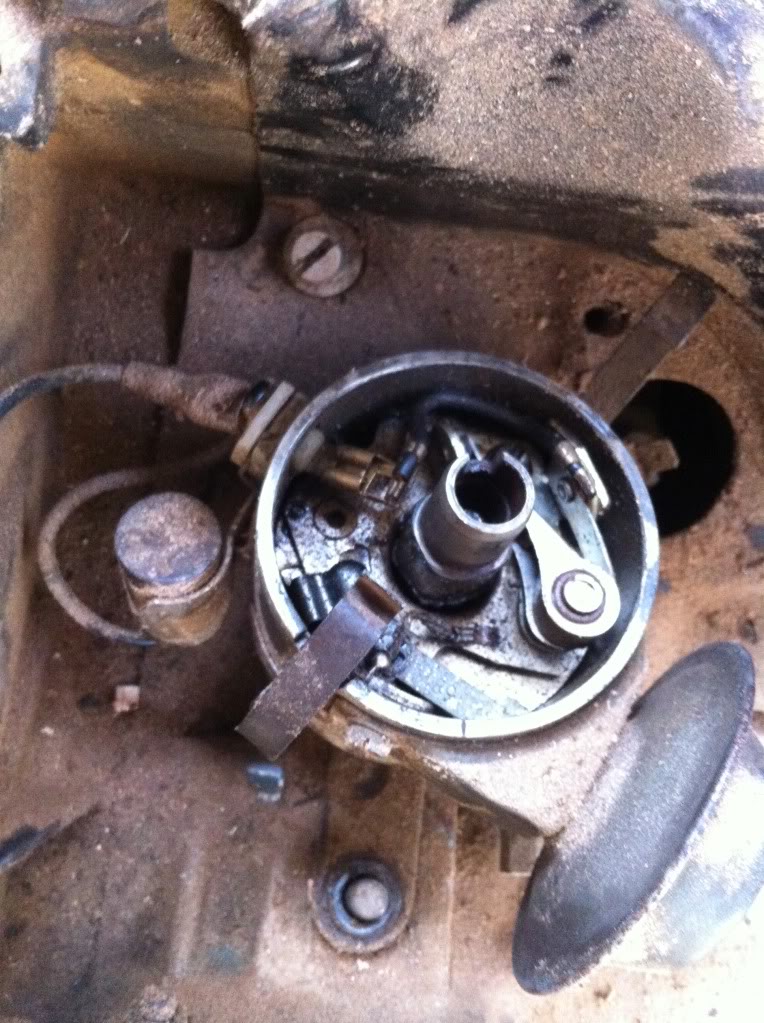
After that the Dizzy, this was fowled by the cooling tin so I had to remove the inlet manifolds to get the tin off. Once the dizzy was out I noticed that the part that fits into its drive off the crank had a sort of swivel on it. Is this normal?
tins off
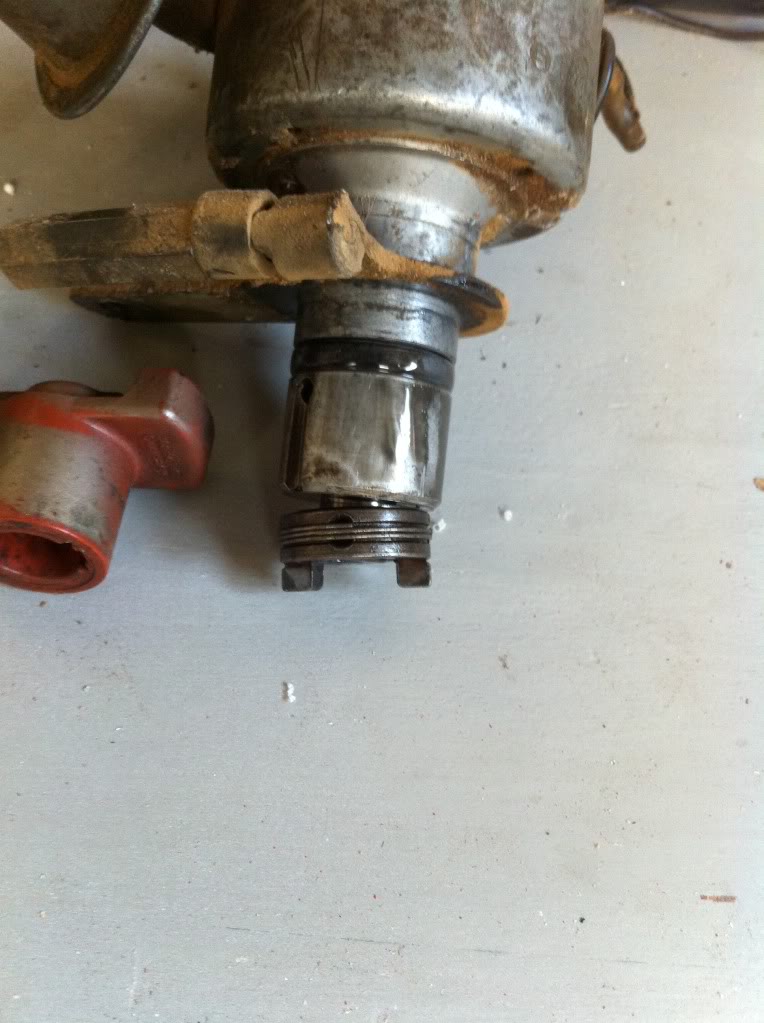
the dizzy out. you can see the swivel I'm talking about in this pic
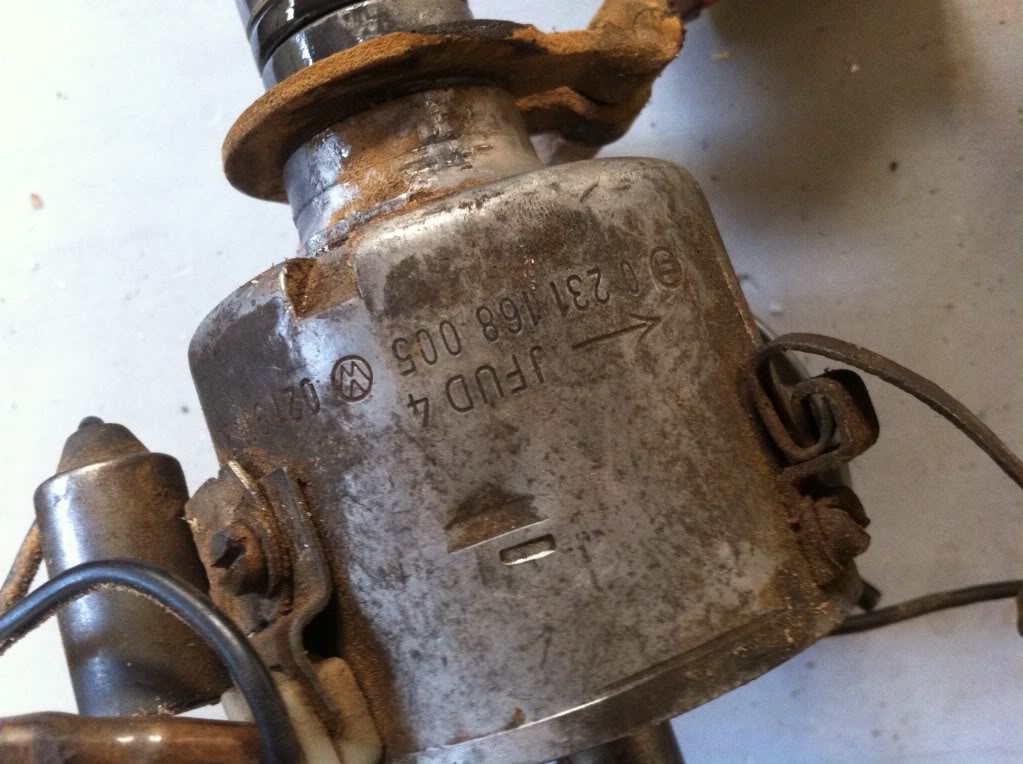
Dizzy part number
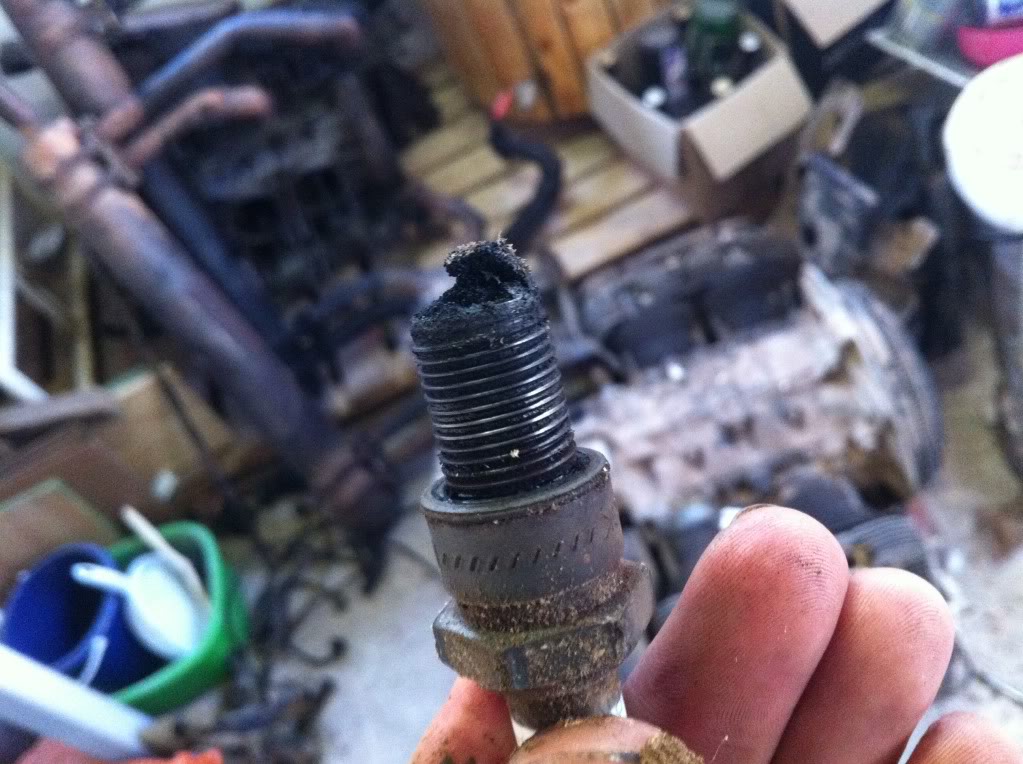
plugs out this is number 3 can you handle tat muck? I think this from oil fowling?
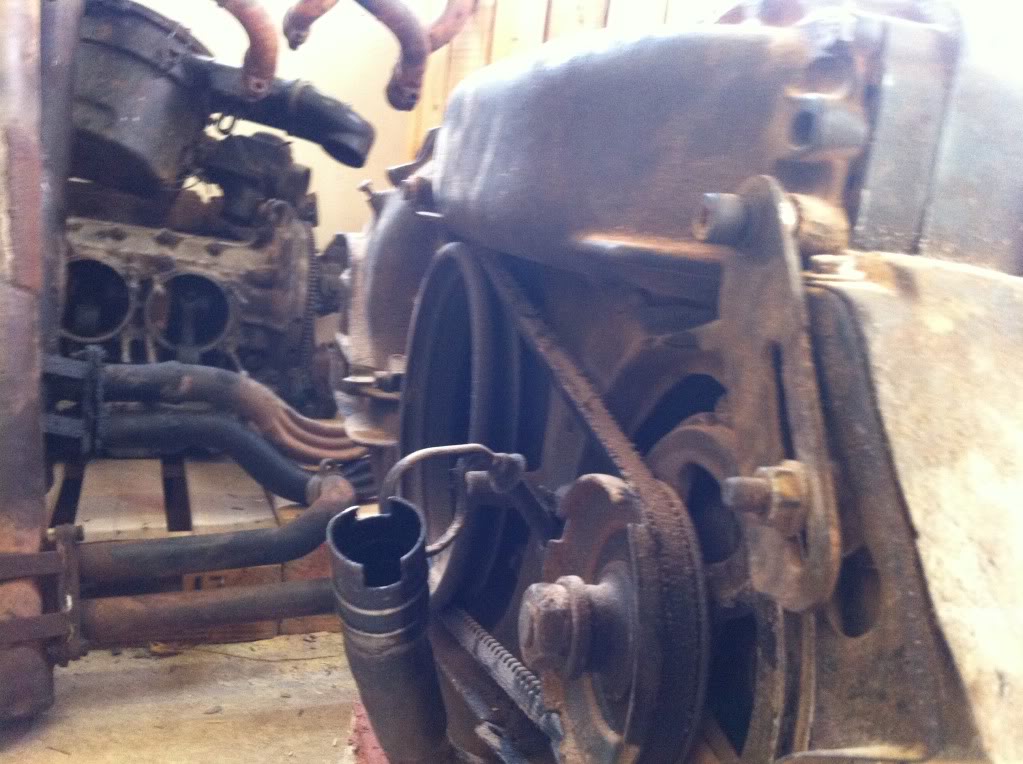
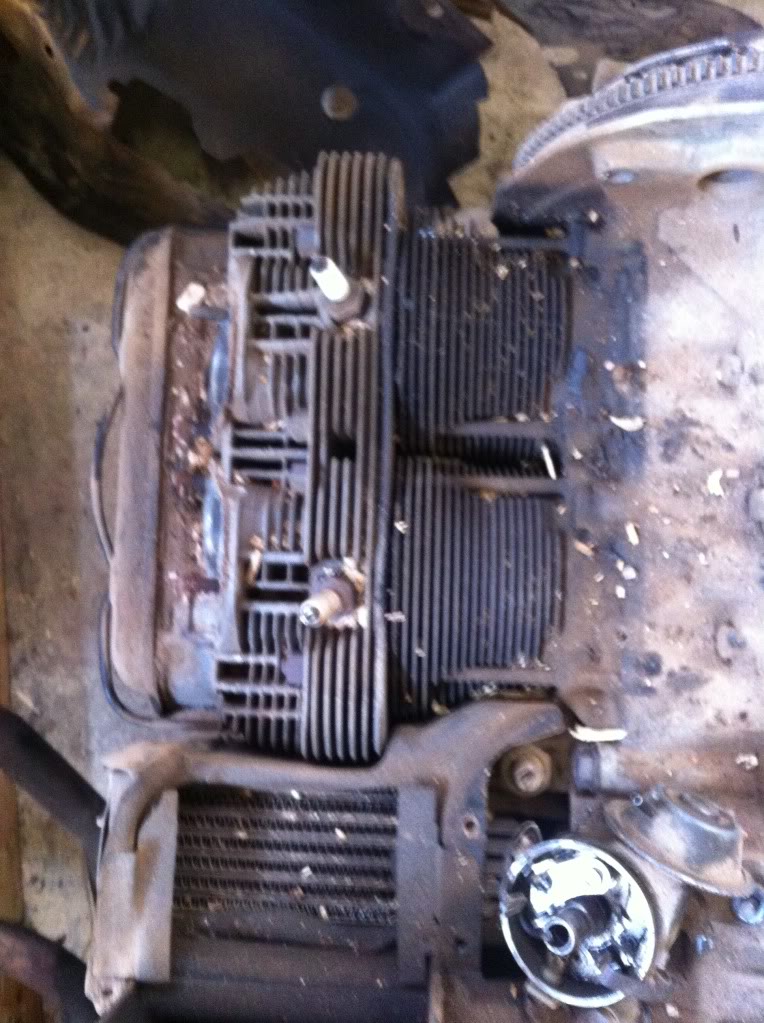
After the Dizzy the Alternator came off then the fan and fan shrouds. little side note the tin wear is un-complete and the flap that should force air through the oil cooler was forced up so I have a feeling this motor ran hot and perhaps overheated. also manny screws are missing for the tin so that would not have helped the cooling at all.
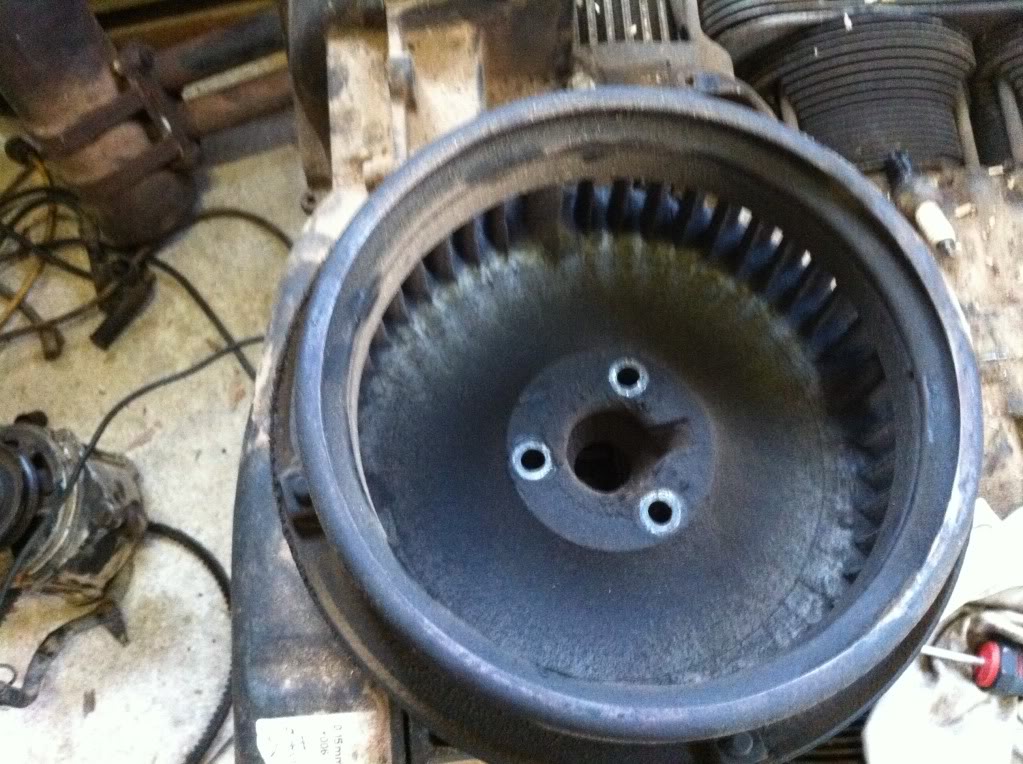
Fan off
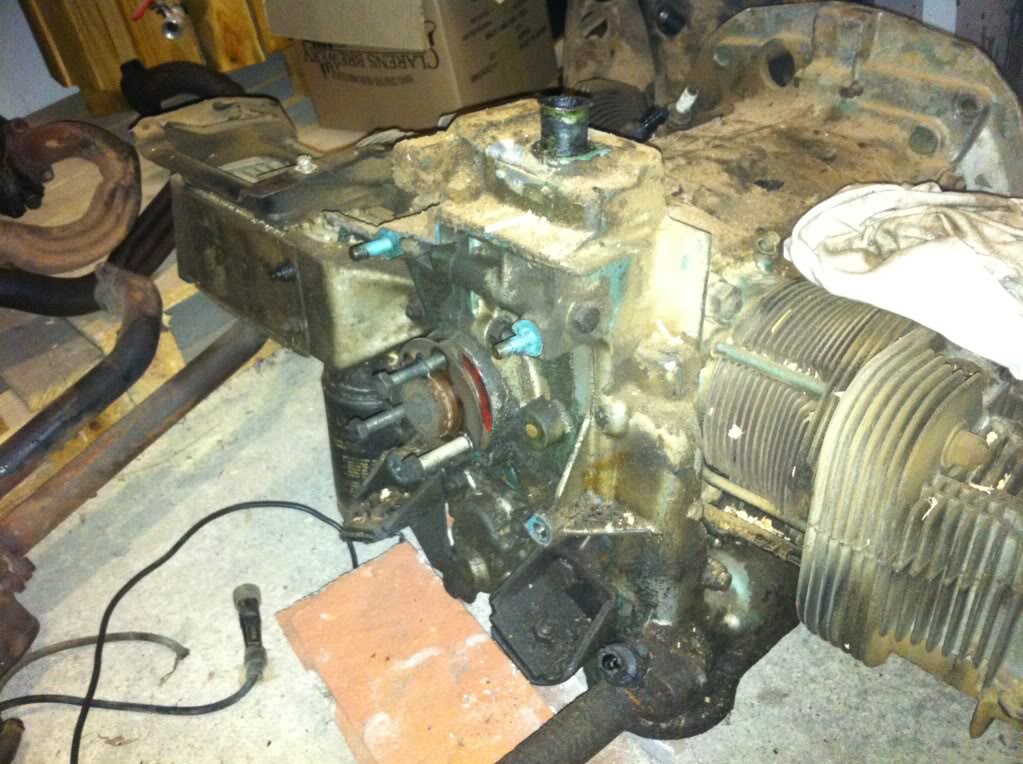
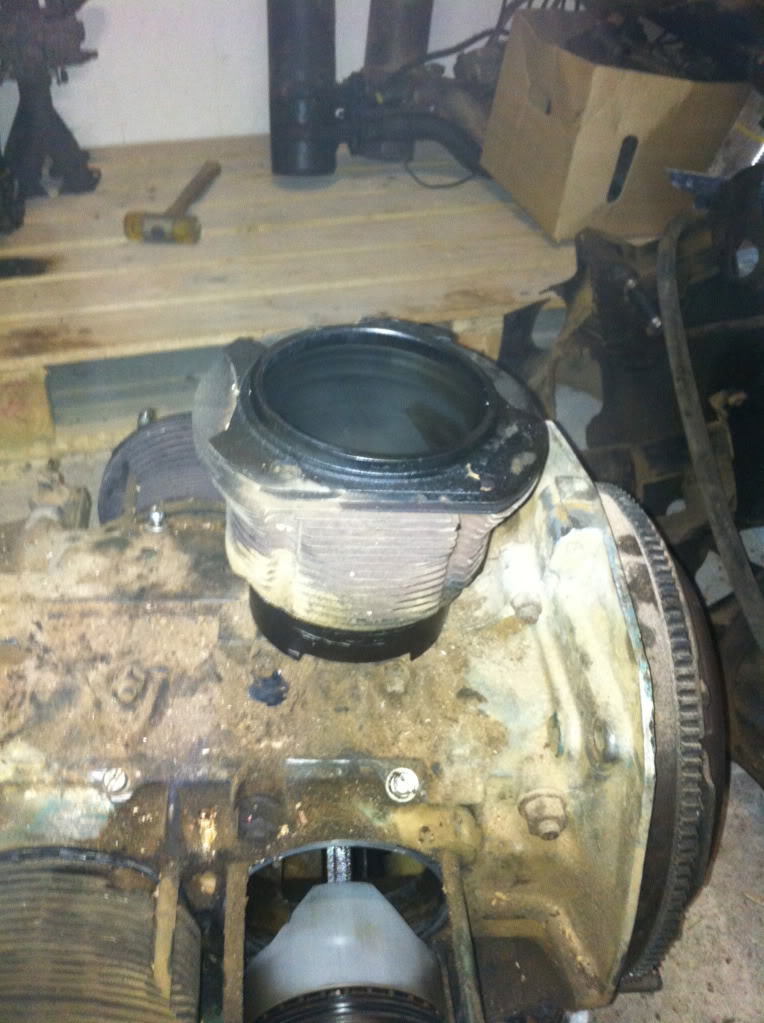
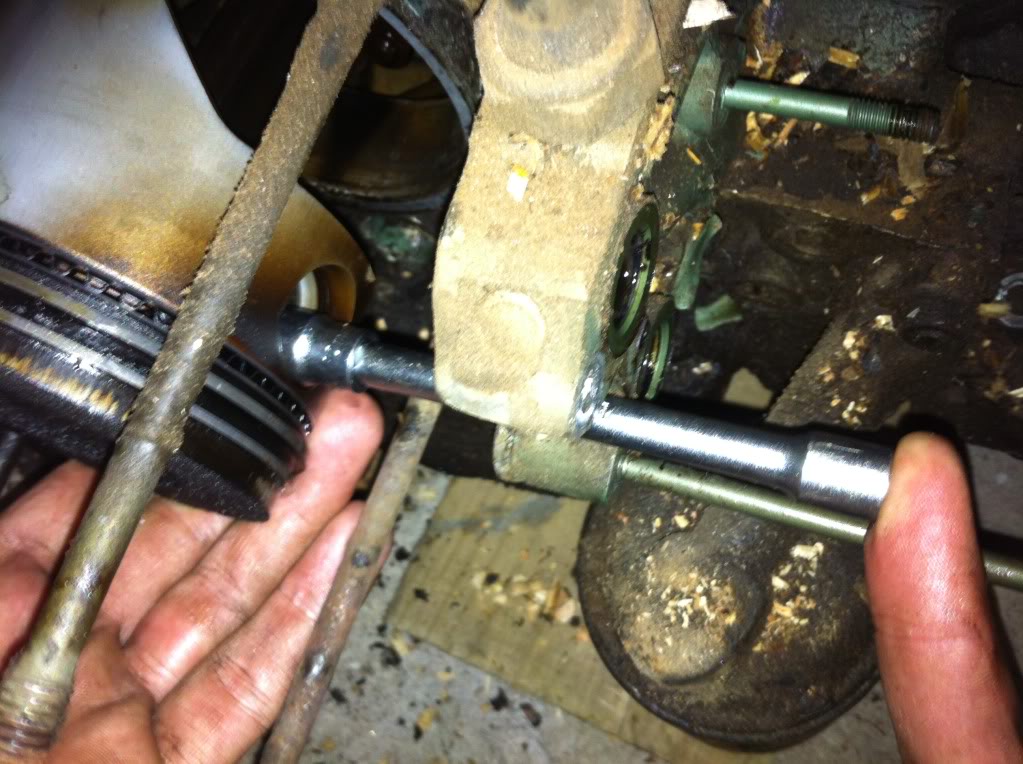
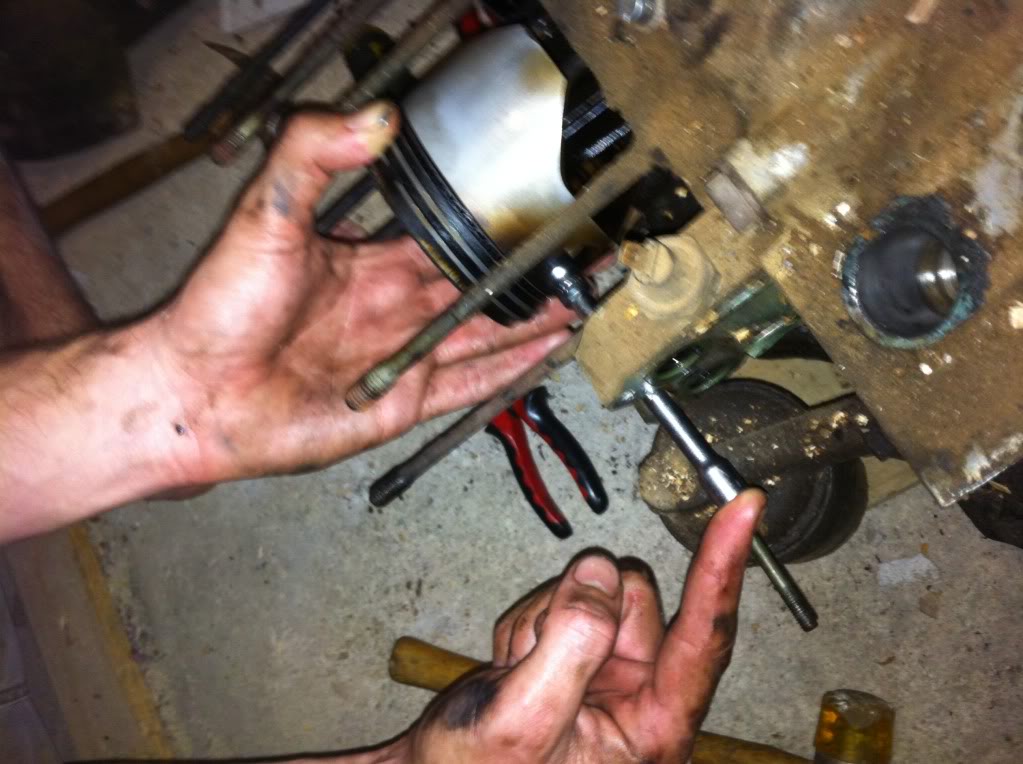
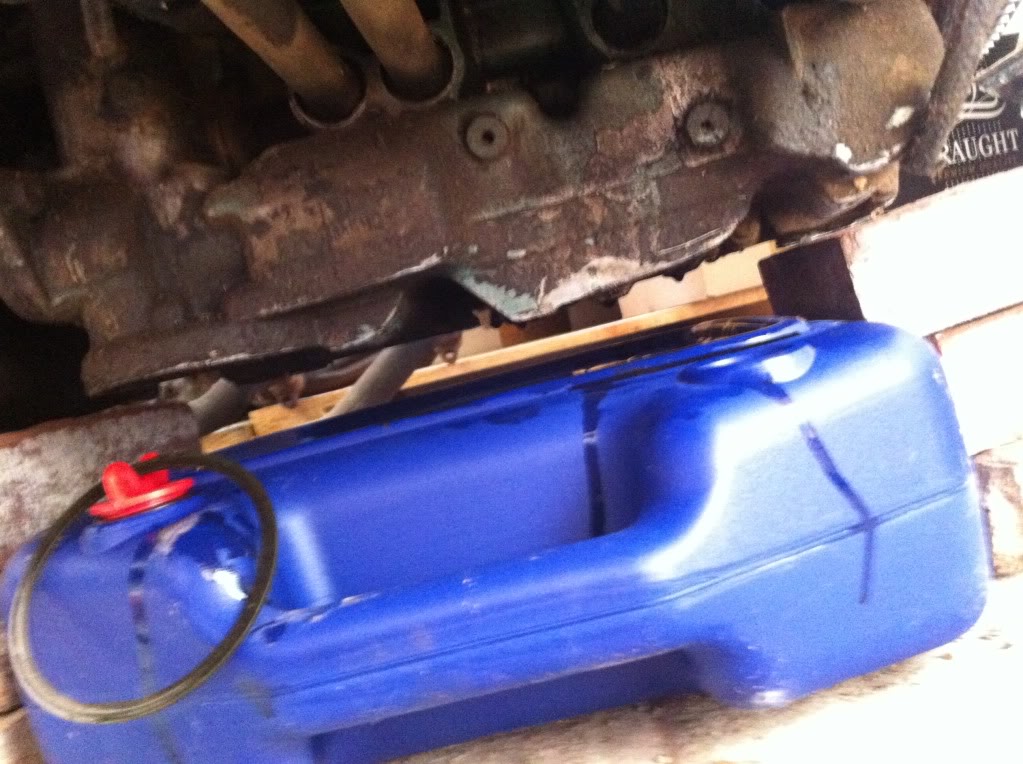
next is the oil cooler. one of the studs that hold it on was not a stud but a piece of threaded rod. that cooler its self looks very clean so I think its with out leaks.
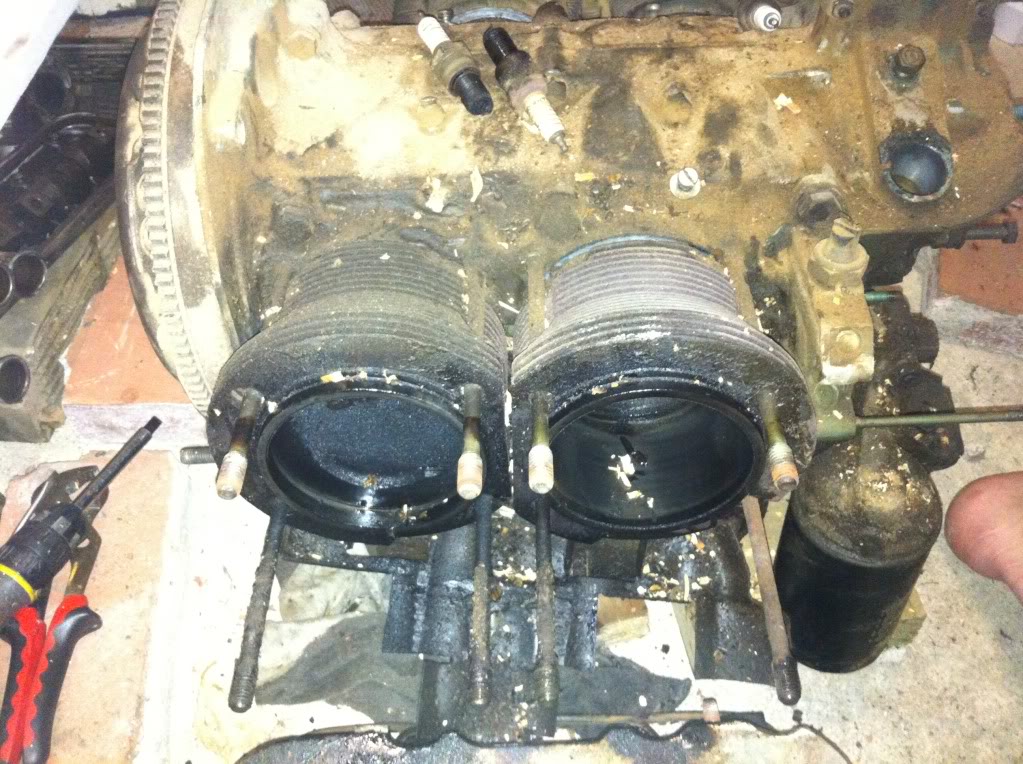
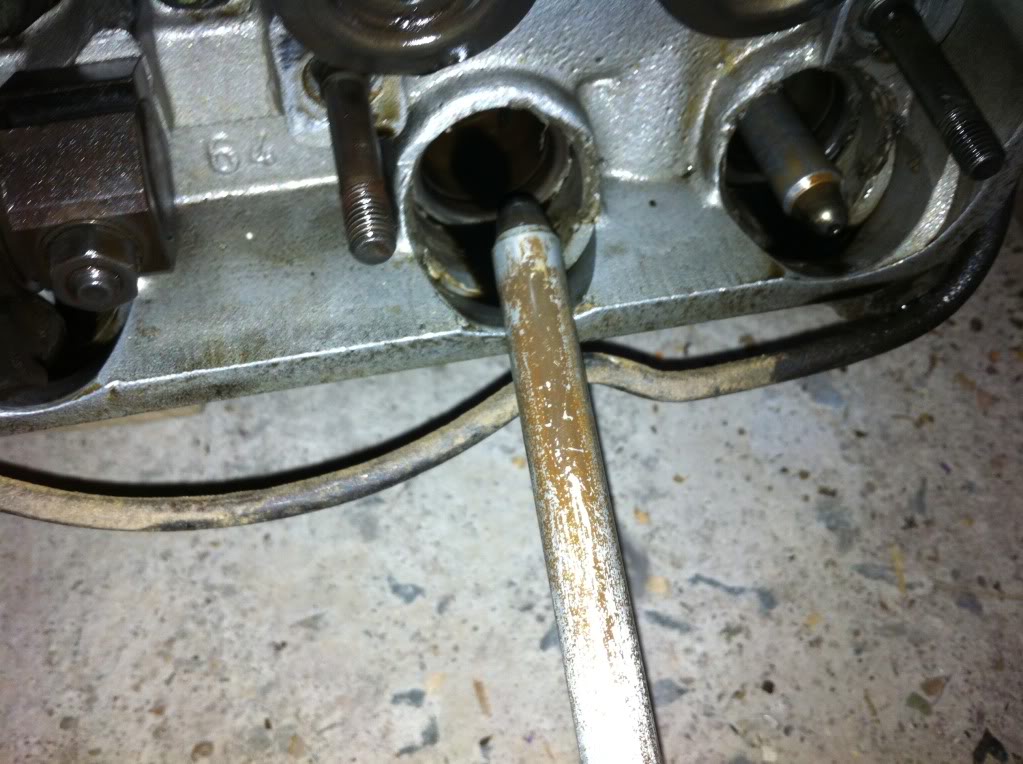
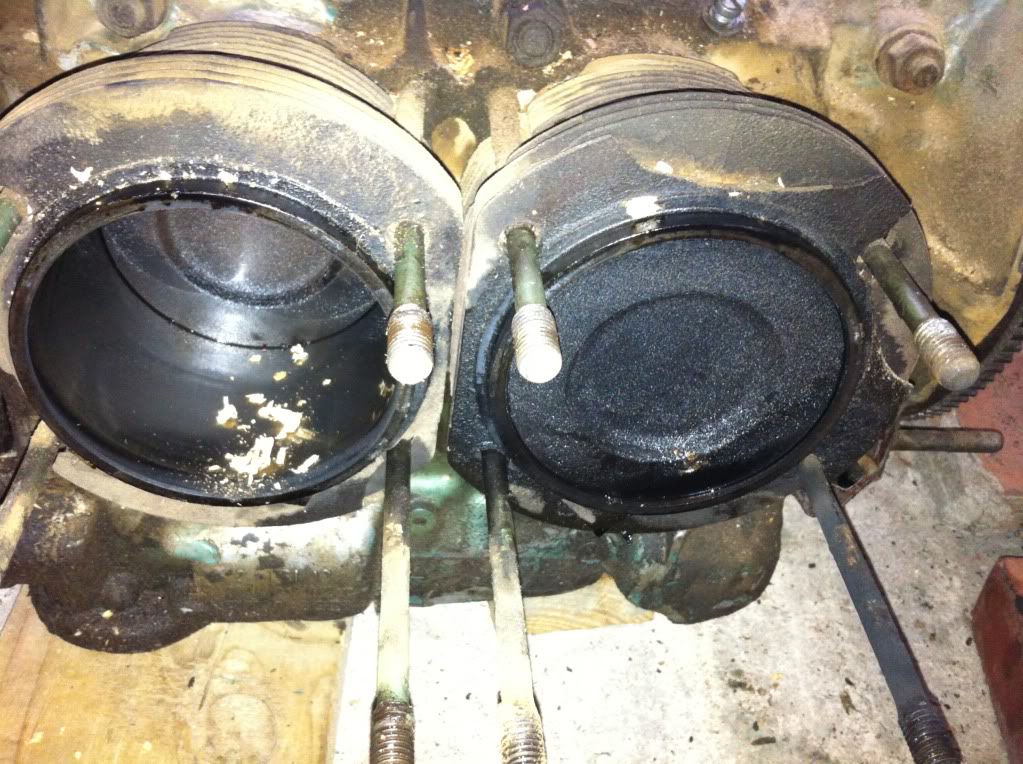
Next is the heads.
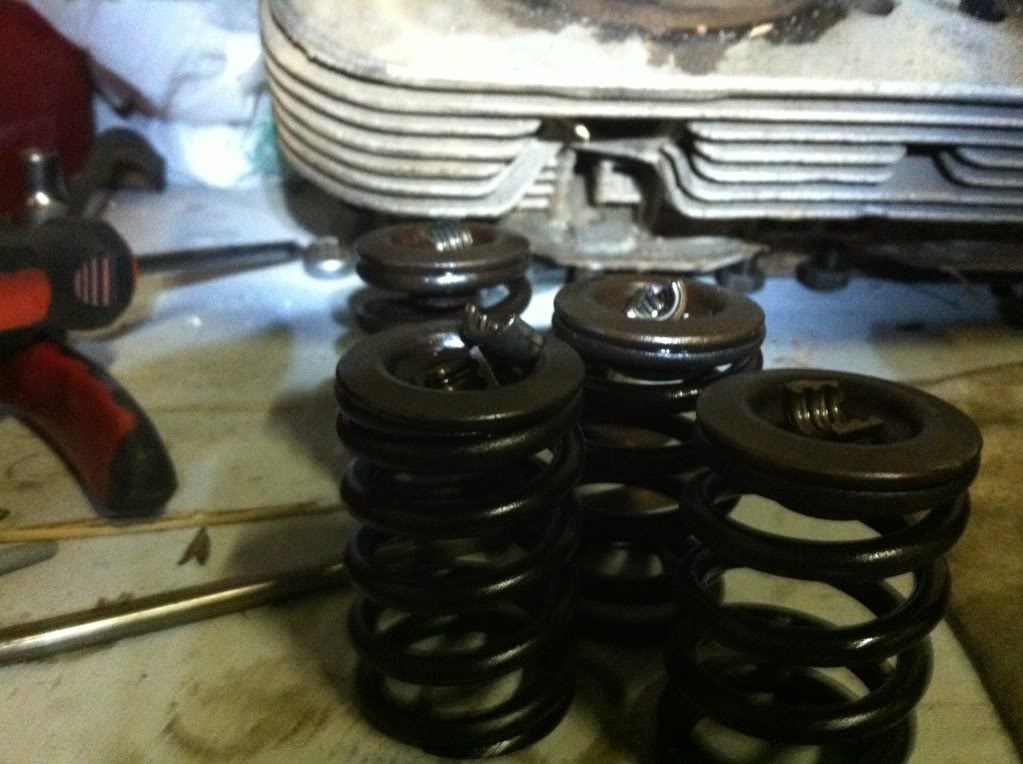
Rocker assembly. there is some pitting on the the adjusters on the valve side. not sure if this is a problem?
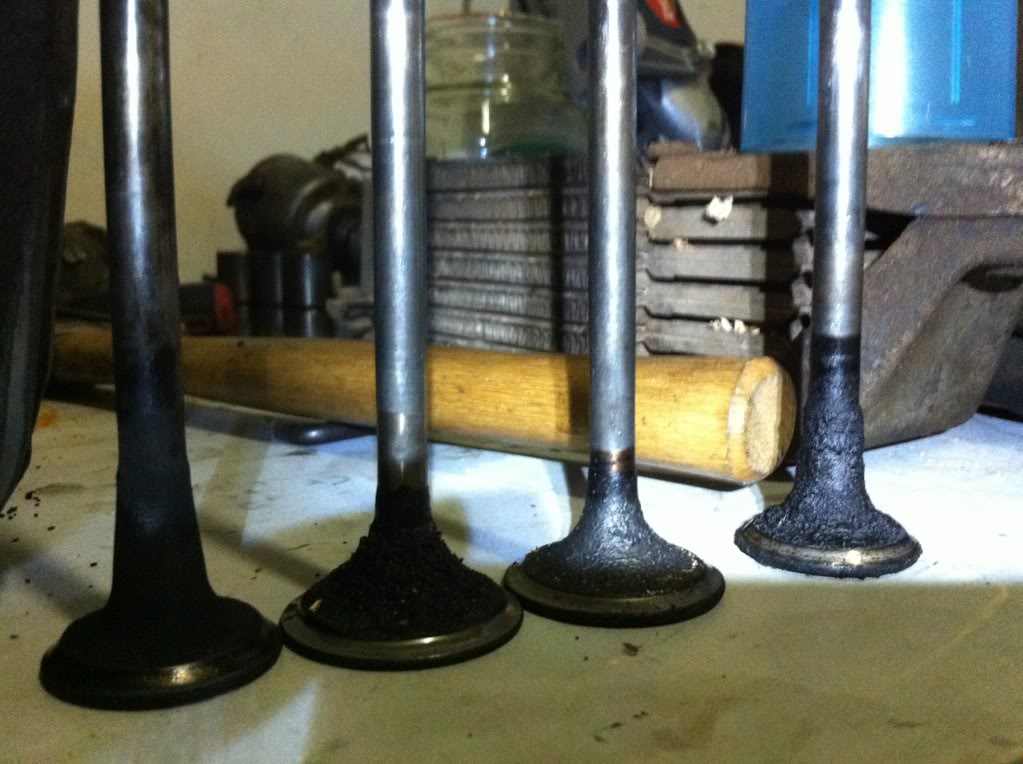
Next the push rods. the inlet push rod on the #1 cylinder seems to have some scorching.
Scorching?
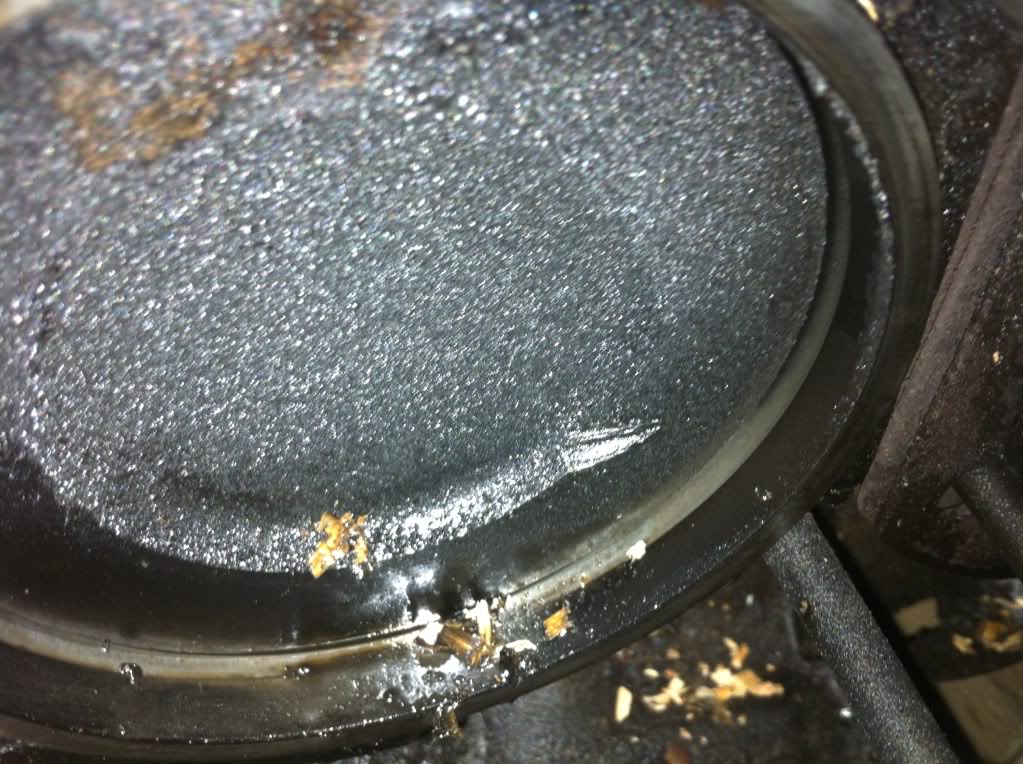
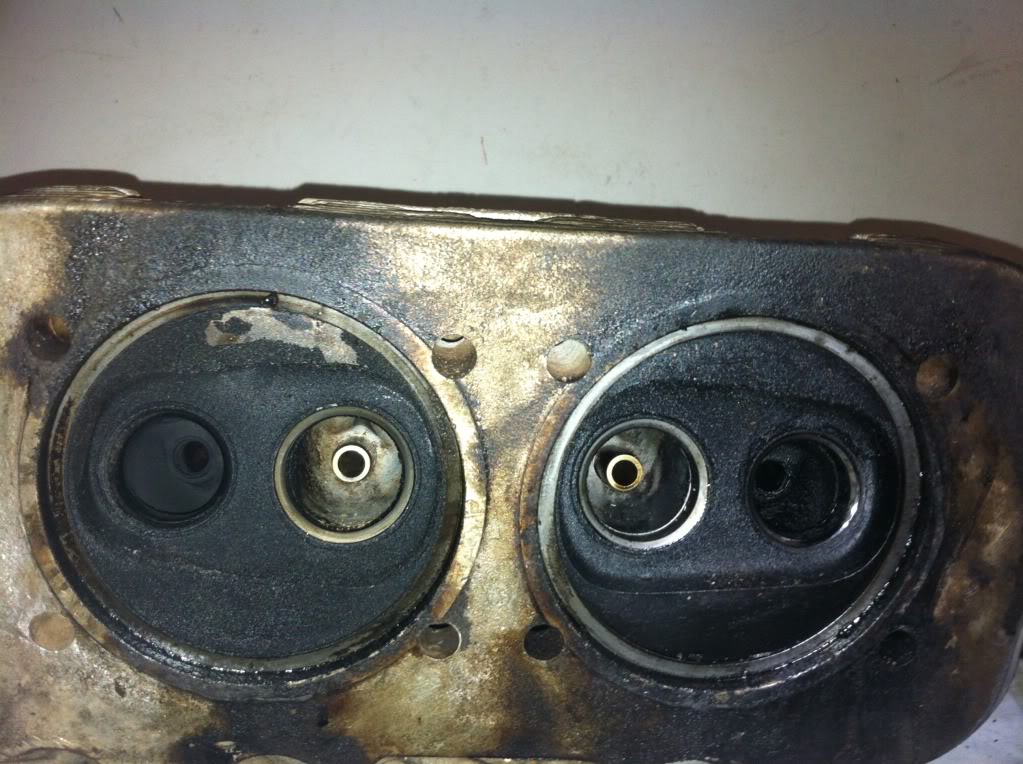
than a look at the followers. they look a little worn. and one seems to have been ground down around the crown.

The strange grind
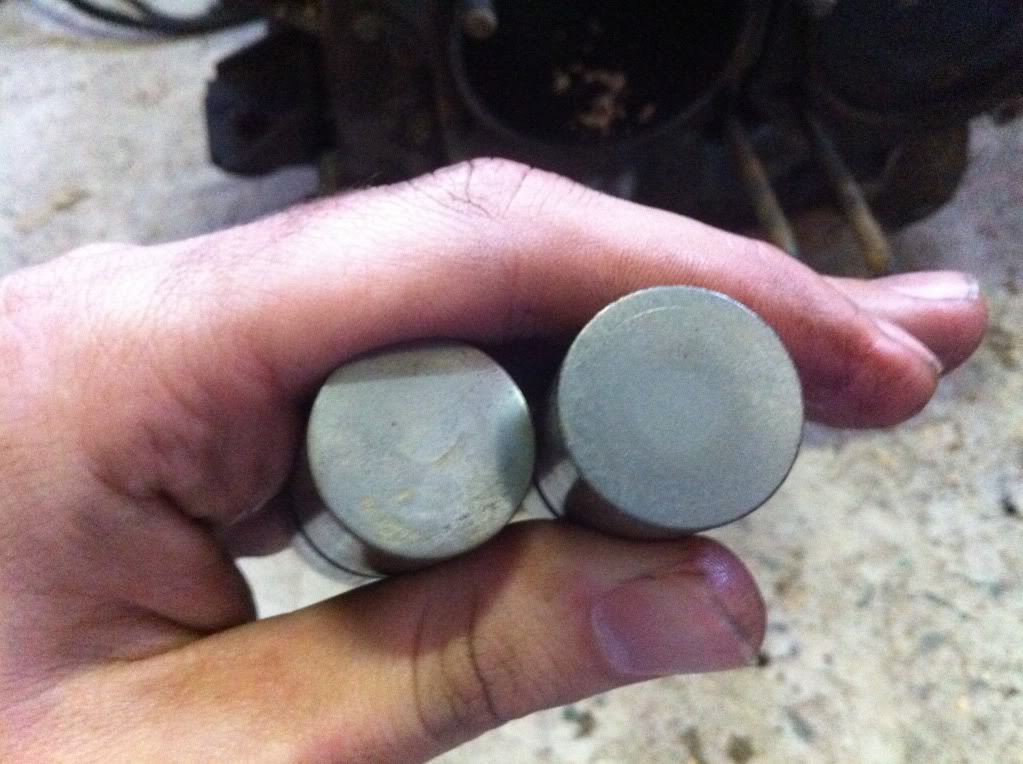
there are some scratches on the one on the left.
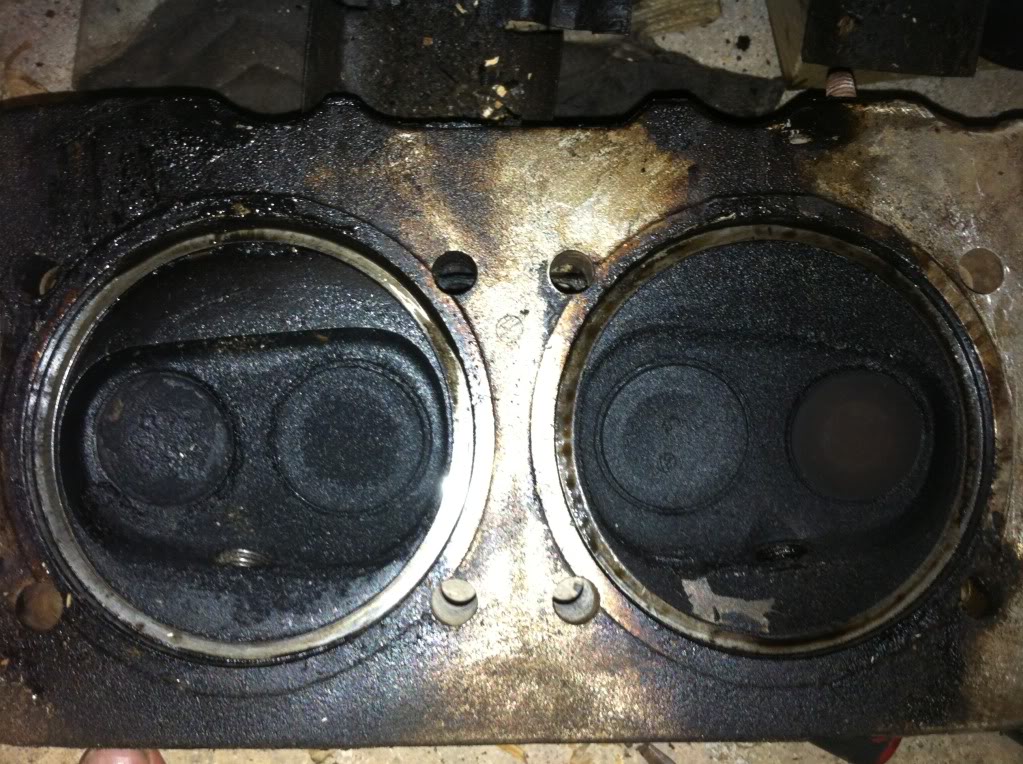
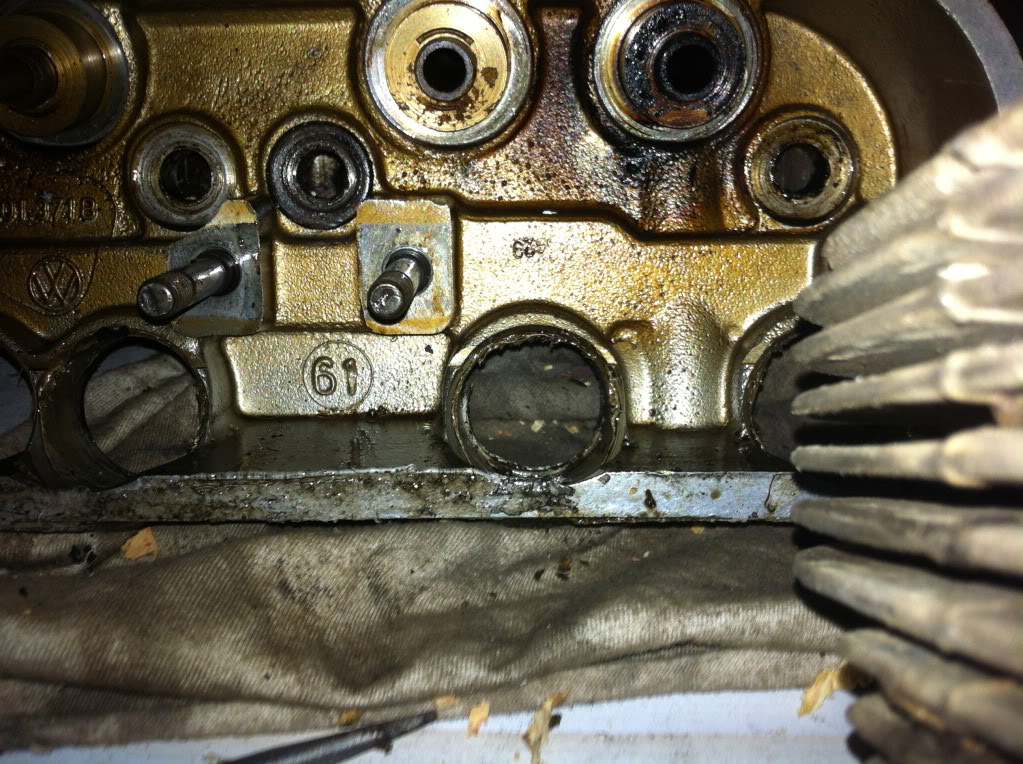
now the heads. don't forget to undo the tin on the bottom
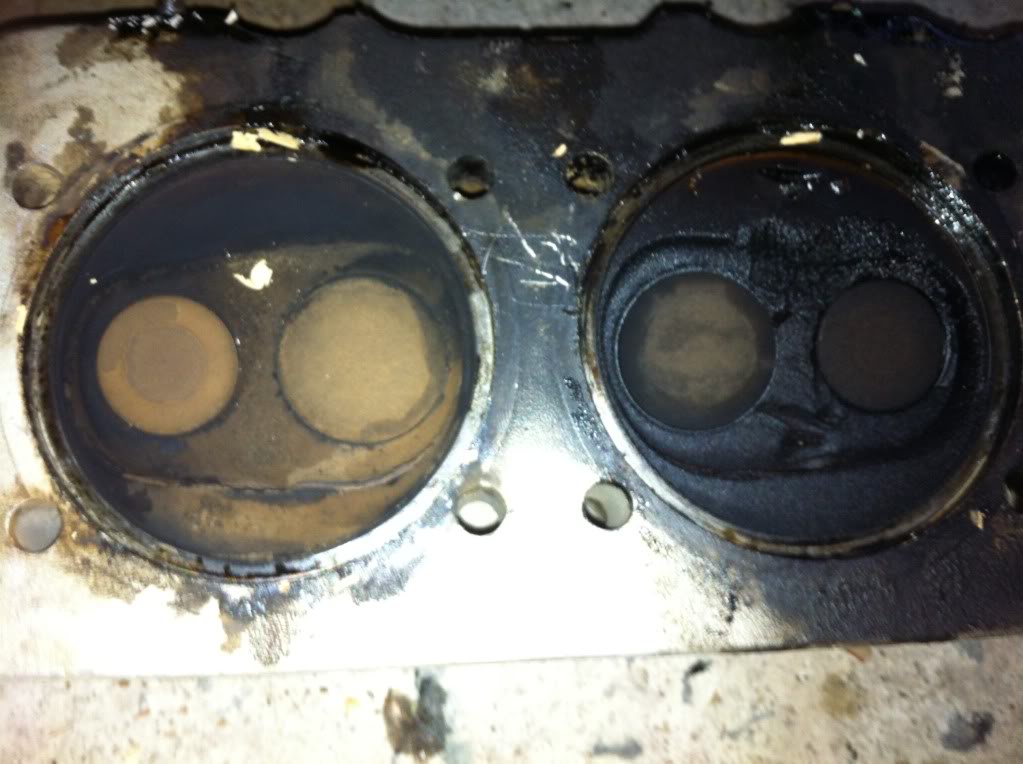
The #1 seems to have had a valve drop at some time in its life.
the piston is fine so the last builder mad a choice to use a damaged head . the valve seats look like there seating well but we will have to see.
And thats all for Today I have to help my wife in the garden
Stew