First and foremost, as this is my first post (and thread) on this forum, let me begin to say that its a pleasure to be part of this forum. I came across this site while browsing on the internet for general questions and answers on VW air-cooled motors - the knowledge on this site is awesome - so thank you for that.
Started to post this build on another forum: 4x4ag.co.za so if you want to have an in-depth look at it, here's the link:
https://www.4x4ag.co.za/forum/viewtopic.php?f=36&t=601
Anyway, getting to the thread, you need some background to this build:
My Father in law is a farmer in the North of Nambia and due to the rough terrain, the farm bakkies just does not last as long as they need to. As a cheap solution, I got a beach buggy for free and decided to build the old man a sort of farm buggy - which I hope to be done with by Christmas this year. The buggy is fitted with a duel port 1600 air cooled motor.
Before I started with the build, I have absolutely no knowledge of these engines. It was quite a learning curve (and one which still subsists to date) but after a bit of research, I think I got the hang of the motor - and I fell in love with it instantly. The simplicity thereof is amazing.
The engine initially ran rough and sounded like a 70 year old smoker climbing a set of stairs. Rebuilt the carb, replaced the ignition coil, condenser and points and set the valves correctly. I then did the timing and it now purrs like a kitten - although a fat loud kitten due to the straight pipes.
So here goes the story of the build so far:
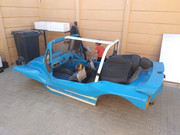
This was the fibre glass body removed - a very ugly blue
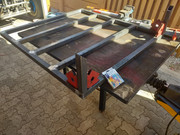
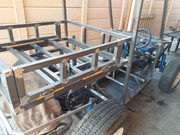
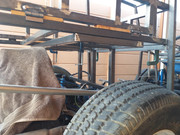
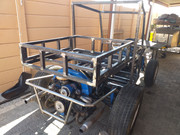
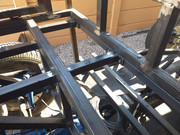
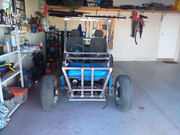
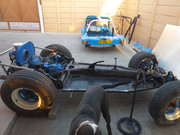
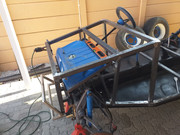
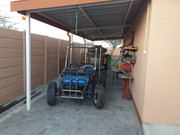
The chassis was still in relatively good nick:
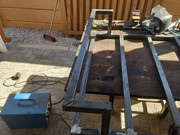
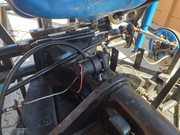
Started with the frame for the fuel tank. Initially wanted to fit it on top of the motor (like the yanks do), but it seemed like an obvious fire hazard. Also made the frame on which the seats mounted. I redid this later on in the build as my initial idea was kak - the seats were too close together and as a result I could not reach the handbrake. Don't mind the little helper in the pic - he eats me out of the house and gets to sleep next to my wife - the luckiest employee alive:
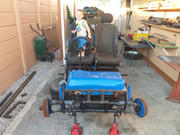
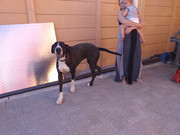
Dolla the Dane - always there to lend a helping hand:
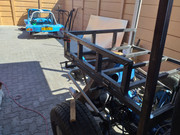
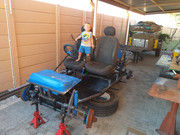
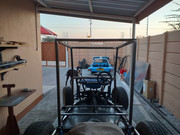
Started with the nose and side support beams:

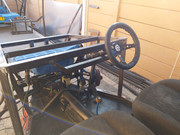
Steering wheel mounted:

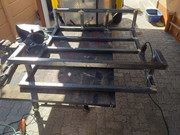
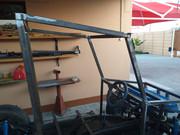
Dash frame (aluminium plate to be fitted) and fuel pump bracket made. The previous owner used a similar external pump (max 3 bar pressure) and I opted for the same:
Basic cabin frame and spotlight mounts. I liked the idea of a slanting roofline - gave a more aggressive look:
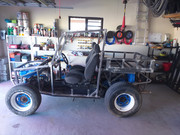
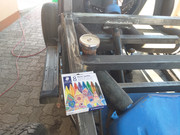
Fuel tank funnel (loosely) fitted. Had a small hole due to rust - fixed that with steel putty and still needs to be sanded down. Don't mind the crayons in the pics - it was a joke between friends:
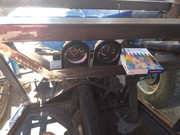
Got some of the dials for the dash:
More to follow soon...