Ja, it never stops does it.
So after your comments, I am quite keen to see if the clock works.
Take a piece of wire and off to the closest battery, the one in the fleetline.
Connect the clock up, no luck. Does not run. Double checked the connections, listen carefully, nope, nothing.
Ok, so time to try Eben's idea.
Back to the house, and then DUH, I realize I don't have to go outside everytime. 12V DC is 12V DC, and how many amps can a dash clock draw? We all have stashes of 12V 1000ma/500ma power supplies lying around (cordless phones, old tv games, faulty adsl modems

, etc ad nauseam). Right, get my spare 12V power supply, and hook it up to the clock just to be sure, nothing....
CAREFULLY open the rear casing, and open the contacts to prime the electromagnet. It runs for a couple of seconds, but the electromagnet does not fire and the points stay closed, then I notice, that while I was busy fiddling, a piece of dirt has fallen through the gaps, to the front of the speedo -

So, time to open the entire thing again, front and back covers off. THEN I notice that the hour hand is actually still a bit dirty. Note to self, next time stop right here. BUT NO, every last bit of dirt has to come off, what an idiot, because next thing I know, I have gone through the paint

, those 40 year old needles are fragile apparently!!!
Figured before I try and fix this mess, time to see if I can get the clock going first.
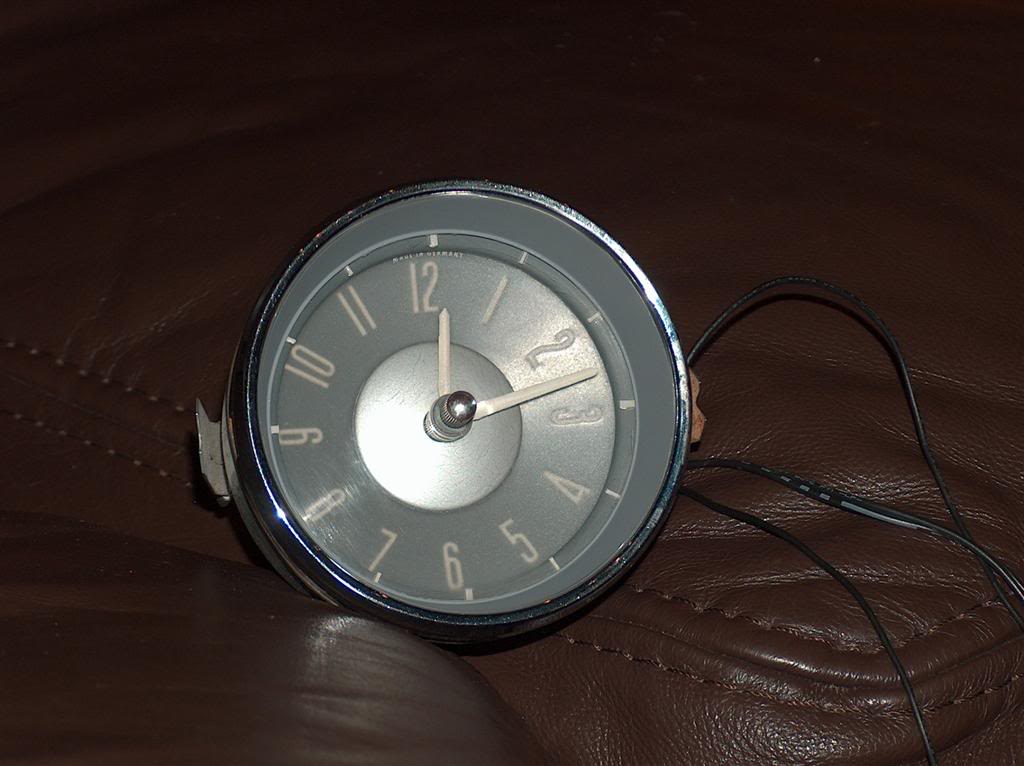
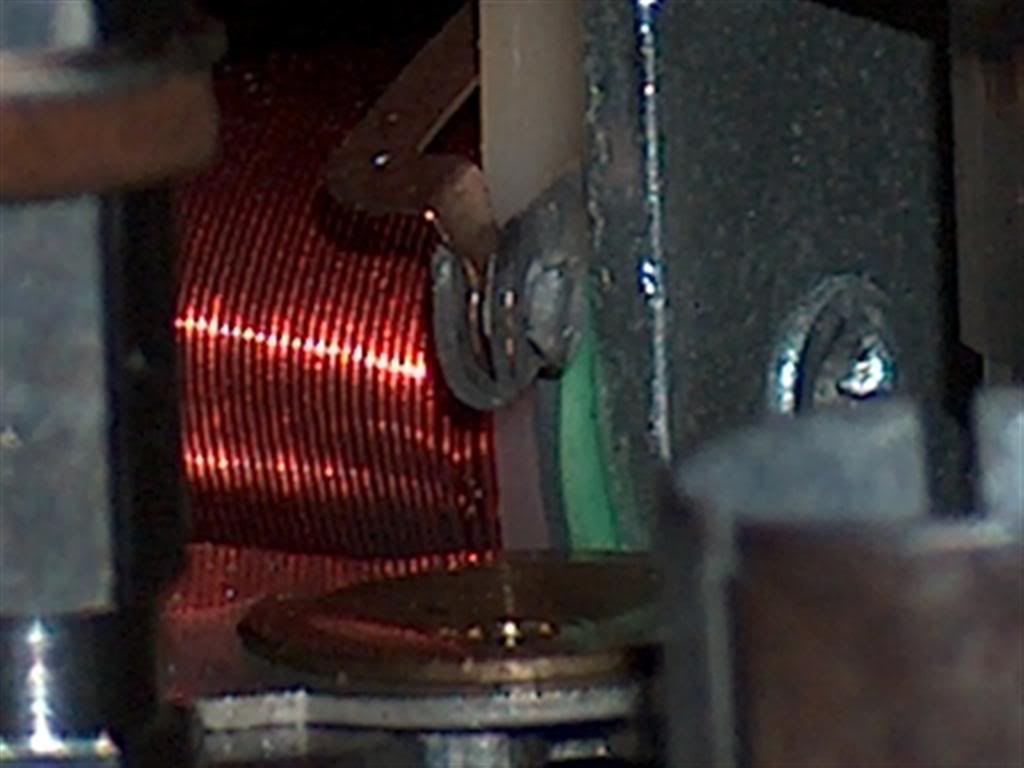
Ever wondered what a VDO clock looks like inside?
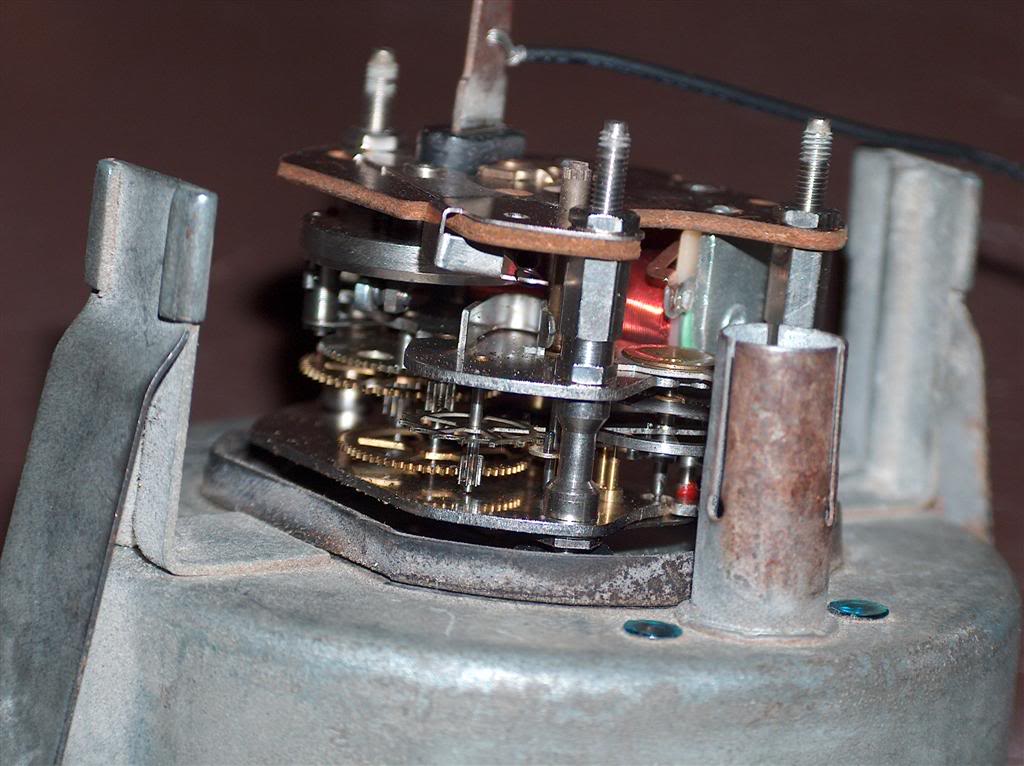
Work of art if you ask me, pretty sure they don't build them like this anymore....
These two points are supposed to open,
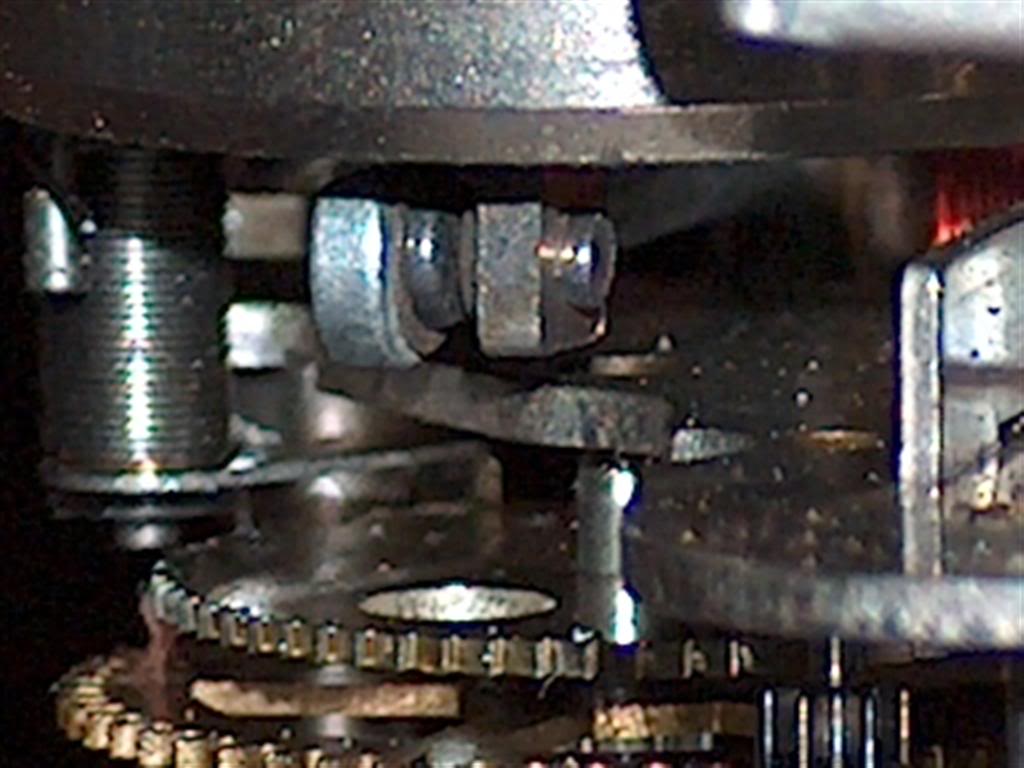
this cranks a gear and the clock mechansim then runs until the points touch, at which point the electromagnet is supposed to push the two points apart again,
causing the process to repeat and the clock to run.
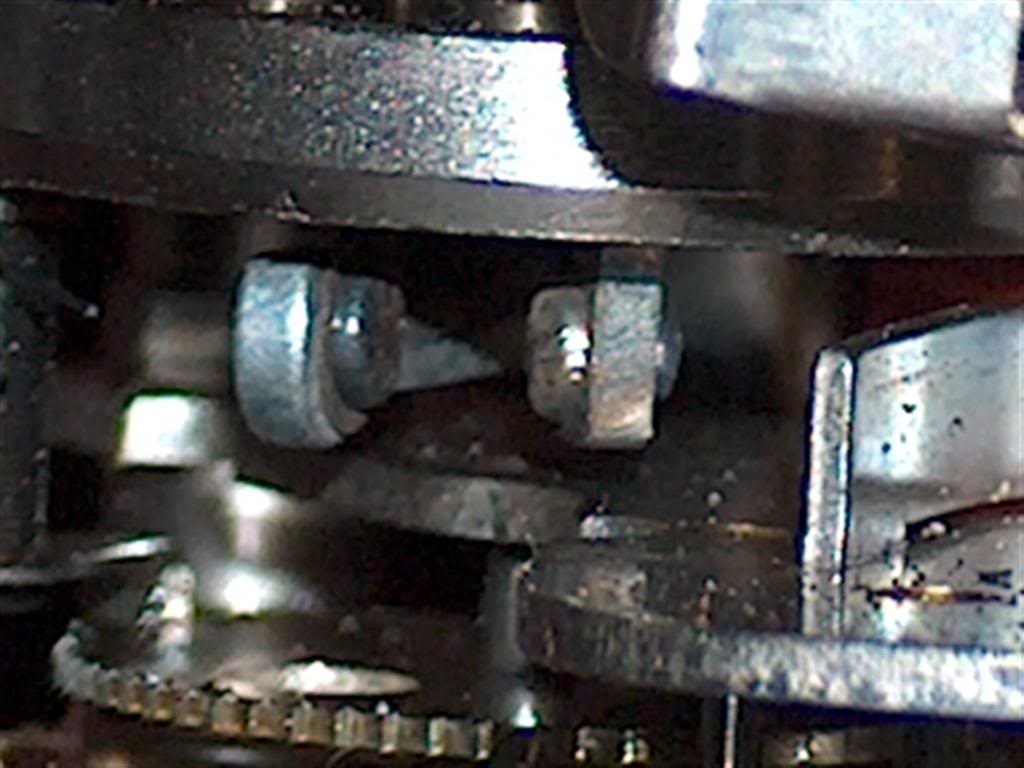
I had a close look at the entire mechanism, and finally noticed that the one contact of the electromagnet coil was loose.
The solder had broken by the looks of it, probably what they call a corroded dry joint.
Managed to move it back into place and crimp the connection closed,
and would you believe it, after applying power, we had a working clock.

Now back to the other problem...
One needle is half stripped,so no turning back now. Luckily I had some similar colour paint lying around.
Not close enough for a patch, had to clean the paint completely off BOTH needles, paint them both with a very fine brush (hijacked one of the wife's old Cutex bottles), and then to finish it off, two coats of clear cutex
Not sure if I like the gloss finish now that it's done,and the lines are also not completely as sharp as the original paint, but, it's close enough to original, looks Ok, and when mounted in the dash, no-one will notice
That'll teach me to "krap waar dit nie jeuk nie!!" or for our english readers, next time I will let sleeping dogs lie!
One working Type 3 clock: