Page 7 of 10
Re: Revival of the fittest - new buggy build
Posted: Sun Mar 09, 2008 8:38 am
by AirPower
Yes dude - what's up?
The cage was R3500.00 but the pipe used is very thin walled making it quite light. It depends on what is more important to you - strenght or weight. I had a hell-of-a-time to weld it when I added some pipe-work, but with the correct equipment it should be easier.
Re: Revival of the fittest - new buggy build
Posted: Wed Apr 30, 2008 12:01 pm
by AirPower
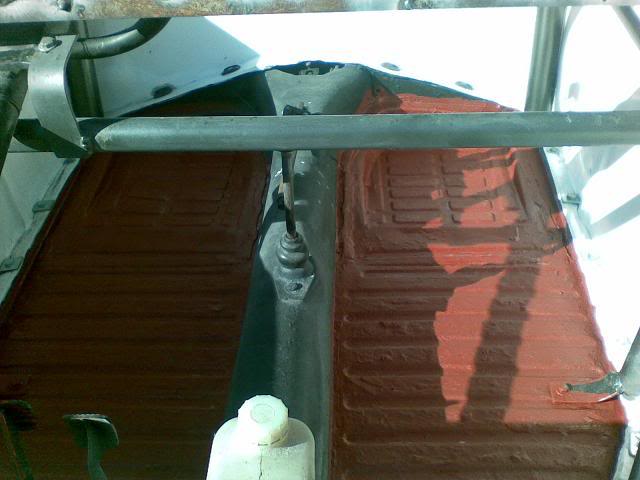
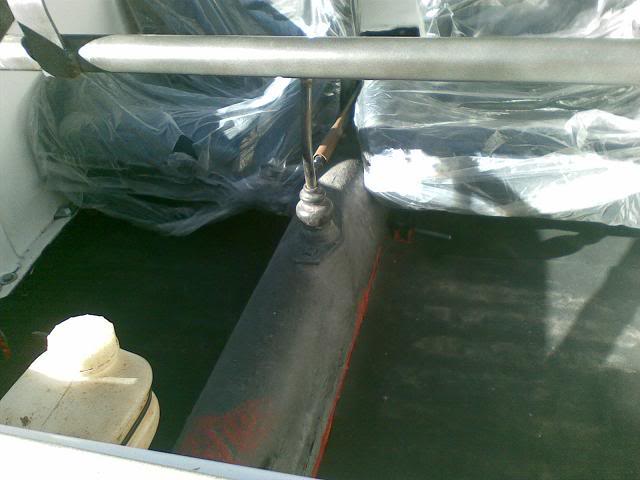
Rear brace is finally done. I'll tell you - in the end I had to put those adjusters in there - I found it impossible to get the pipes the right length - if you're going to try this go for something adjustable from the beginning. Only thing left to do is put some splitpins in to stop them adjusting themselves.

Re: Revival of the fittest - new buggy build
Posted: Wed Apr 30, 2008 1:19 pm
by Tony Z
dont forget to put locknuts onto those adjusters
Re: Revival of the fittest - new buggy build
Posted: Wed Apr 30, 2008 7:00 pm
by ZeroAxe
Airpower, I now it is a little late, but if you want, contact me and I will show you a slightly cleaner install, based on the same system you now have. (Mine is not made as yet, but I got the thing all planned out though)
Lock nuts would be a good idea, but you will (maybe) have some issues sourcing two nuts that size, but with Left-hand threads!?
Re: Revival of the fittest - new buggy build
Posted: Wed Apr 30, 2008 7:11 pm
by Tony Z
you only need 1 nut on each rod. Pull it up hard against the adjuster then lock it in place (tighten about a quarter of a turn past hand tight with a spanner).
Re: Revival of the fittest - new buggy build
Posted: Wed Apr 30, 2008 7:26 pm
by AirPower
The plan is to drill a hole through and put a splitpin in each, top and bottom on the inside (not where the load is carried). I agree the locknuts sound good, but there is NO WAY I'm taking that out again - it held me back a couple of months already.

Re: Revival of the fittest - new buggy build
Posted: Wed Apr 30, 2008 10:15 pm
by Bugger
What f/wheel are you going to use remember the thrust bearing on your box is for the 3 finger type or ring type and not 2.1 228mm f/w setup
Re: Revival of the fittest - new buggy build
Posted: Thu May 01, 2008 6:22 pm
by AirPower
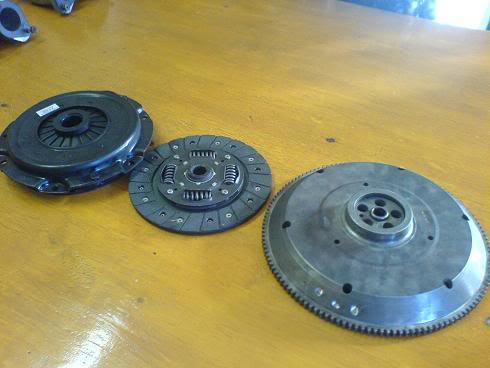
I've got that 200mm flywheel - had a double diaphragm installed plus a double spring clutch plate - the guys that did the work assured me that will be enough to hold the motor up 200HP. The flywheel is lightened as well - the engineering shop informed me it's forged steel because the ring-gear cannot be detached from the flywheel. On cast flywheels the ring-gear can usually be detached to replace it because of wear - (cast would wear very quickly).
I'll post a pic soon.
Mario
Re: Revival of the fittest - new buggy build
Posted: Thu May 01, 2008 10:00 pm
by Bugger
Sounds like you have to do the mod to take the guide sleeve on the box and the other clutch fork to go with it
You have to weld the clutch fork where the 2 down arms for the thrust bearing go coz with your Double Diaphrame P/Plate those Arms break off and FFFFFFFFFFFFFFFFFFFFFFF ----- every thing up so do the bit of streng thening with CO2 welding
Re: Revival of the fittest - new buggy build
Posted: Mon May 05, 2008 4:16 pm
by AirPower
This is a pic of the flywheel and clutch/pressure plate - it's got the ring so I'm going with the original thrust bearing. Do you think the strengthening of the arms is needed?
edit
It's the 200mm 1969 type 4 flywheel with a Beetle pressure plate
edit
Re: Revival of the fittest - new buggy build
Posted: Mon May 05, 2008 5:16 pm
by sgumfi
nice project going on there so tell me is the body still available i need that bonet and those windows
Re: Revival of the fittest - new buggy build
Posted: Mon May 05, 2008 5:19 pm
by AirPower
Sorry sgumfi - I gave the body away to a PDI individual - it's now traveled a bit and I lost track.
Re: Revival of the fittest - new buggy build
Posted: Mon May 05, 2008 7:34 pm
by Bugger
AirPower wrote:This is a pic of the flywheel and clutch/pressure plate - it's got the ring so I'm going with the original thrust bearing. Do you think the strengthening of the arms is needed?
edit
It's the 200mm 1969 type 4 flywheel with a Beetle pressure plate
edit
With the ring then stay with that set up
I thought you got a kennedy upgraded pressure plate then it is better to strengthen the clutch fork a little
see the flywheel is nice lightend
Keep it up man
Re: Revival of the fittest - new buggy build
Posted: Wed Jun 18, 2008 7:28 pm
by AirPower
Thought I'd update this a bit.
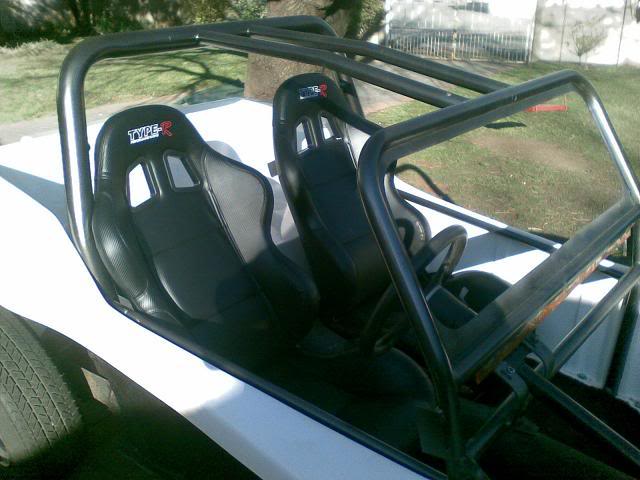
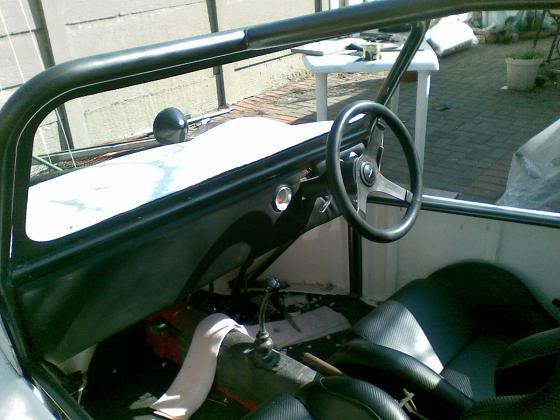
Old seat railings removed to fit new bucket seats.
Rubber on the floor.
And volla (as Mr. Bugger says) - new seats.
Dashboard made from plastic - the original fiberglass one looked like sh*t to me so I chucked it out.
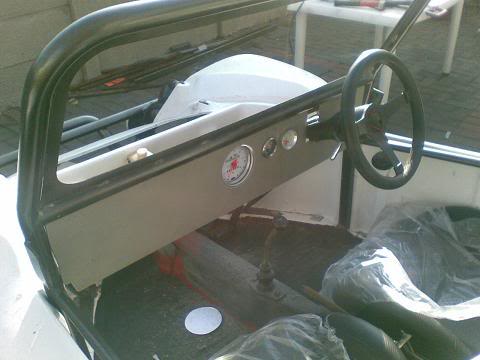
Cover with vinyl.
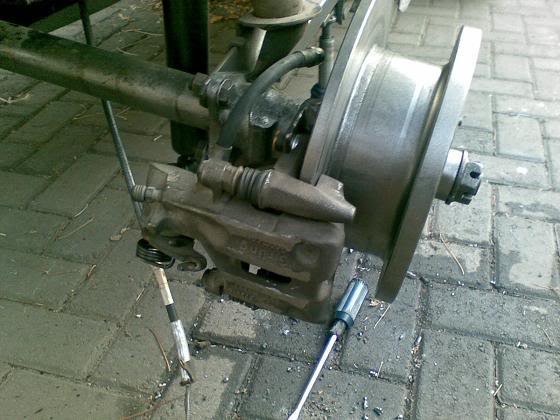
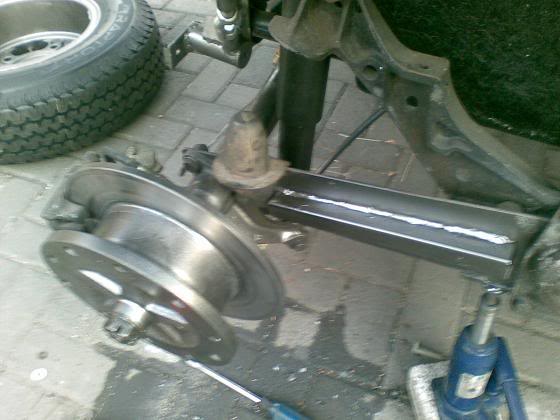
Got the calipers for the rear disc conversion, but had to make some brackets. These rotors are the 5 wide, so the Beetle wheels still fit. Had to get the handbrake working


Added some strength to the flex plate to prevent doing just that.
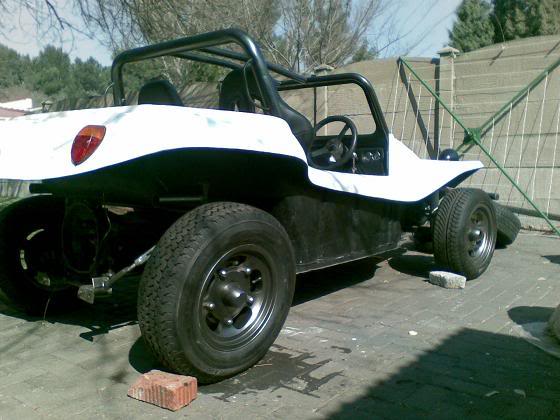
Wheels ON!
Suzie - recognize these mags?
Re: Revival of the fittest - new buggy build
Posted: Wed Jun 18, 2008 7:31 pm
by eben
Are those audi calipers?